# How to send a personalized push notification
In Pushwoosh, you can send highly personalized mobile and web push notifications.
To create a personalized message, you can use personalization tags for user attributes, known as [Dynamic Content](/product/personalization/dynamic-content). For example, the tag 'first name' will place a user attribute [Laura] into your push notification: Hi, [Laura].
All the personalization tags available for your messages are created and stored in the **Audience > Tags** section. [Follow the guide](/product/audience-data-and-segmentation/user-data-tags/tags) to create new personalization tags.
If you want to use personalization via Liquid syntax, [follow this guide](/product/personalization/liquid-templates).
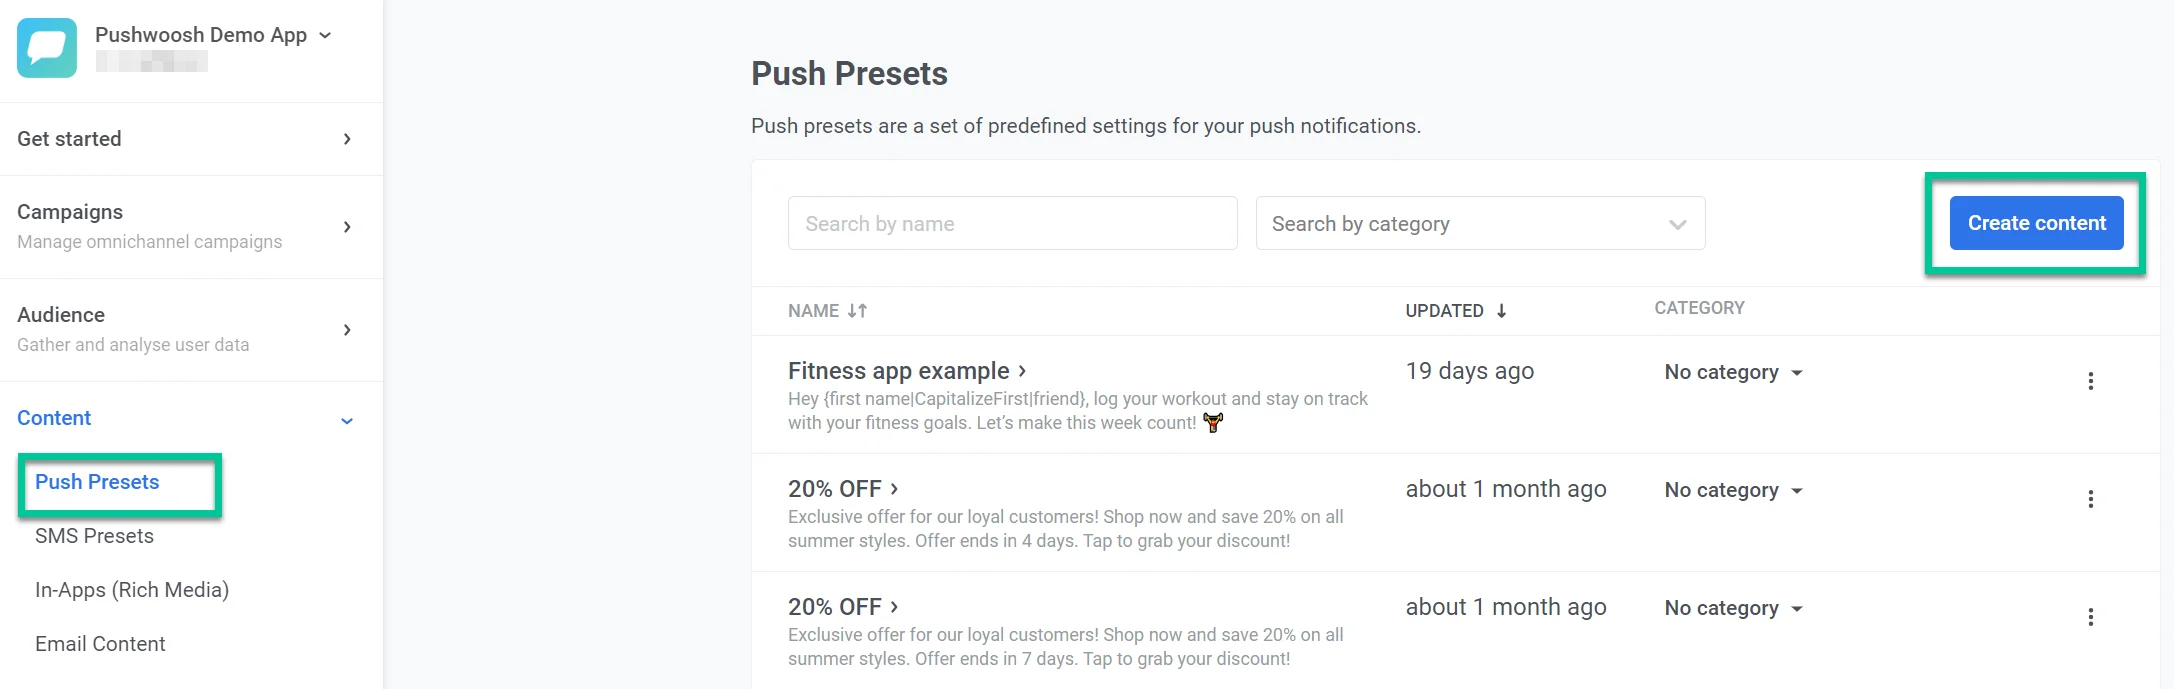
In your Pushwoosh account, open **Content > Push presets > Create content**.
## How to personalize a push title
Click on the Title field and then click the personalization icon on the right.
**Note**: Title is an optional field.
Type your text and click on the part of it where you want personalization. Choose the tag(s) you want to use—for example, [first_name]. Click **Insert** to apply the changes.
## How to personalize an iOS push subtitle
An iOS subtitle is displayed in bold print under the title; you can personalize it like other text elements of a push notification. Yet, the Subtitle is an optional field.
**Note**: Your iOS push subtitle will not be displayed in Android push and Windows web push notifications, but it will be displayed in macOS web pushes.
Click on the Subtitle field and click the personalization icon on the right. Choose the tag you want to use—for example, [first_name]. Click **Insert** to apply changes.
## How to personalize a push message
The push message is the only required field. It will be displayed on all platforms.
To personalize your push message, click on the Push message field and then click the personalization icon on the right. Choose the tag you want to use—for example, [first_name]. Click **Insert** to apply changes.
After personalizing your message, name your push preset and click **Save**.
[Read the guide on how to create push presets](/product/content/push-presets).
 ## How to personalize a push title
Click on the Title field and then click the personalization icon on the right.
**Note**: Title is an optional field.
Type your text and click on the part of it where you want personalization. Choose the tag(s) you want to use—for example, [first_name]. Click **Insert** to apply the changes.
## How to personalize an iOS push subtitle
An iOS subtitle is displayed in bold print under the title; you can personalize it like other text elements of a push notification. Yet, the Subtitle is an optional field.
**Note**: Your iOS push subtitle will not be displayed in Android push and Windows web push notifications, but it will be displayed in macOS web pushes.
Click on the Subtitle field and click the personalization icon on the right. Choose the tag you want to use—for example, [first_name]. Click **Insert** to apply changes.
## How to personalize a push message
The push message is the only required field. It will be displayed on all platforms.
To personalize your push message, click on the Push message field and then click the personalization icon on the right. Choose the tag you want to use—for example, [first_name]. Click **Insert** to apply changes.
After personalizing your message, name your push preset and click **Save**.
[Read the guide on how to create push presets](/product/content/push-presets).
## How to personalize a push title
Click on the Title field and then click the personalization icon on the right.
**Note**: Title is an optional field.
Type your text and click on the part of it where you want personalization. Choose the tag(s) you want to use—for example, [first_name]. Click **Insert** to apply the changes.
## How to personalize an iOS push subtitle
An iOS subtitle is displayed in bold print under the title; you can personalize it like other text elements of a push notification. Yet, the Subtitle is an optional field.
**Note**: Your iOS push subtitle will not be displayed in Android push and Windows web push notifications, but it will be displayed in macOS web pushes.
Click on the Subtitle field and click the personalization icon on the right. Choose the tag you want to use—for example, [first_name]. Click **Insert** to apply changes.
## How to personalize a push message
The push message is the only required field. It will be displayed on all platforms.
To personalize your push message, click on the Push message field and then click the personalization icon on the right. Choose the tag you want to use—for example, [first_name]. Click **Insert** to apply changes.
After personalizing your message, name your push preset and click **Save**.
[Read the guide on how to create push presets](/product/content/push-presets).