# Time delay
The **Time Delay** element makes users wait for a specified time. After the delay, they move to the next step. The delay can be a fixed period, a specific time, or a date. It can also be based on a tag value or event attribute.
## Delay options
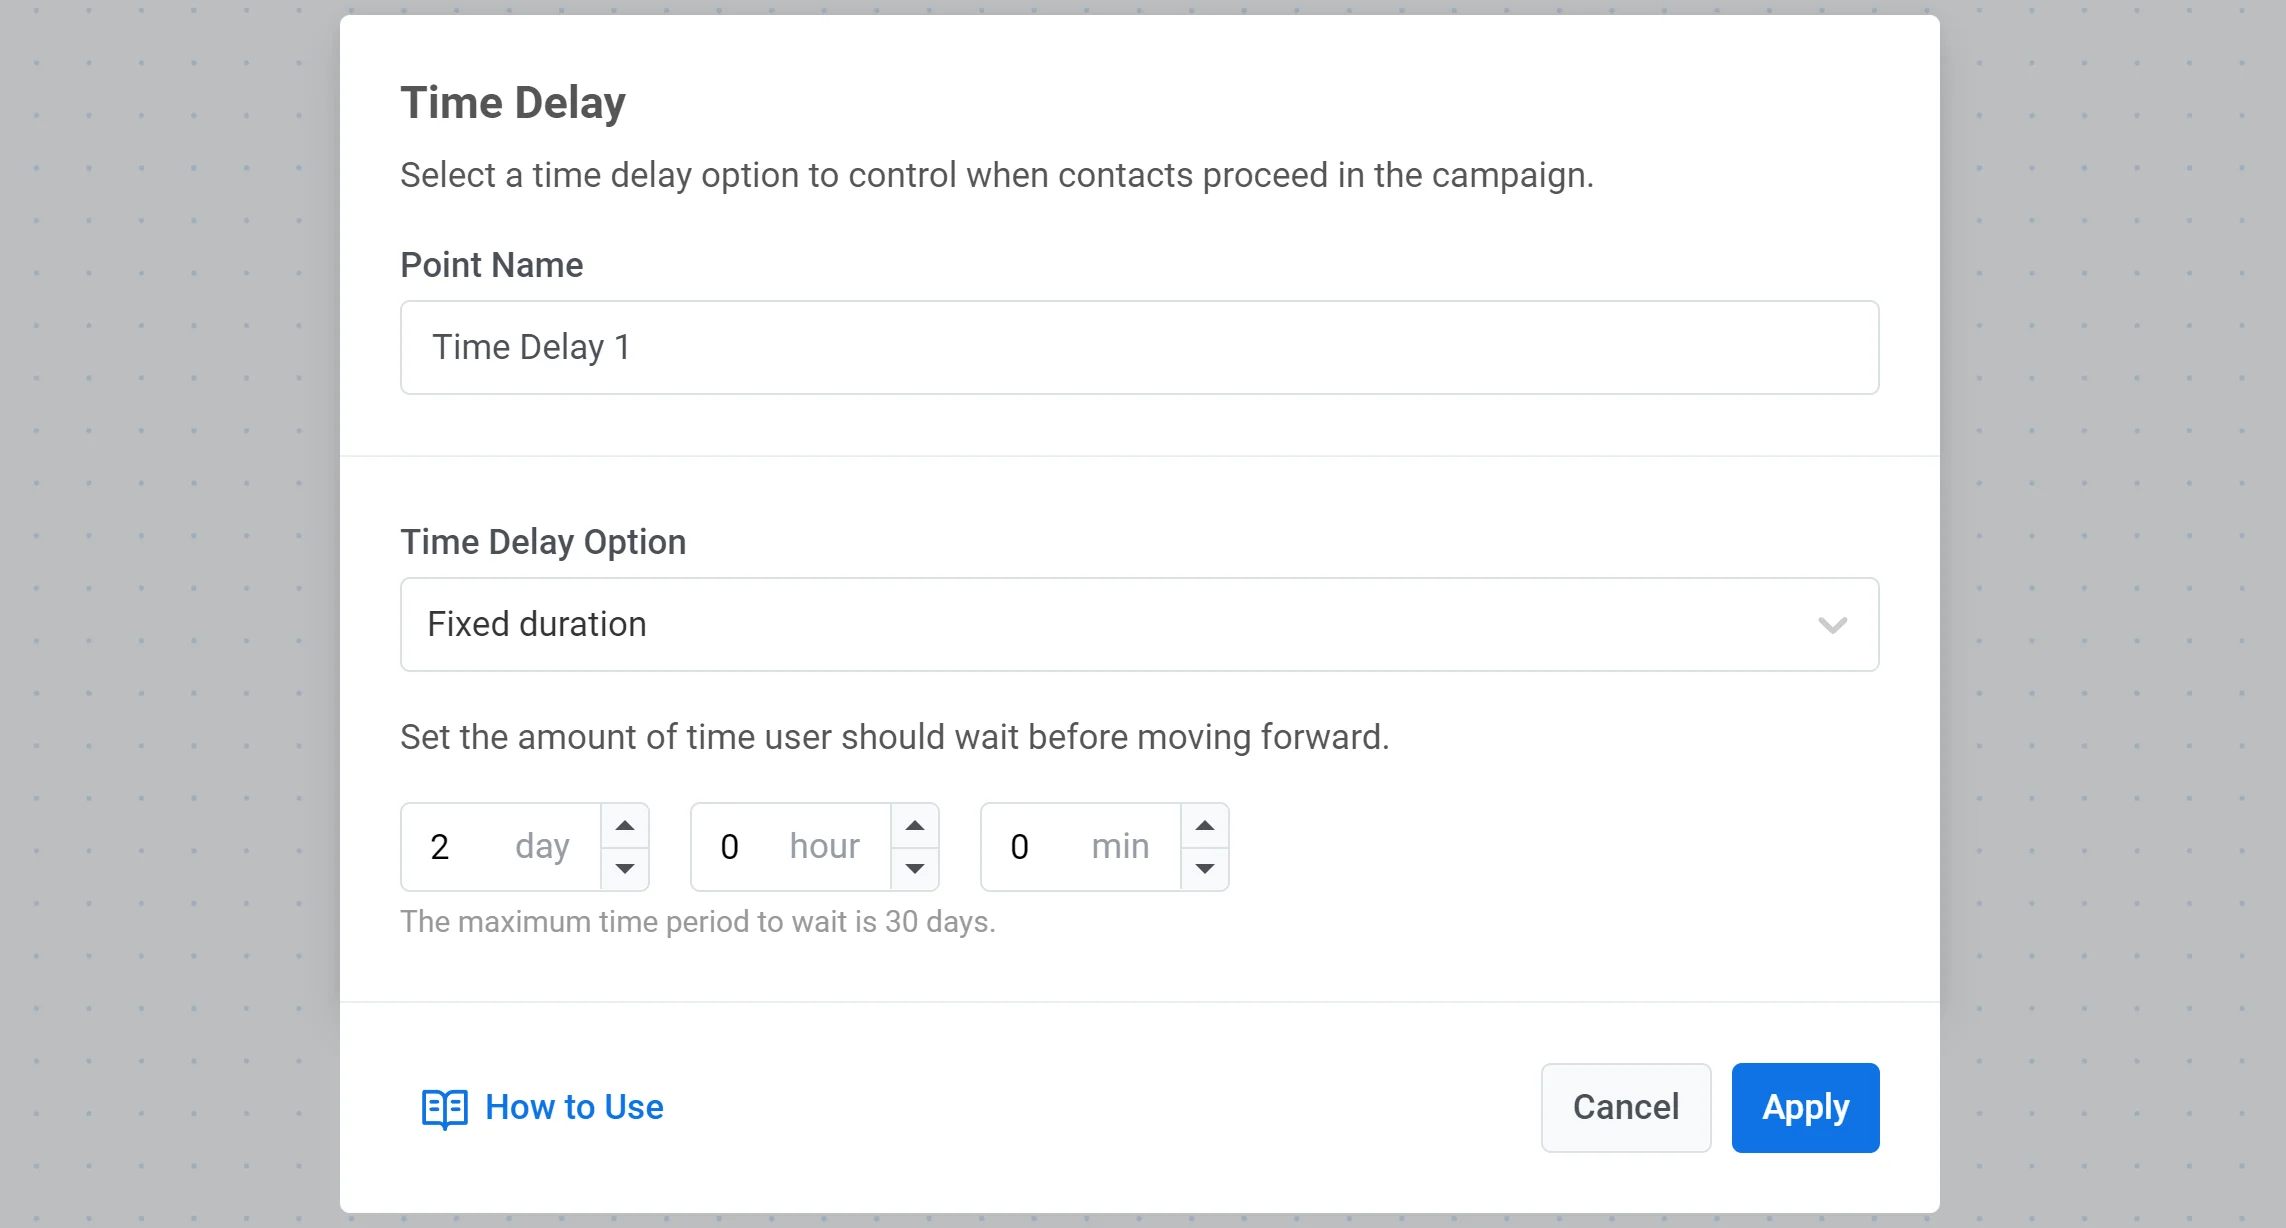
### Fixed duration
When set to a fixed period, the Time Delay element lets users continue their journey only when the specified amount of time passes.
For example, if a delay is set to 8 hours, a user who reaches this journey element will wait for 8 hours before moving to the next step.
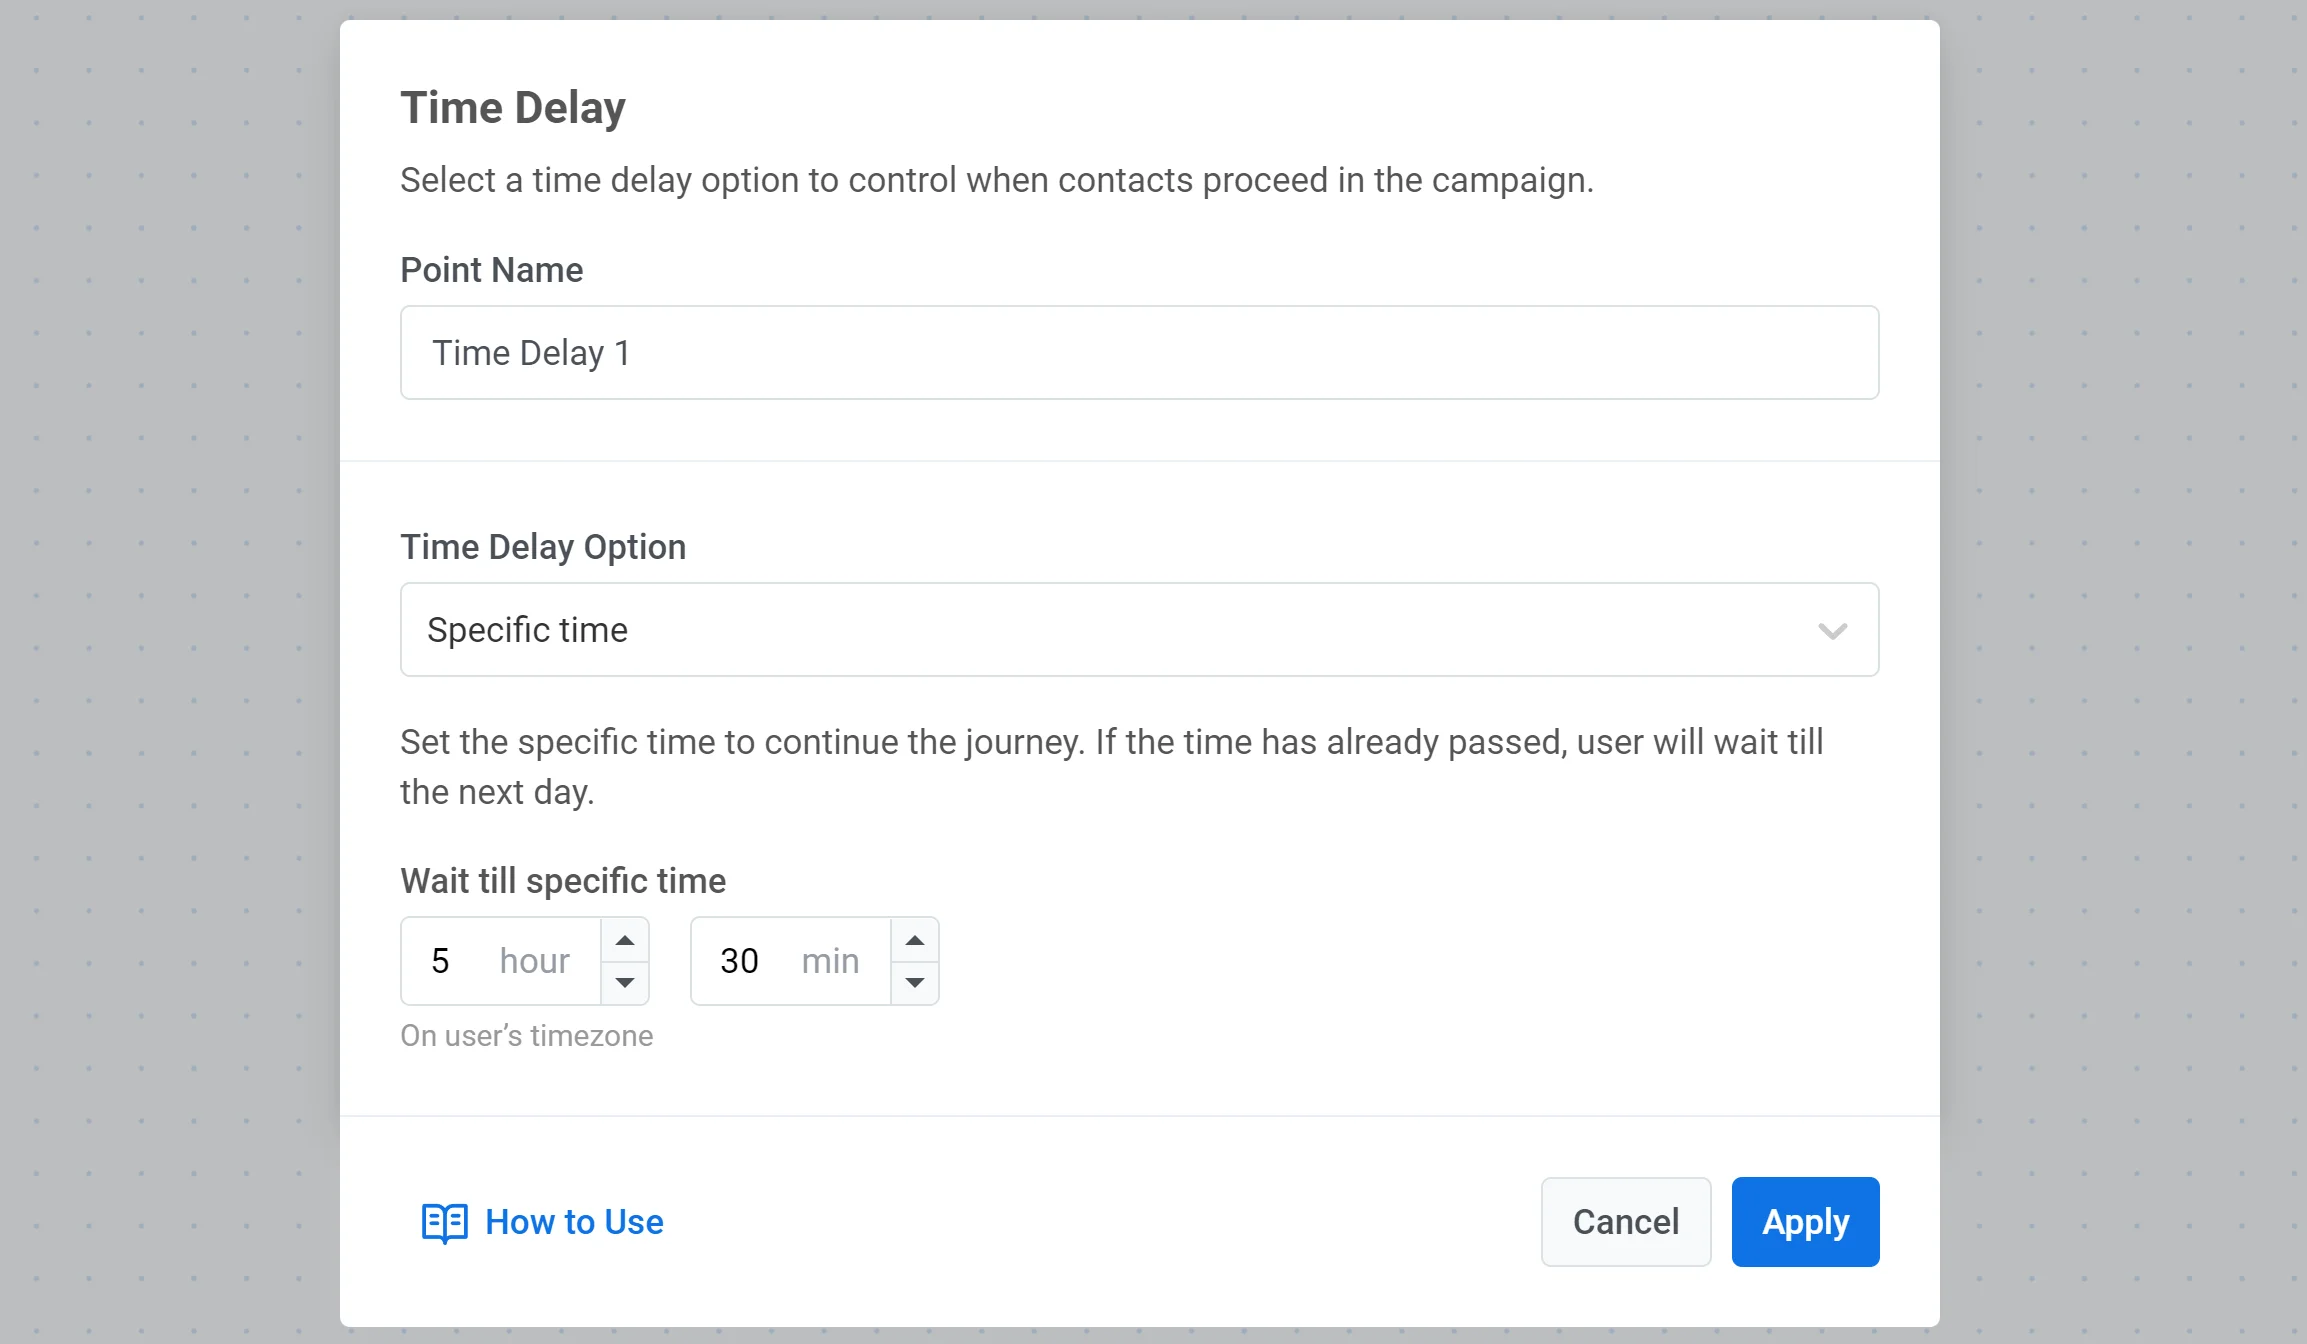
### Specific time
You can set an exact time for users to move forward. Users who reach the delay element will proceed at the specified time.
For example, if a user gets to a delay element early in the morning and you have set the delay to wait until 5:30 PM, those users will proceed to the next journey point at 5:30 PM according to their device's timezone.
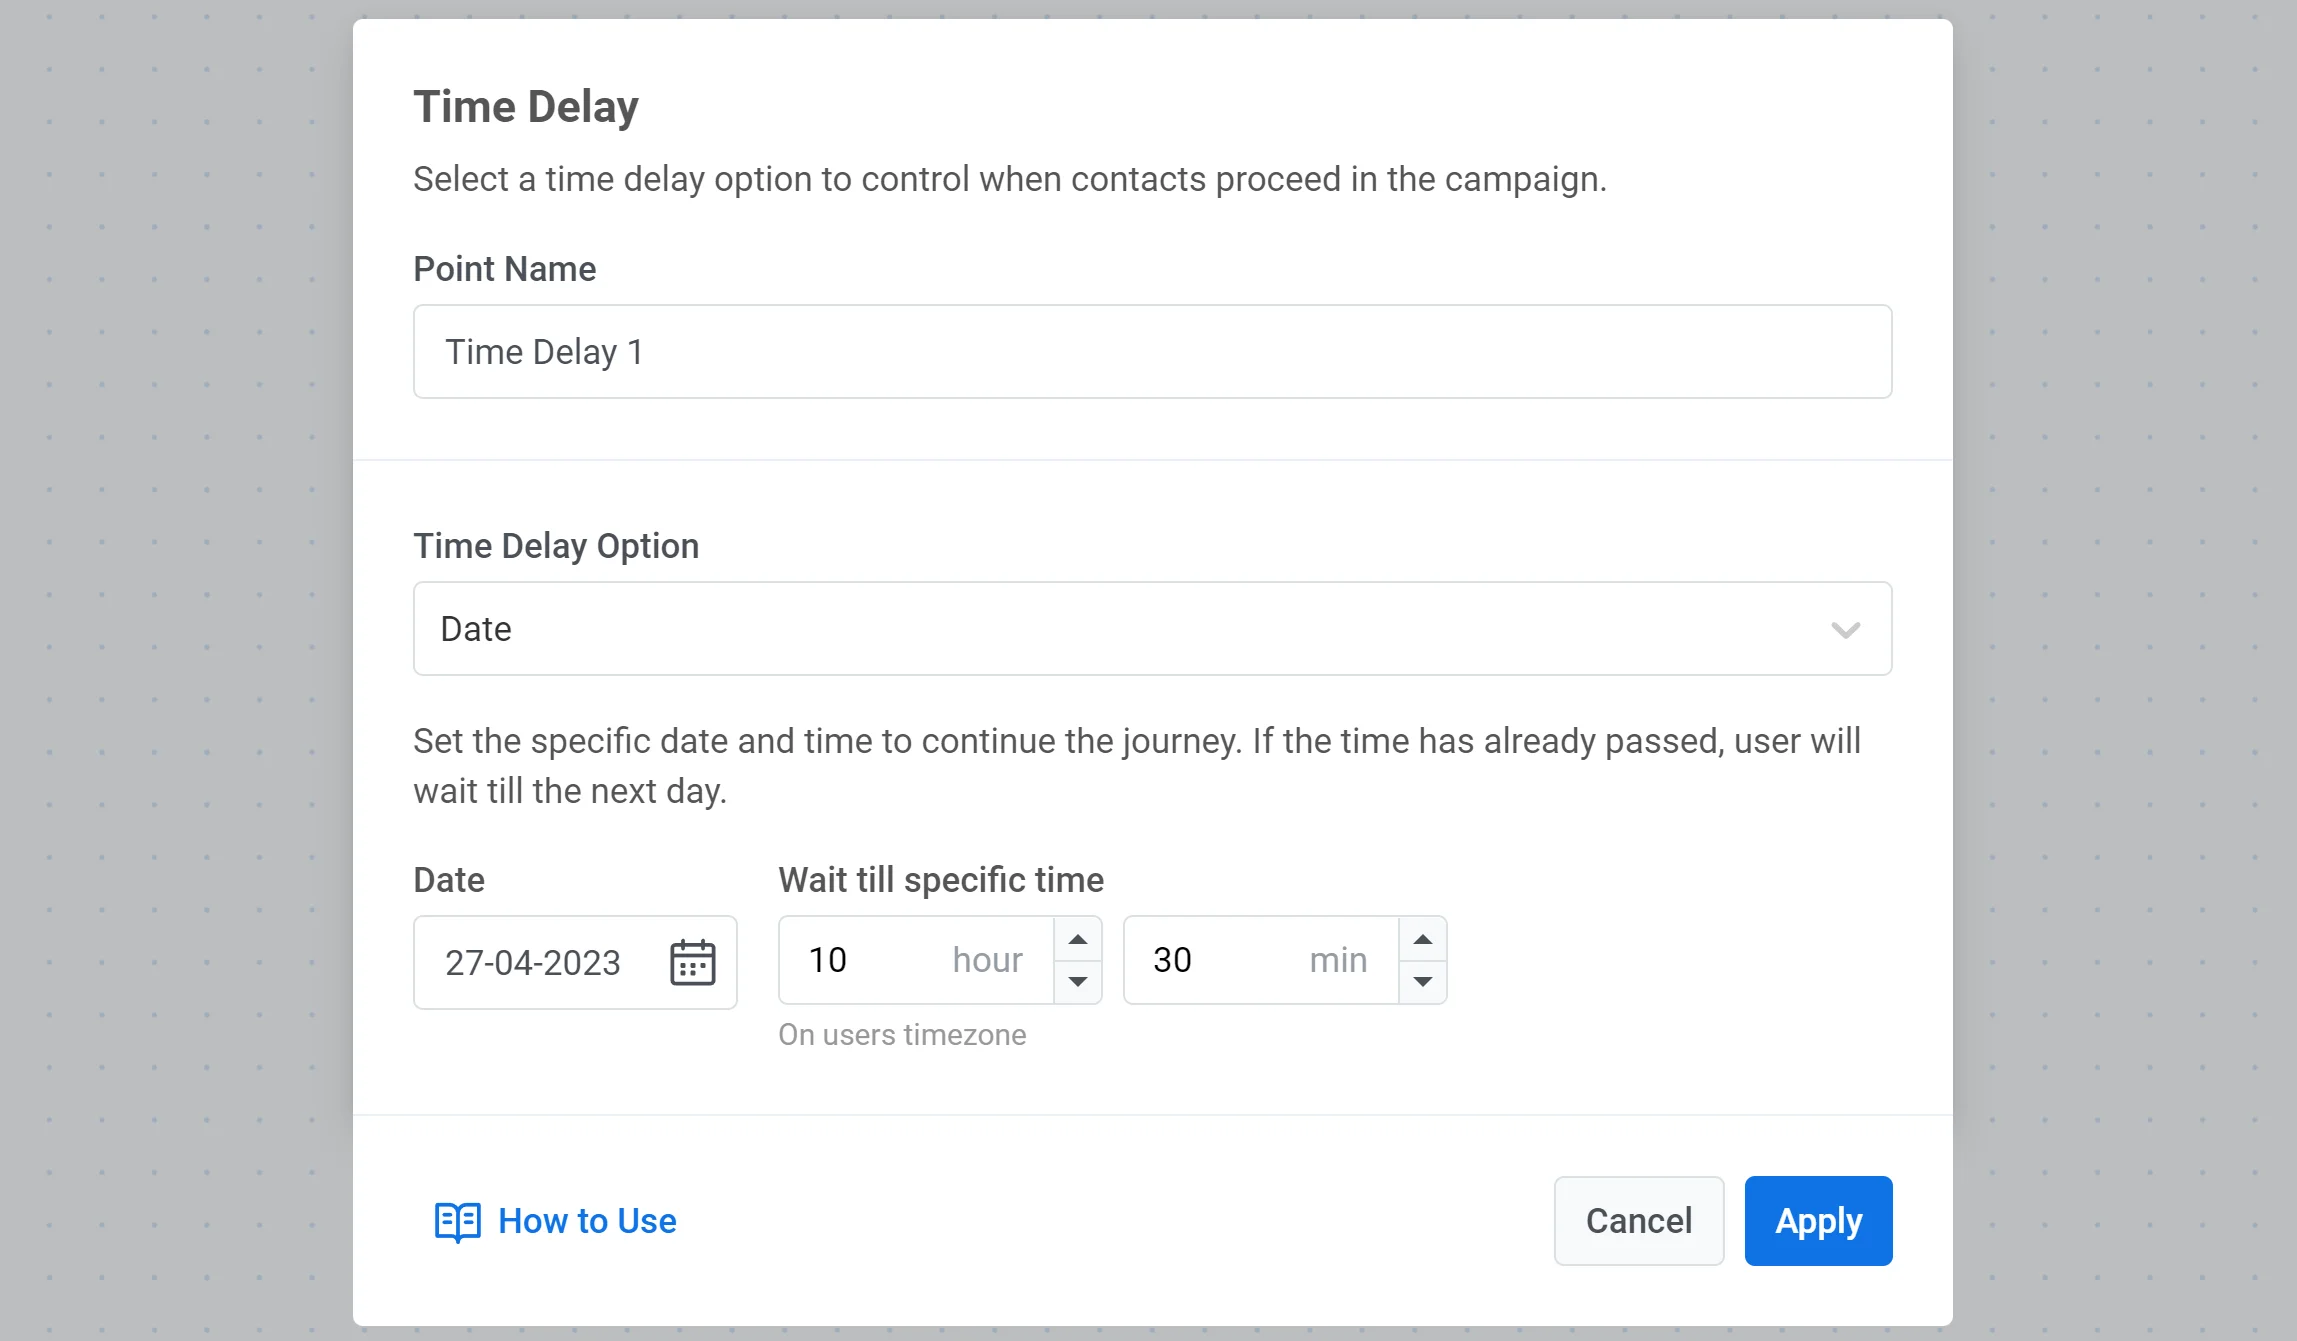
### Date
If you want to set up a one-time campaign on a specific date (for example, send a Black Friday notification), select a particular date and time to continue the journey.
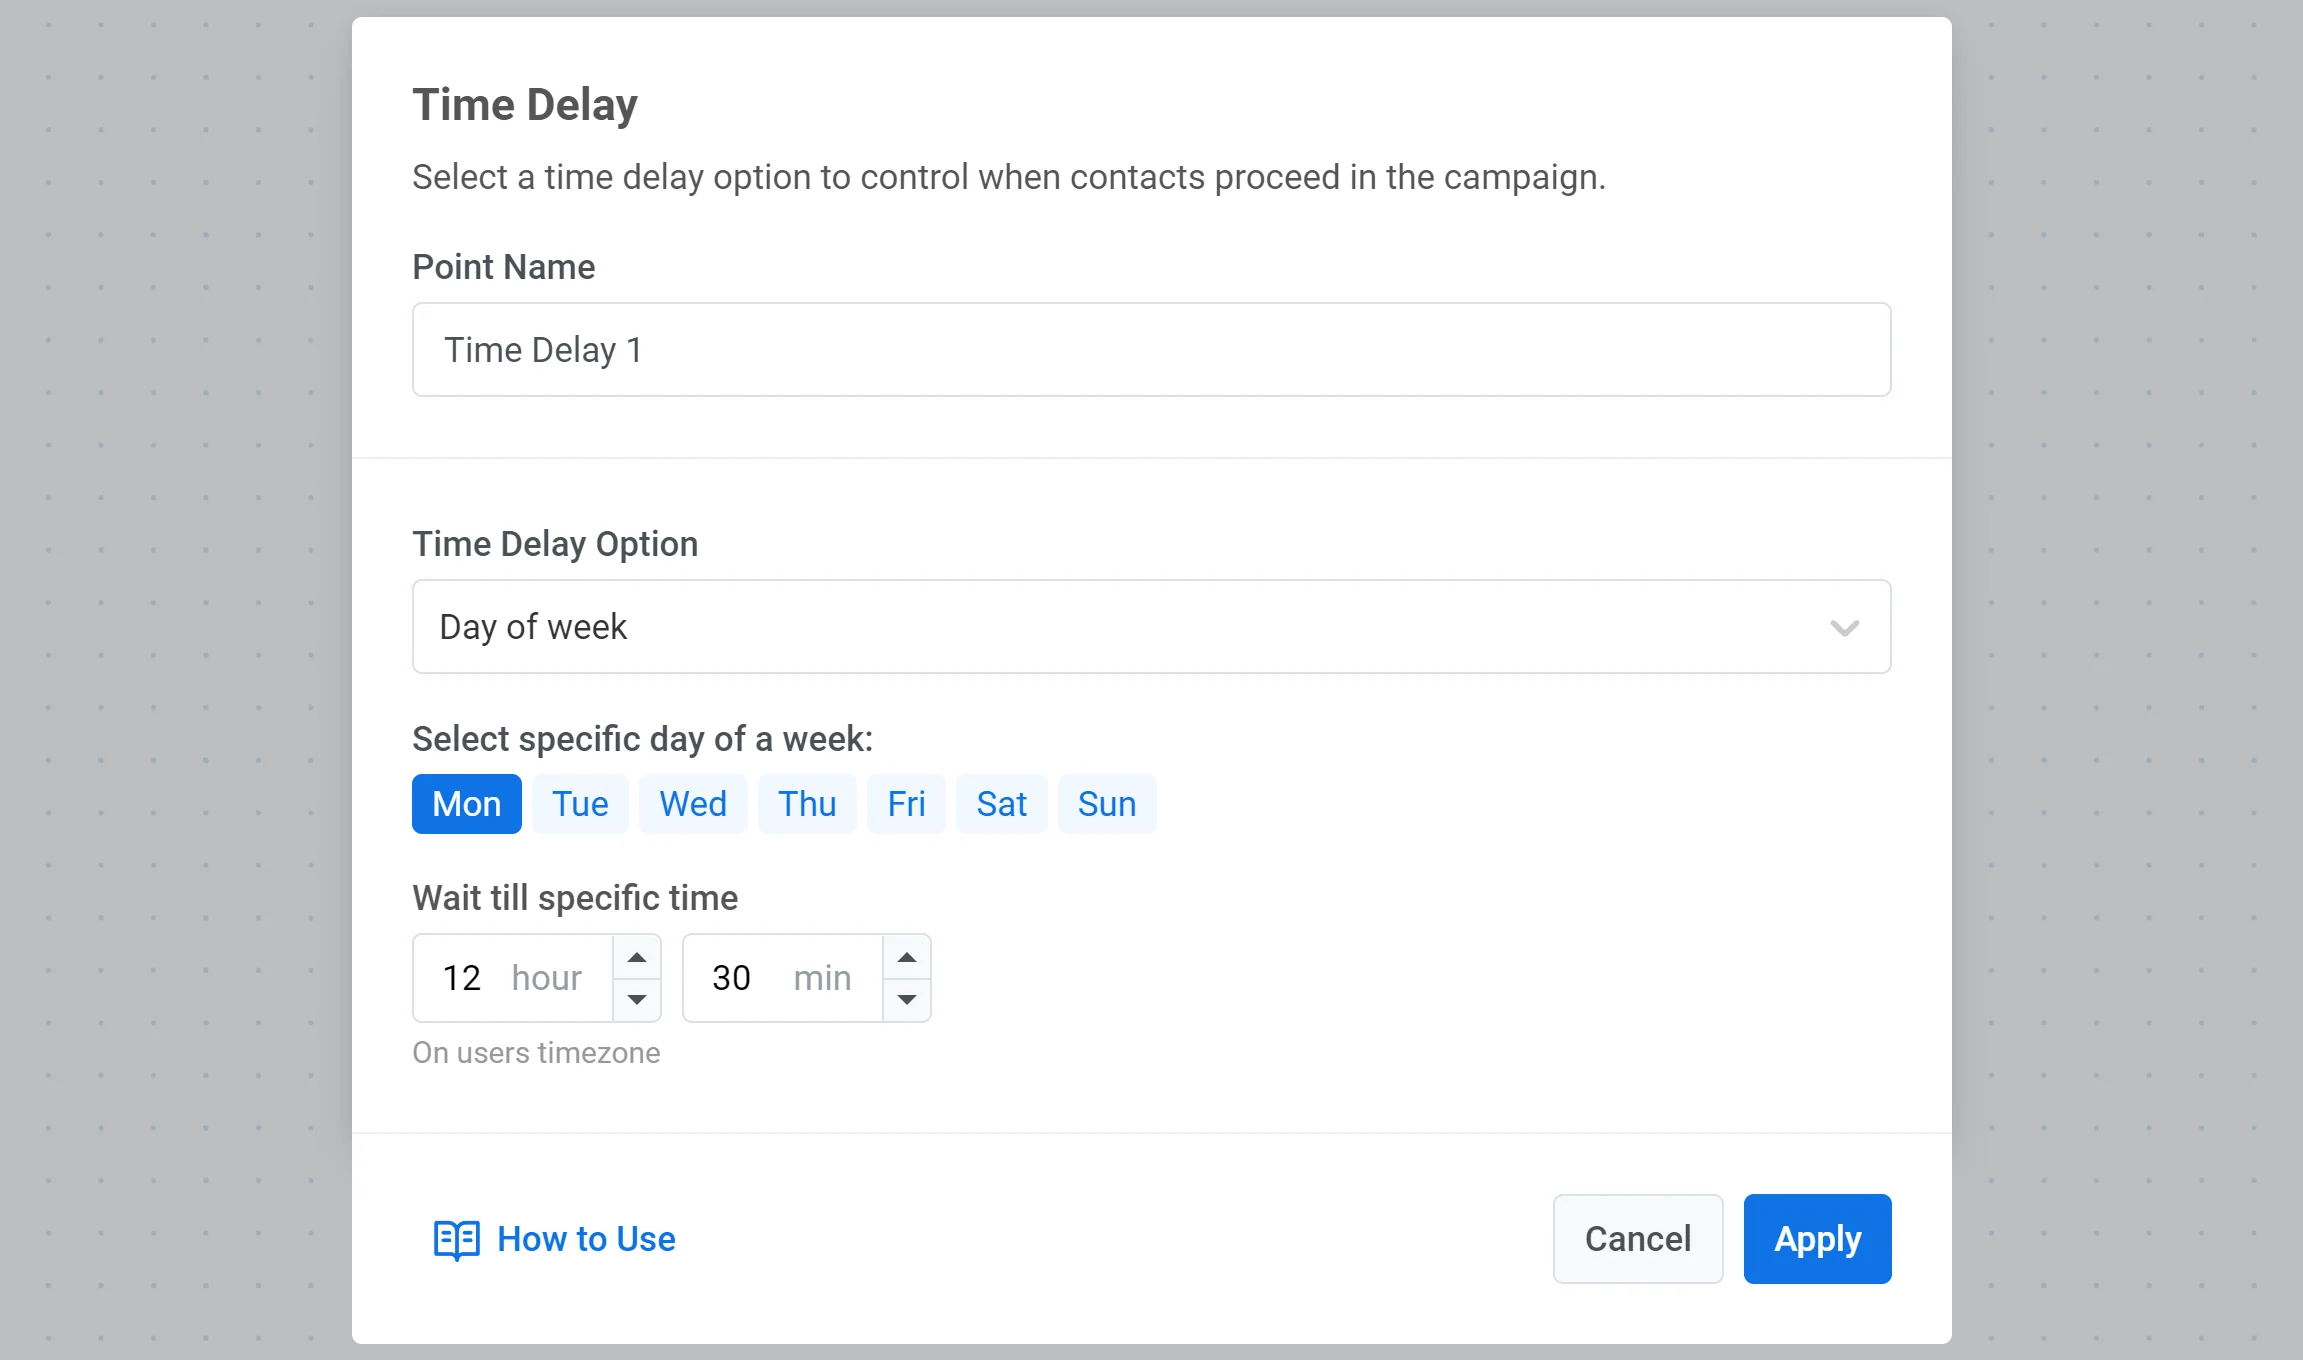
### Day of week
If you want the user to move to the next journey point only on a specific day of the week, select the **Day of week** option and set the desired day and time.
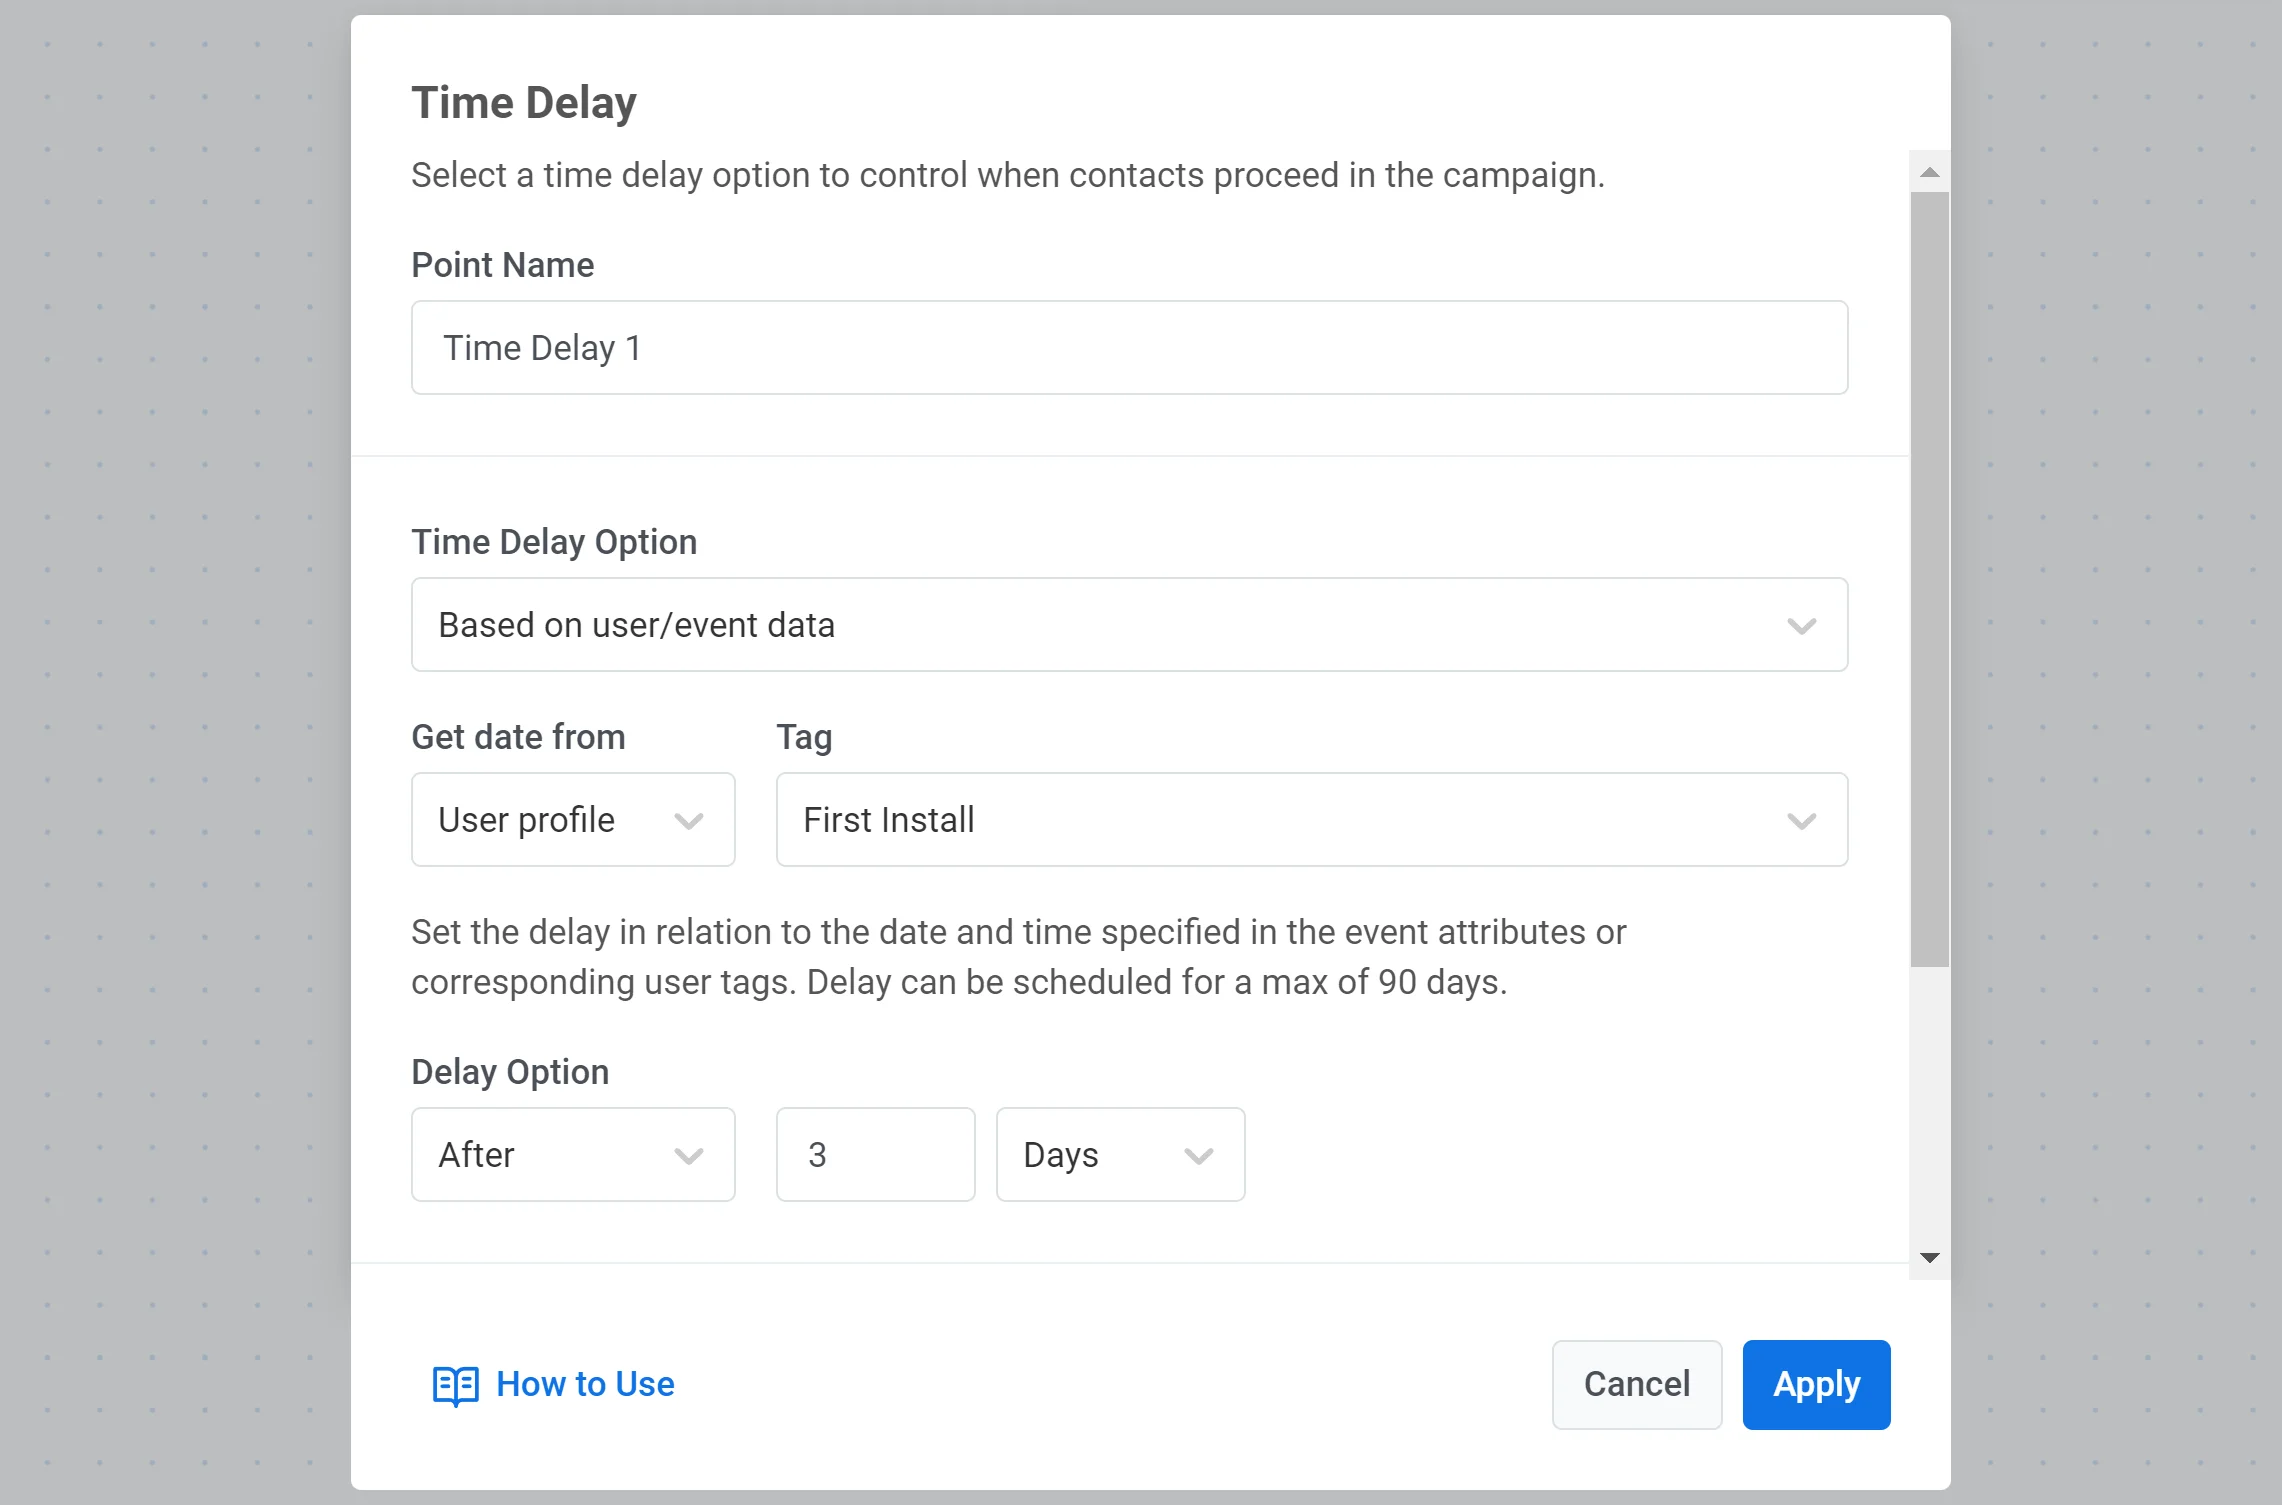
### Delay based on user or event data
Use this option when the wait time should come from a Tag, an Event attribute, or a value mapped from a [**Webhook**](#use-a-date-from-a-webhook-response) response.
1. In **Time delay option**, select **Based on user/event data**.
2. Under **Get date from**, select **User profile** to use a Tag, or **Event** to use an event attribute or a value from a webhook response.
3. If you selected **User profile**, choose the Tag that contains the date.
4. If you selected **Event**, choose the event and the attribute that contains the date. For webhook-mapped values, see [Use a date from a webhook response](#use-a-date-from-a-webhook-response) below.
5. Set the offset: **Before**, **After**, or **On** the date, then enter the number of days.
#### Use a date from a webhook response
If a [**Webhook**](/product/customer-journey/journey-elements/channels/webhook/#map-webhook-response-data-to-variables) element earlier in the journey has **Response mapping** configured, mapped attributes are available under **Event**.
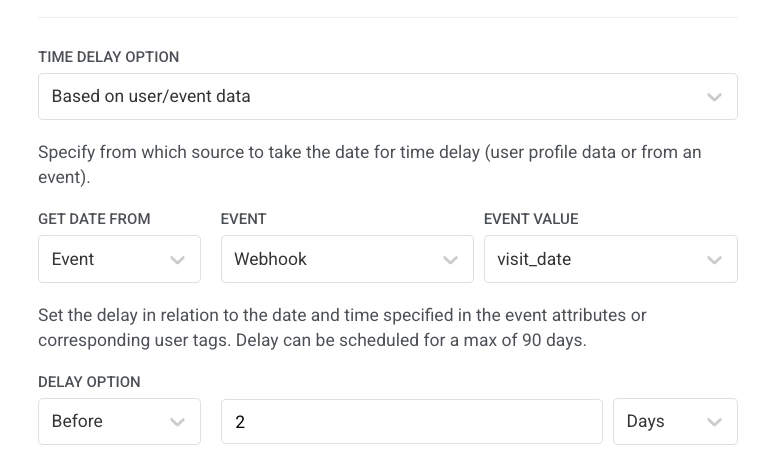
1. In **Time delay option**, select **Based on user/event data**.
2. Under **Get date from**, select **Event**.
3. In **Event**, select the webhook step by the name you gave it (for example, `Get appointment details`).
4. In **Event value**, select the mapped attribute that holds the date (for example, `visit_date`).
5. Set the offset (for example, **Before** `2` **Days**).
The value must follow the same date format rules as Tags and Events (see **Date format requirements** above).
### Split branches when the date is in the past or empty
To let users continue when they don't meet the delay condition, enable **Split to branches if the date's in the past or date is empty**. The flow splits into **In the future** and **In the past**. Use the **In the past** branch for users whose Tag values, Event attributes, or webhook-mapped dates don't match the delay. You can add other elements on that branch (for example, another **Time Delay**, **Condition split**, **Wait for Trigger**, or a message).
For example, you set a reminder 2 days before an appointment using the appointment event's date attribute. If the appointment is tomorrow, the user won't meet the 2 days before condition and exits unless you enable branch splitting.
### When appointment dates change mid-journey
If a date in a Tag or Event attribute changes while the user is already in the journey, **Time Delay** settings stay as they were when the user reached the element.
Consider creating several journeys when users often reschedule appointments, deliveries, or similar events.
For example, start a journey on the `AppointmentCreated` event with a DateTime attribute (a Reminder journey). Set a push reminder 2 days before the visit using **Based on user/event data**. To handle reschedules:
1. Create an `AppointmentChanged` event.
2. In the Reminder journey, set `AppointmentChanged` as a conversion goal so users who reschedule exit the journey.
3. Create a new journey that starts on `AppointmentChanged` to remind users who updated their visit date and time.
 ### Specific time
You can set an exact time for users to move forward. Users who reach the delay element will proceed at the specified time.
For example, if a user gets to a delay element early in the morning and you have set the delay to wait until 5:30 PM, those users will proceed to the next journey point at 5:30 PM according to their device's timezone.
### Specific time
You can set an exact time for users to move forward. Users who reach the delay element will proceed at the specified time.
For example, if a user gets to a delay element early in the morning and you have set the delay to wait until 5:30 PM, those users will proceed to the next journey point at 5:30 PM according to their device's timezone.
 ### Date
If you want to set up a one-time campaign on a specific date (for example, send a Black Friday notification), select a particular date and time to continue the journey.
### Date
If you want to set up a one-time campaign on a specific date (for example, send a Black Friday notification), select a particular date and time to continue the journey.
 ### Day of week
If you want the user to move to the next journey point only on a specific day of the week, select the **Day of week** option and set the desired day and time.
### Day of week
If you want the user to move to the next journey point only on a specific day of the week, select the **Day of week** option and set the desired day and time.
 ### Delay based on user or event data
Use this option when the wait time should come from a Tag, an Event attribute, or a value mapped from a [**Webhook**](#use-a-date-from-a-webhook-response) response.
1. In **Time delay option**, select **Based on user/event data**.
2. Under **Get date from**, select **User profile** to use a Tag, or **Event** to use an event attribute or a value from a webhook response.
3. If you selected **User profile**, choose the Tag that contains the date.
4. If you selected **Event**, choose the event and the attribute that contains the date. For webhook-mapped values, see [Use a date from a webhook response](#use-a-date-from-a-webhook-response) below.
5. Set the offset: **Before**, **After**, or **On** the date, then enter the number of days.
### Delay based on user or event data
Use this option when the wait time should come from a Tag, an Event attribute, or a value mapped from a [**Webhook**](#use-a-date-from-a-webhook-response) response.
1. In **Time delay option**, select **Based on user/event data**.
2. Under **Get date from**, select **User profile** to use a Tag, or **Event** to use an event attribute or a value from a webhook response.
3. If you selected **User profile**, choose the Tag that contains the date.
4. If you selected **Event**, choose the event and the attribute that contains the date. For webhook-mapped values, see [Use a date from a webhook response](#use-a-date-from-a-webhook-response) below.
5. Set the offset: **Before**, **After**, or **On** the date, then enter the number of days.
 #### Use a date from a webhook response
If a [**Webhook**](/product/customer-journey/journey-elements/channels/webhook/#map-webhook-response-data-to-variables) element earlier in the journey has **Response mapping** configured, mapped attributes are available under **Event**.
1. In **Time delay option**, select **Based on user/event data**.
2. Under **Get date from**, select **Event**.
3. In **Event**, select the webhook step by the name you gave it (for example, `Get appointment details`).
4. In **Event value**, select the mapped attribute that holds the date (for example, `visit_date`).
5. Set the offset (for example, **Before** `2` **Days**).
#### Use a date from a webhook response
If a [**Webhook**](/product/customer-journey/journey-elements/channels/webhook/#map-webhook-response-data-to-variables) element earlier in the journey has **Response mapping** configured, mapped attributes are available under **Event**.
1. In **Time delay option**, select **Based on user/event data**.
2. Under **Get date from**, select **Event**.
3. In **Event**, select the webhook step by the name you gave it (for example, `Get appointment details`).
4. In **Event value**, select the mapped attribute that holds the date (for example, `visit_date`).
5. Set the offset (for example, **Before** `2` **Days**).
 The value must follow the same date format rules as Tags and Events (see **Date format requirements** above).
### Split branches when the date is in the past or empty
To let users continue when they don't meet the delay condition, enable **Split to branches if the date's in the past or date is empty**. The flow splits into **In the future** and **In the past**. Use the **In the past** branch for users whose Tag values, Event attributes, or webhook-mapped dates don't match the delay. You can add other elements on that branch (for example, another **Time Delay**, **Condition split**, **Wait for Trigger**, or a message).
For example, you set a reminder 2 days before an appointment using the appointment event's date attribute. If the appointment is tomorrow, the user won't meet the 2 days before condition and exits unless you enable branch splitting.
### When appointment dates change mid-journey
If a date in a Tag or Event attribute changes while the user is already in the journey, **Time Delay** settings stay as they were when the user reached the element.
Consider creating several journeys when users often reschedule appointments, deliveries, or similar events.
For example, start a journey on the `AppointmentCreated` event with a DateTime attribute (a Reminder journey). Set a push reminder 2 days before the visit using **Based on user/event data**. To handle reschedules:
1. Create an `AppointmentChanged` event.
2. In the Reminder journey, set `AppointmentChanged` as a conversion goal so users who reschedule exit the journey.
3. Create a new journey that starts on `AppointmentChanged` to remind users who updated their visit date and time.
The value must follow the same date format rules as Tags and Events (see **Date format requirements** above).
### Split branches when the date is in the past or empty
To let users continue when they don't meet the delay condition, enable **Split to branches if the date's in the past or date is empty**. The flow splits into **In the future** and **In the past**. Use the **In the past** branch for users whose Tag values, Event attributes, or webhook-mapped dates don't match the delay. You can add other elements on that branch (for example, another **Time Delay**, **Condition split**, **Wait for Trigger**, or a message).
For example, you set a reminder 2 days before an appointment using the appointment event's date attribute. If the appointment is tomorrow, the user won't meet the 2 days before condition and exits unless you enable branch splitting.
### When appointment dates change mid-journey
If a date in a Tag or Event attribute changes while the user is already in the journey, **Time Delay** settings stay as they were when the user reached the element.
Consider creating several journeys when users often reschedule appointments, deliveries, or similar events.
For example, start a journey on the `AppointmentCreated` event with a DateTime attribute (a Reminder journey). Set a push reminder 2 days before the visit using **Based on user/event data**. To handle reschedules:
1. Create an `AppointmentChanged` event.
2. In the Reminder journey, set `AppointmentChanged` as a conversion goal so users who reschedule exit the journey.
3. Create a new journey that starts on `AppointmentChanged` to remind users who updated their visit date and time.