# Prepare your project
Before creating your first campaign with Pushwoosh Customer Journey Builder:
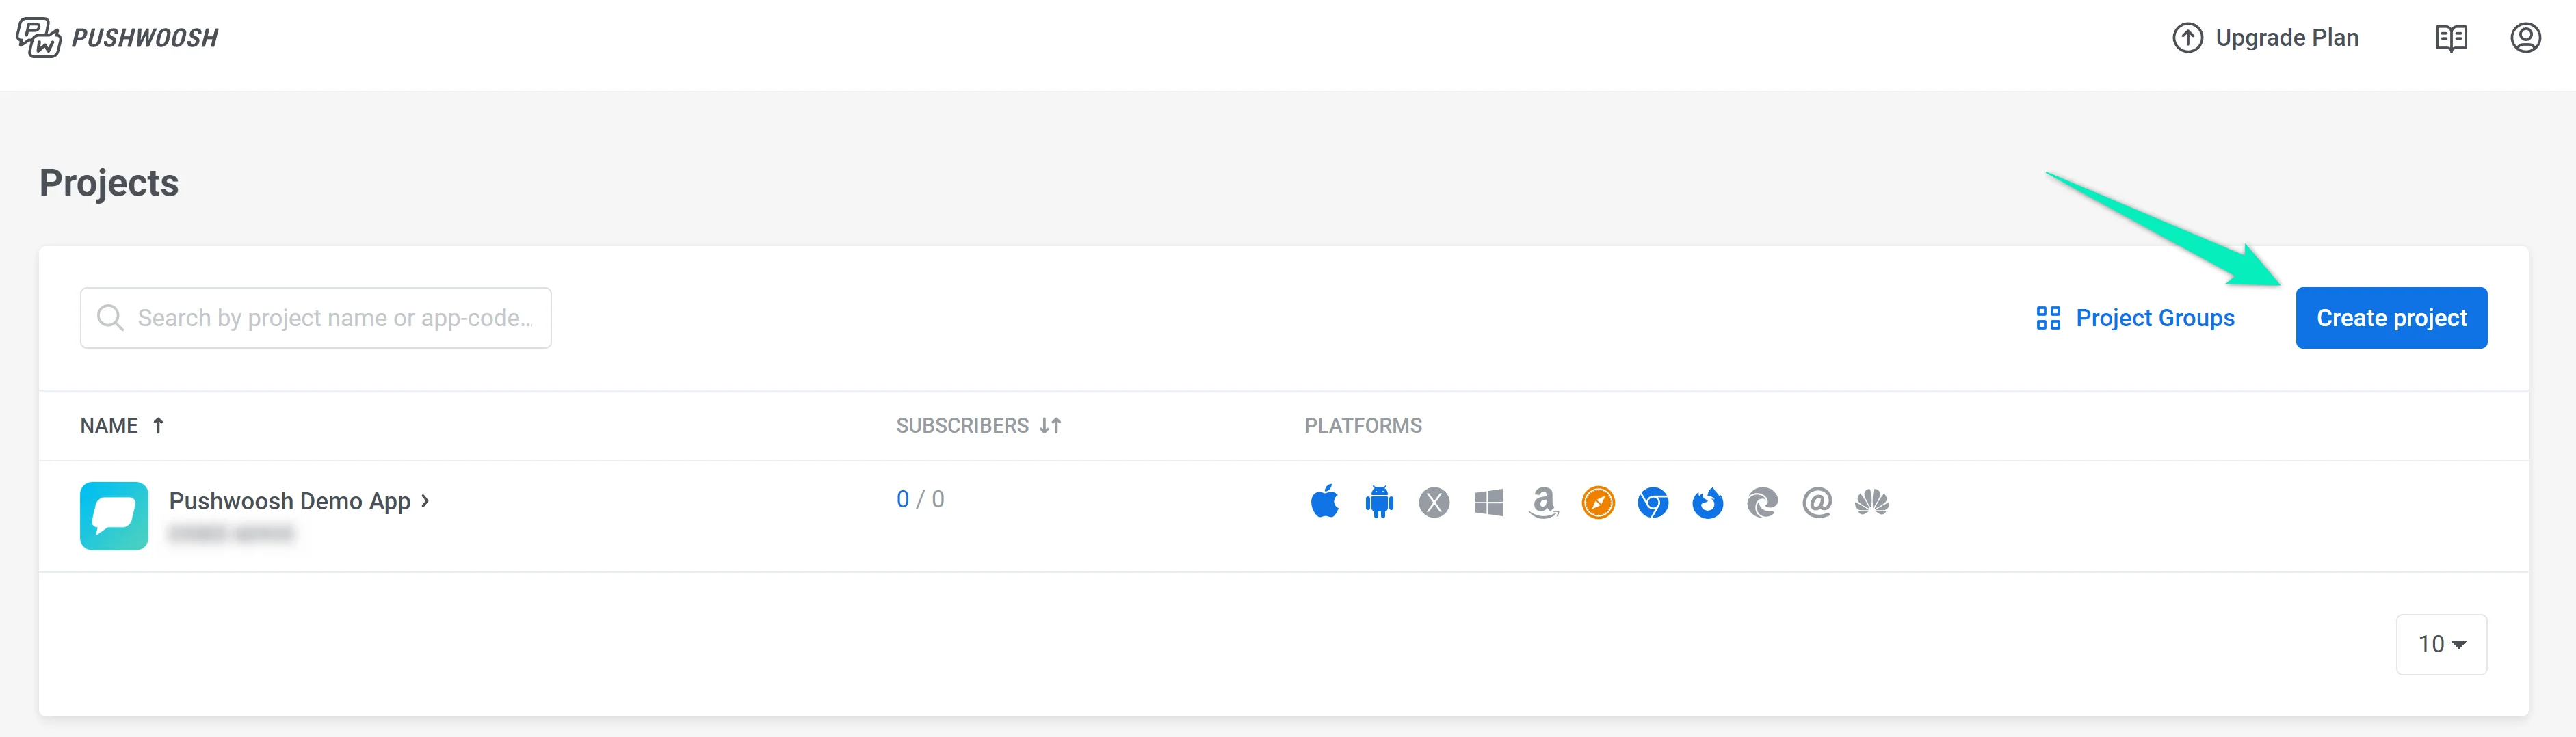
1. Create a project and configure platforms in your Pushwoosh account.
2. Integrate the Pushwoosh SDK into your app or website.
3. Make sure users can subscribe to your notifications.
4. Prepare segmentation, content, and anything else you may need to launch journeys.
Below you will find detailed instructions for each of these steps.
### Create a project and configure platforms (if necessary)
#### Creating a project
Create a project in your Pushwoosh account using [this instruction](/product/first-steps/start-with-your-project/create-your-project). You can configure several platforms within one project. For example, if you select _Mobile push_ for start configuration, you can also set up Web and Email platforms at any time.
#### Configuring platforms
Configure the platforms to which you want to send notifications:
* To configure mobile platforms, follow the [iOS configuration](/developer/first-steps/connect-messaging-services/ios-configuration) and [Android configuration](/developer/first-steps/connect-messaging-services/android-configuration/) guides.
* To configure web push notifications, refer to the [Web push configuration](/developer/first-steps/connect-messaging-services/web-push-configuration/) guide.
* If you want to send emails, verify your email address and domain by following the [Email configuration](/product/first-steps/start-with-your-project/configure-platforms/email-verification) guide.
* To send WhatsApp messages, ensure the [WhatsApp platform](/product/first-steps/start-with-your-project/configure-platforms/whatsapp-configuration) is properly configured.
* To send SMS, connect your SMS provider by following the [SMS configuration](/product/first-steps/start-with-your-project/configure-platforms/sms-configuration) guide.
[More about configuring platforms](/product/first-steps/start-with-your-project/configure-platforms)
### Integrate the Pushwoosh SDK
Make sure the appropriate SDK is integrated into your app or website:
* [iOS SDK](/developer/pushwoosh-sdk/ios-sdk)
* [Android SDK](/developer/pushwoosh-sdk/android-sdk)
* [Web SDK](/developer/pushwoosh-sdk/web-push-notifications/web-push-sdk-30/)
[Learn more about Pushwoosh SDK](/developer/pushwoosh-sdk/pushwoosh-sdk-overview)
### Subscribe users
Users should be able to subscribe to your app's or site's notifications — otherwise, you won't be able to send them messages.
[Learn more](/product/first-steps/start-with-your-project/subscribe-users)
### Prepare segmentation and content
Depending on the elements you plan to use, prepare **Events**, **Tags**, **Segments**, **Push Presets**, **Email Presets**, and **Rich Media** in your project.
#### Events
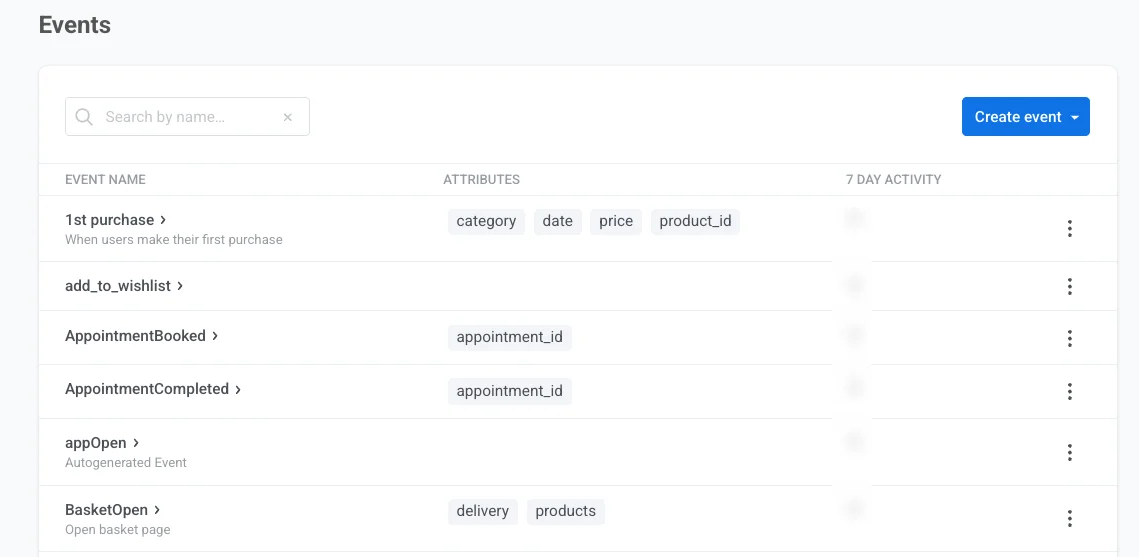
**Events** are actions users perform in the app or on the website. They are recorded by the Pushwoosh SDK and can trigger various behavior-based communications. Each configured Event can be used in the following elements of a journey:
* [Trigger-based Entry](/product/customer-journey/journey-elements#trigger-based-entry)
* [Wait for Trigger](/product/customer-journey/journey-elements#wait-for-trigger)
* [Conversion Goals](/product/customer-journey/journey-settings#conversion-goals)
[**More about Events**](/product/audience-data-and-segmentation/events)
#### Tags and Segments
**Tags** contain data that you associate with a particular user or device: username, ID, city, preferences, etc. Using Tags, you can create Segments and [update user profiles](/product/customer-journey/journey-elements#update-user-profile) in a journey.
[**More about Tags**](/product/audience-data-and-segmentation/user-data-tags/tags/)
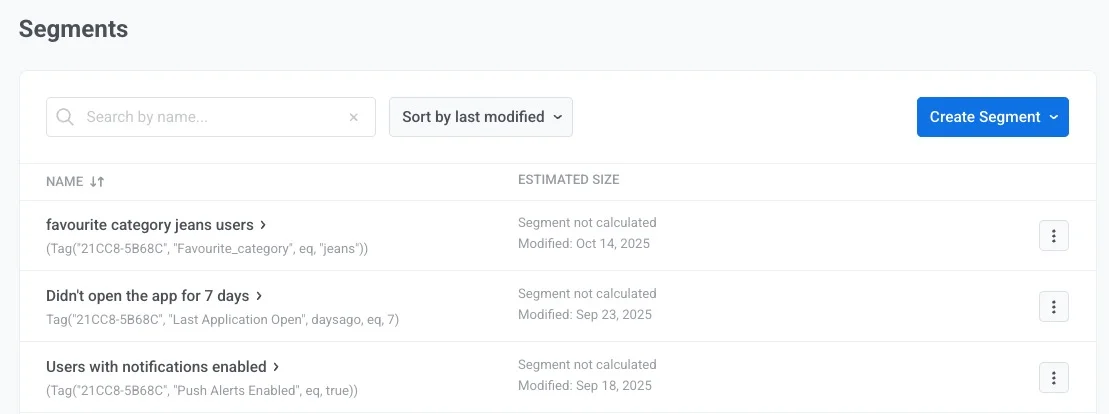
**Segments** (previously called Filters) are groups of subscribers complying with the conditions you specify. You can build Segments based on Tag values, triggered Events, or both. You can also use automatic [RFM Segmentation](/product/audience-data-and-segmentation/segmentation/rfm-segmentation). Segments will help you target specific users with specific messages increasing communication relevance and thus boosting open rates.
Segments can be used in the following elements of a journey:
* [Audience-based Entry](/product/customer-journey/journey-elements/#audience-based-entry)
* [Condition split](/product/customer-journey/journey-elements/flow-controls/segment-split/)
[**More about Segments**](/product/audience-data-and-segmentation/segmentation/)
#### Push & Email content
Pushwoosh empowers you to create reusable **push content**. You can craft the text and configure settings using our push content editor and then either send the push notification immediately or save it for future campaigns. [Learn more about creating push content](/product/content/push-presets)
You can craft your **email content** using the editor that best fits your needs:
- The Drag & drop editor, perfect for marketers with no coding skills. [Learn how to create content with the Drag & drop editor](/product/content/email-content/drag-and-drop-email-editor/create-email-content-with-drag-and-drop-editor/).
- The HTML code editor, offering the ability to generate emails using code and granting greater control over email customization. [Learn how to create content with the HTML code editor.](/product/content/email-content/html-code-editor)
#### In-apps (Rich media)
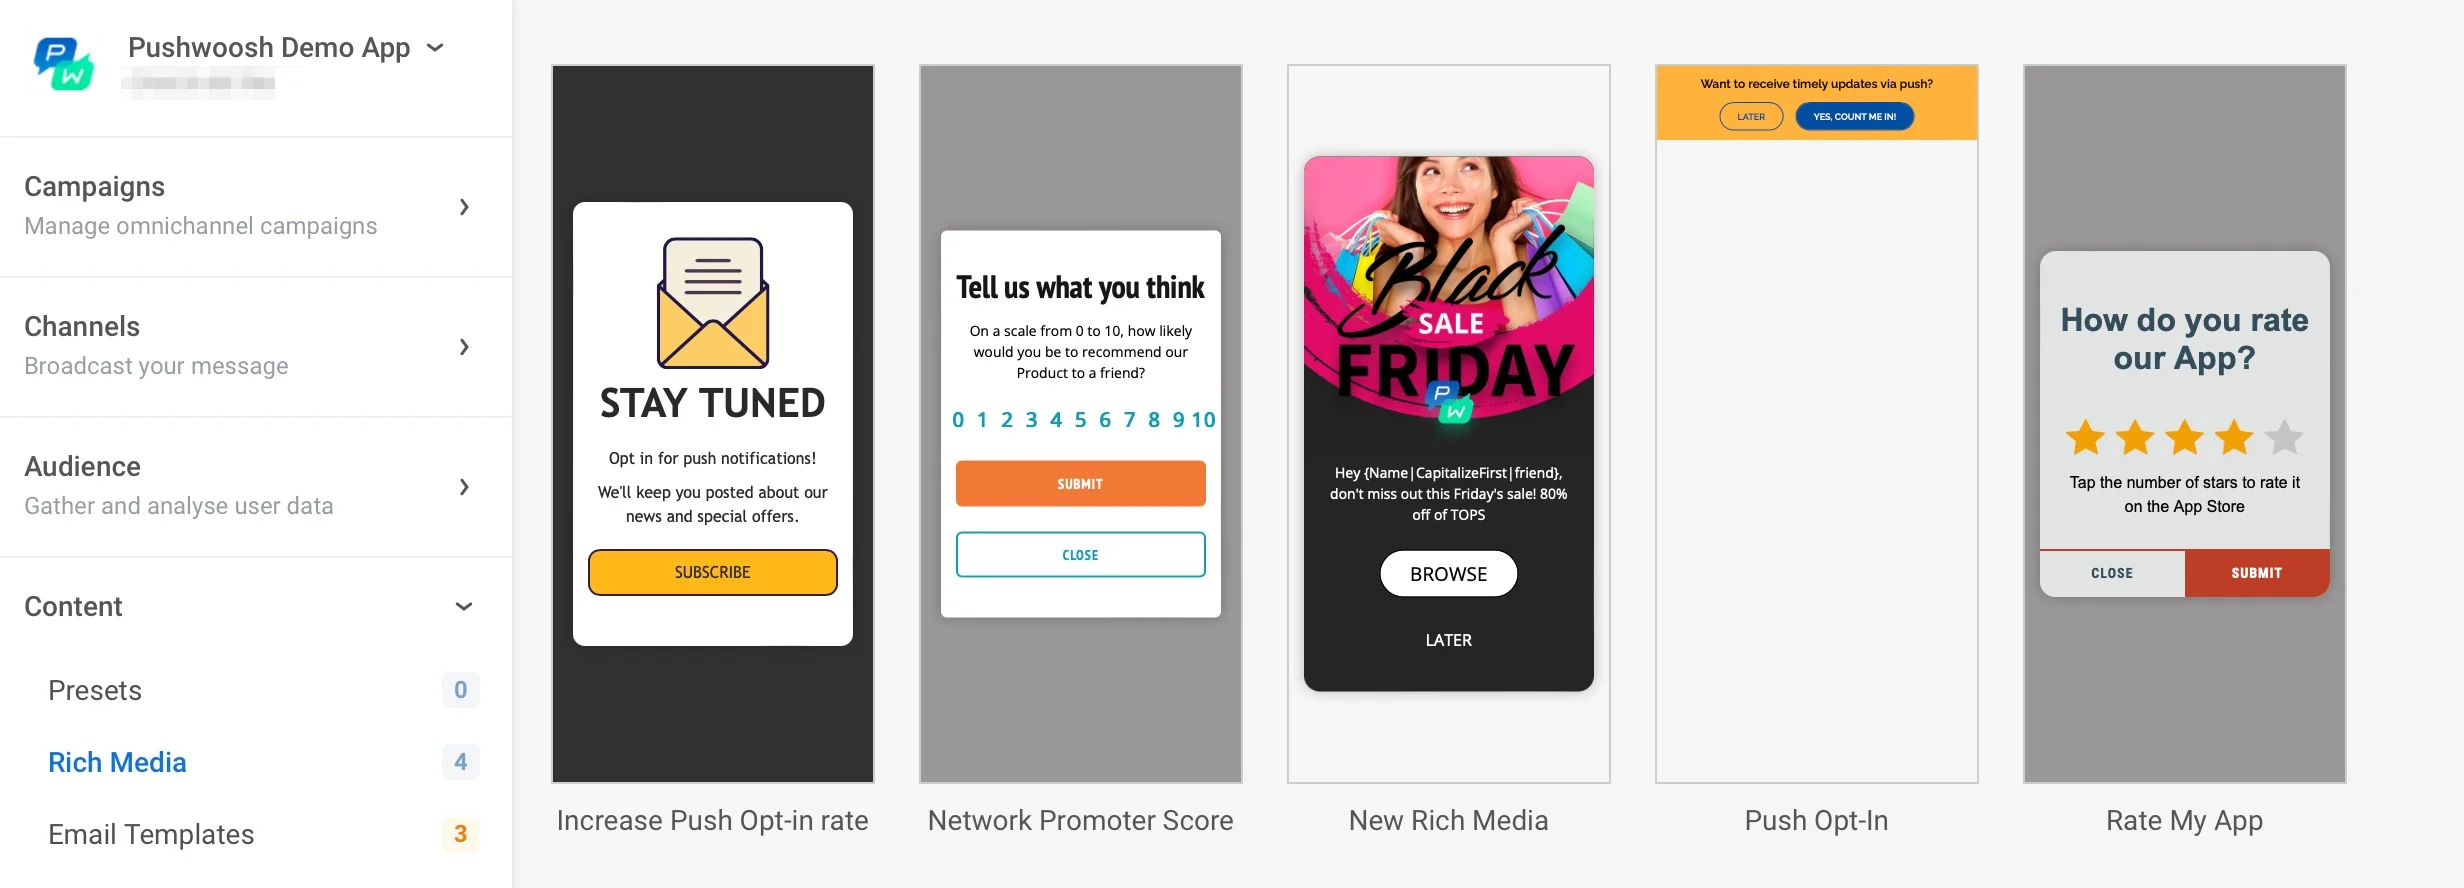
**In-apps (Rich media)** are interactive content pages you can fully customize to suit your business needs and app experience. Pushwoosh provides default in-app templates you can personalize or use as a starting point to create your own.
In-apps are required to [display content pages within your app](/product/messaging-channels/in-apps) to your users.
[**More about in-app messages**](/product/content/in-apps)
### Check if everything is working
Once everything's set up, check whether it works as it is supposed to. There are several options to test sending messages to your app or site subscribers. [Learn more](/product/first-steps/start-with-your-project/test-your-integration)
### Start creating your first journey
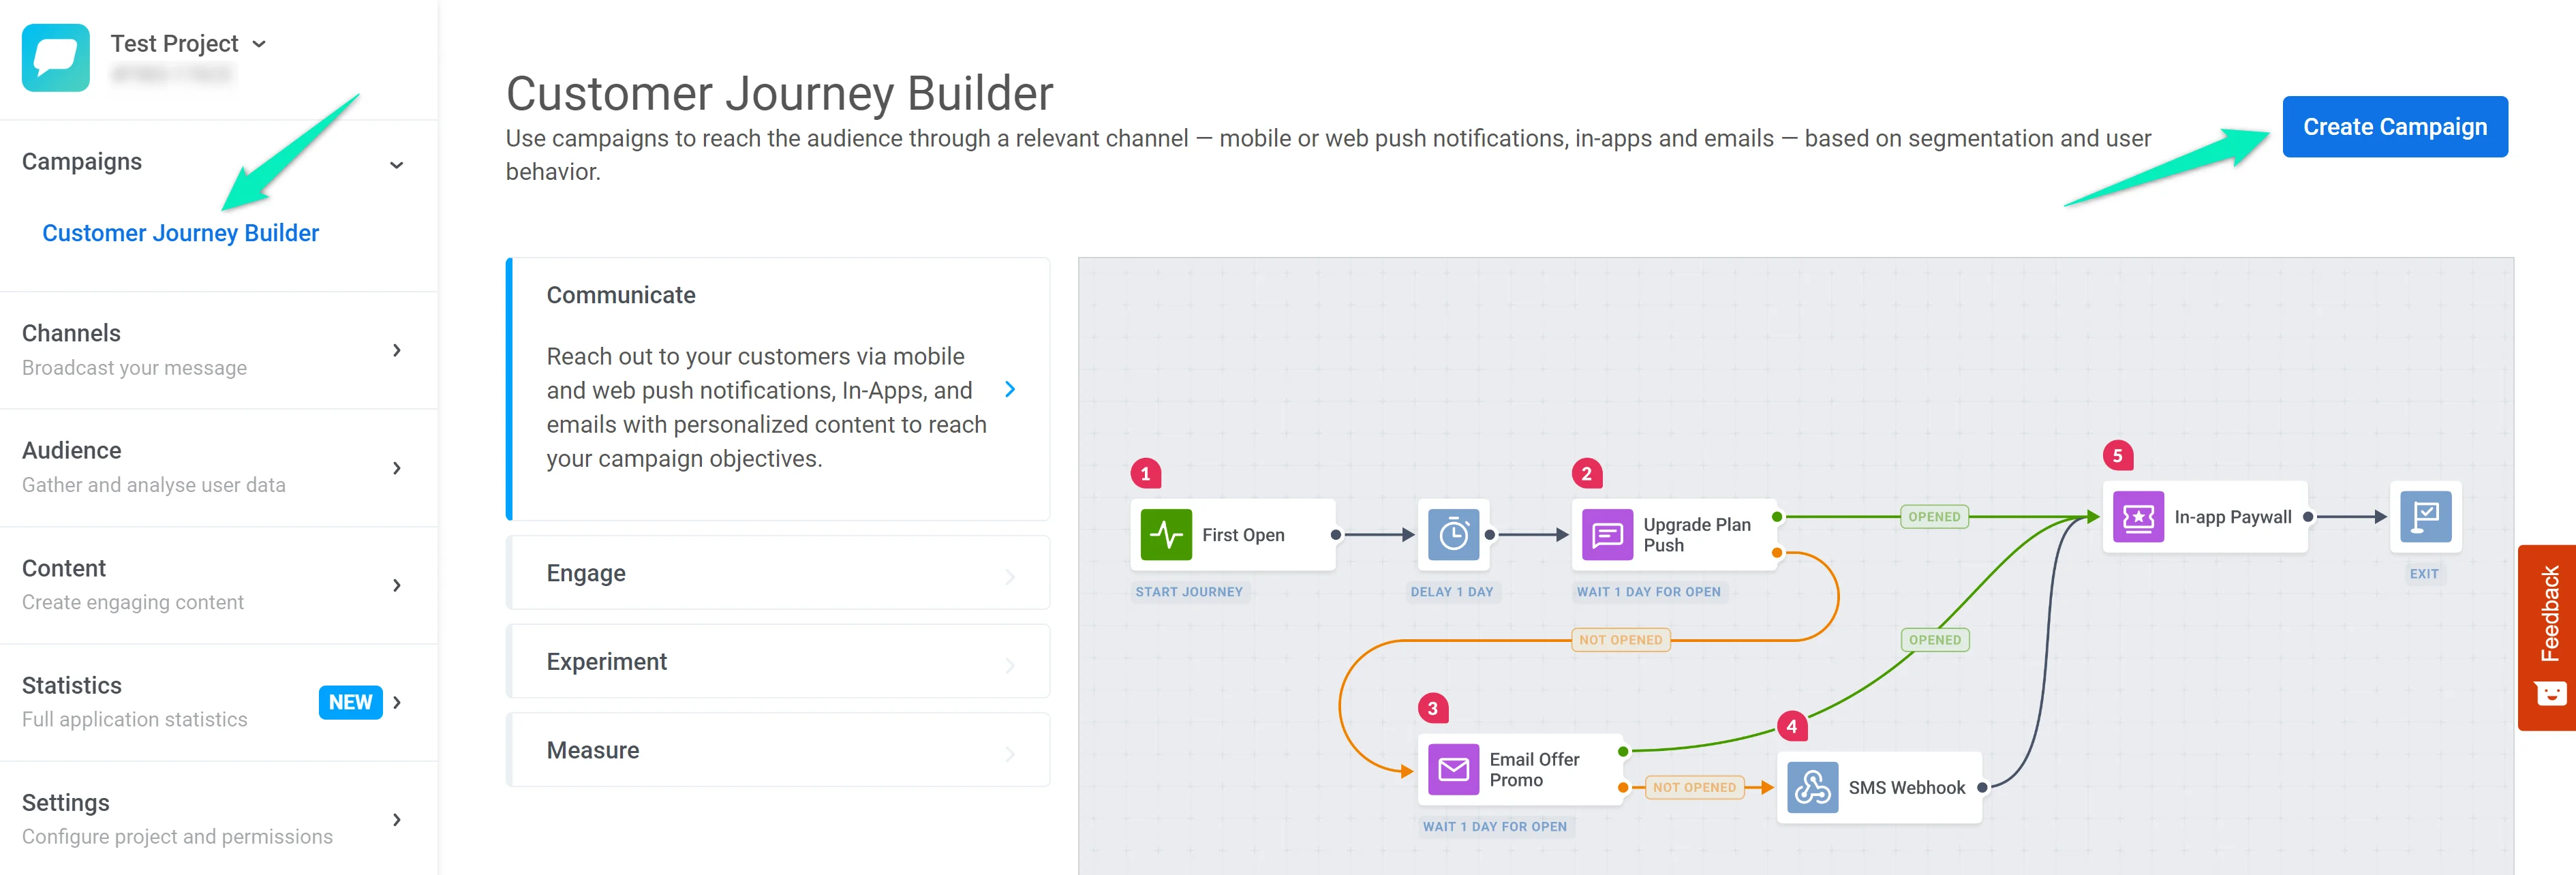
Now you are all set to create your first customer journey! Go to the **Customer Journey Builder** section and click **Create Campaign**:
Check out this [step-by-step guide](/product/customer-journey/how-to-try-it-out) on creating a test journey using our demo app.
 #### Configuring platforms
Configure the platforms to which you want to send notifications:
* To configure mobile platforms, follow the [iOS configuration](/developer/first-steps/connect-messaging-services/ios-configuration) and [Android configuration](/developer/first-steps/connect-messaging-services/android-configuration/) guides.
* To configure web push notifications, refer to the [Web push configuration](/developer/first-steps/connect-messaging-services/web-push-configuration/) guide.
* If you want to send emails, verify your email address and domain by following the [Email configuration](/product/first-steps/start-with-your-project/configure-platforms/email-verification) guide.
* To send WhatsApp messages, ensure the [WhatsApp platform](/product/first-steps/start-with-your-project/configure-platforms/whatsapp-configuration) is properly configured.
* To send SMS, connect your SMS provider by following the [SMS configuration](/product/first-steps/start-with-your-project/configure-platforms/sms-configuration) guide.
[More about configuring platforms](/product/first-steps/start-with-your-project/configure-platforms)
### Integrate the Pushwoosh SDK
Make sure the appropriate SDK is integrated into your app or website:
* [iOS SDK](/developer/pushwoosh-sdk/ios-sdk)
* [Android SDK](/developer/pushwoosh-sdk/android-sdk)
* [Web SDK](/developer/pushwoosh-sdk/web-push-notifications/web-push-sdk-30/)
[Learn more about Pushwoosh SDK](/developer/pushwoosh-sdk/pushwoosh-sdk-overview)
### Subscribe users
Users should be able to subscribe to your app's or site's notifications — otherwise, you won't be able to send them messages.
[Learn more](/product/first-steps/start-with-your-project/subscribe-users)
### Prepare segmentation and content
Depending on the elements you plan to use, prepare **Events**, **Tags**, **Segments**, **Push Presets**, **Email Presets**, and **Rich Media** in your project.
#### Events
**Events** are actions users perform in the app or on the website. They are recorded by the Pushwoosh SDK and can trigger various behavior-based communications. Each configured Event can be used in the following elements of a journey:
* [Trigger-based Entry](/product/customer-journey/journey-elements#trigger-based-entry)
* [Wait for Trigger](/product/customer-journey/journey-elements#wait-for-trigger)
* [Conversion Goals](/product/customer-journey/journey-settings#conversion-goals)
[**More about Events**](/product/audience-data-and-segmentation/events)
#### Configuring platforms
Configure the platforms to which you want to send notifications:
* To configure mobile platforms, follow the [iOS configuration](/developer/first-steps/connect-messaging-services/ios-configuration) and [Android configuration](/developer/first-steps/connect-messaging-services/android-configuration/) guides.
* To configure web push notifications, refer to the [Web push configuration](/developer/first-steps/connect-messaging-services/web-push-configuration/) guide.
* If you want to send emails, verify your email address and domain by following the [Email configuration](/product/first-steps/start-with-your-project/configure-platforms/email-verification) guide.
* To send WhatsApp messages, ensure the [WhatsApp platform](/product/first-steps/start-with-your-project/configure-platforms/whatsapp-configuration) is properly configured.
* To send SMS, connect your SMS provider by following the [SMS configuration](/product/first-steps/start-with-your-project/configure-platforms/sms-configuration) guide.
[More about configuring platforms](/product/first-steps/start-with-your-project/configure-platforms)
### Integrate the Pushwoosh SDK
Make sure the appropriate SDK is integrated into your app or website:
* [iOS SDK](/developer/pushwoosh-sdk/ios-sdk)
* [Android SDK](/developer/pushwoosh-sdk/android-sdk)
* [Web SDK](/developer/pushwoosh-sdk/web-push-notifications/web-push-sdk-30/)
[Learn more about Pushwoosh SDK](/developer/pushwoosh-sdk/pushwoosh-sdk-overview)
### Subscribe users
Users should be able to subscribe to your app's or site's notifications — otherwise, you won't be able to send them messages.
[Learn more](/product/first-steps/start-with-your-project/subscribe-users)
### Prepare segmentation and content
Depending on the elements you plan to use, prepare **Events**, **Tags**, **Segments**, **Push Presets**, **Email Presets**, and **Rich Media** in your project.
#### Events
**Events** are actions users perform in the app or on the website. They are recorded by the Pushwoosh SDK and can trigger various behavior-based communications. Each configured Event can be used in the following elements of a journey:
* [Trigger-based Entry](/product/customer-journey/journey-elements#trigger-based-entry)
* [Wait for Trigger](/product/customer-journey/journey-elements#wait-for-trigger)
* [Conversion Goals](/product/customer-journey/journey-settings#conversion-goals)
[**More about Events**](/product/audience-data-and-segmentation/events)
 #### Tags and Segments
**Tags** contain data that you associate with a particular user or device: username, ID, city, preferences, etc. Using Tags, you can create Segments and [update user profiles](/product/customer-journey/journey-elements#update-user-profile) in a journey.
[**More about Tags**](/product/audience-data-and-segmentation/user-data-tags/tags/)
**Segments** (previously called Filters) are groups of subscribers complying with the conditions you specify. You can build Segments based on Tag values, triggered Events, or both. You can also use automatic [RFM Segmentation](/product/audience-data-and-segmentation/segmentation/rfm-segmentation). Segments will help you target specific users with specific messages increasing communication relevance and thus boosting open rates.
Segments can be used in the following elements of a journey:
* [Audience-based Entry](/product/customer-journey/journey-elements/#audience-based-entry)
* [Condition split](/product/customer-journey/journey-elements/flow-controls/segment-split/)
[**More about Segments**](/product/audience-data-and-segmentation/segmentation/)
#### Tags and Segments
**Tags** contain data that you associate with a particular user or device: username, ID, city, preferences, etc. Using Tags, you can create Segments and [update user profiles](/product/customer-journey/journey-elements#update-user-profile) in a journey.
[**More about Tags**](/product/audience-data-and-segmentation/user-data-tags/tags/)
**Segments** (previously called Filters) are groups of subscribers complying with the conditions you specify. You can build Segments based on Tag values, triggered Events, or both. You can also use automatic [RFM Segmentation](/product/audience-data-and-segmentation/segmentation/rfm-segmentation). Segments will help you target specific users with specific messages increasing communication relevance and thus boosting open rates.
Segments can be used in the following elements of a journey:
* [Audience-based Entry](/product/customer-journey/journey-elements/#audience-based-entry)
* [Condition split](/product/customer-journey/journey-elements/flow-controls/segment-split/)
[**More about Segments**](/product/audience-data-and-segmentation/segmentation/)
 #### Push & Email content
Pushwoosh empowers you to create reusable **push content**. You can craft the text and configure settings using our push content editor and then either send the push notification immediately or save it for future campaigns. [Learn more about creating push content](/product/content/push-presets)
You can craft your **email content** using the editor that best fits your needs:
- The Drag & drop editor, perfect for marketers with no coding skills. [Learn how to create content with the Drag & drop editor](/product/content/email-content/drag-and-drop-email-editor/create-email-content-with-drag-and-drop-editor/).
- The HTML code editor, offering the ability to generate emails using code and granting greater control over email customization. [Learn how to create content with the HTML code editor.](/product/content/email-content/html-code-editor)
#### In-apps (Rich media)
**In-apps (Rich media)** are interactive content pages you can fully customize to suit your business needs and app experience. Pushwoosh provides default in-app templates you can personalize or use as a starting point to create your own.
In-apps are required to [display content pages within your app](/product/messaging-channels/in-apps) to your users.
[**More about in-app messages**](/product/content/in-apps)
#### Push & Email content
Pushwoosh empowers you to create reusable **push content**. You can craft the text and configure settings using our push content editor and then either send the push notification immediately or save it for future campaigns. [Learn more about creating push content](/product/content/push-presets)
You can craft your **email content** using the editor that best fits your needs:
- The Drag & drop editor, perfect for marketers with no coding skills. [Learn how to create content with the Drag & drop editor](/product/content/email-content/drag-and-drop-email-editor/create-email-content-with-drag-and-drop-editor/).
- The HTML code editor, offering the ability to generate emails using code and granting greater control over email customization. [Learn how to create content with the HTML code editor.](/product/content/email-content/html-code-editor)
#### In-apps (Rich media)
**In-apps (Rich media)** are interactive content pages you can fully customize to suit your business needs and app experience. Pushwoosh provides default in-app templates you can personalize or use as a starting point to create your own.
In-apps are required to [display content pages within your app](/product/messaging-channels/in-apps) to your users.
[**More about in-app messages**](/product/content/in-apps)
 ### Check if everything is working
Once everything's set up, check whether it works as it is supposed to. There are several options to test sending messages to your app or site subscribers. [Learn more](/product/first-steps/start-with-your-project/test-your-integration)
### Start creating your first journey
Now you are all set to create your first customer journey! Go to the **Customer Journey Builder** section and click **Create Campaign**:
### Check if everything is working
Once everything's set up, check whether it works as it is supposed to. There are several options to test sending messages to your app or site subscribers. [Learn more](/product/first-steps/start-with-your-project/test-your-integration)
### Start creating your first journey
Now you are all set to create your first customer journey! Go to the **Customer Journey Builder** section and click **Create Campaign**:
 Check out this [step-by-step guide](/product/customer-journey/how-to-try-it-out) on creating a test journey using our demo app.