# Web popup content
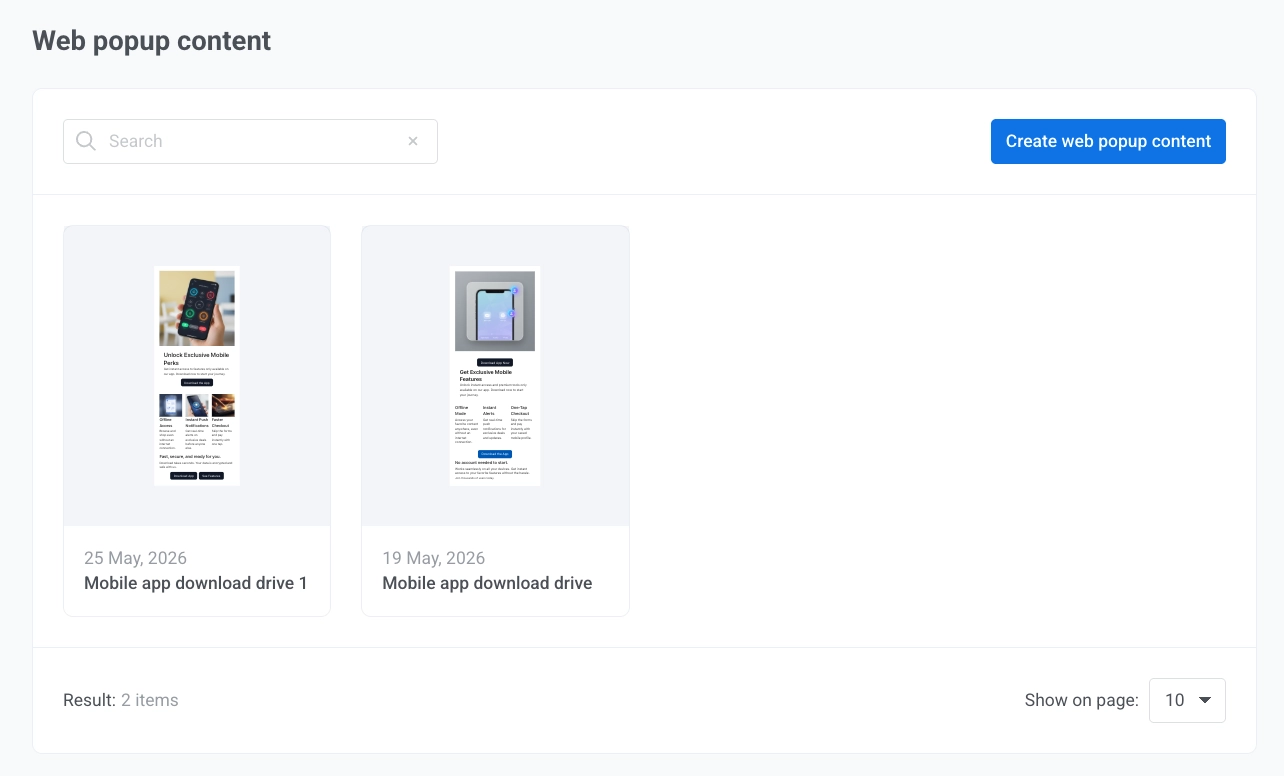
**Web popup content** is the visual layout visitors see when a Web popup appears on your website. Build it under **Content**, then attach it to a [Web popup campaign](/product/messaging-channels/web-popups/create-web-popups-campaigns/).
## Create Web popup content
1. Go to **Content** → **Web popup content**.
2. Click **Create web popup content**.
3. Pick a starting template from the gallery.
- Use the category dropdown in the top right to filter by use case (for example **Promotions & offers**, **Gaming & marketplaces**, or **Feedback & surveys**), or leave it on **All templates**.
- To start from a minimal layout, open **Blank layouts**. For an email signup form already on the popup, pick **Modal + subscription form**.
4. Customize the popup in the editor.
### Name the popup
Click the popup name in the top bar to edit it. The name identifies this content inside Pushwoosh, in the content list and the campaign wizard. Website visitors do not see it.
## Find your way around the editor
The editor has two main areas: blocks for the content inside the popup, and **Popup settings** for how the popup looks and sits on the page.
- **Elements** and **Settings:** add and edit content blocks (text, buttons, forms, countdown, and more), including each block's options, position, and delete. [Content blocks](/product/content/web-popup-content/blocks/)
- **Popup settings:** media, size, colors, and [dark theme](/product/content/web-popup-content/popup-settings/#dark-mode) for the popup as a whole. [Popup settings](/product/content/web-popup-content/popup-settings/)
### Work with multiple pages
Use more than one page for a short product tour or a multi-step offer. Each page can have its own layout, media, and size.
## Save the content
1. Open **Preview** to check the popup at full size.
2. Use **Close preview (Esc)** to return to the editor. If dark theme is on, the sun/moon switch next to **Close preview** lets you check both palettes. See [Dark mode](/product/content/web-popup-content/popup-settings/#dark-mode).
3. Review the content, images and video, and button actions.
4. Click **Save** in the top bar.
## Use the content in a campaign
Attach the saved content to a Web popup campaign to show it on your site.
 4. Customize the popup in the editor.
### Name the popup
Click the popup name in the top bar to edit it. The name identifies this content inside Pushwoosh, in the content list and the campaign wizard. Website visitors do not see it.
## Find your way around the editor
The editor has two main areas: blocks for the content inside the popup, and **Popup settings** for how the popup looks and sits on the page.
- **Elements** and **Settings:** add and edit content blocks (text, buttons, forms, countdown, and more), including each block's options, position, and delete. [Content blocks](/product/content/web-popup-content/blocks/)
- **Popup settings:** media, size, colors, and [dark theme](/product/content/web-popup-content/popup-settings/#dark-mode) for the popup as a whole. [Popup settings](/product/content/web-popup-content/popup-settings/)
### Work with multiple pages
Use more than one page for a short product tour or a multi-step offer. Each page can have its own layout, media, and size.
4. Customize the popup in the editor.
### Name the popup
Click the popup name in the top bar to edit it. The name identifies this content inside Pushwoosh, in the content list and the campaign wizard. Website visitors do not see it.
## Find your way around the editor
The editor has two main areas: blocks for the content inside the popup, and **Popup settings** for how the popup looks and sits on the page.
- **Elements** and **Settings:** add and edit content blocks (text, buttons, forms, countdown, and more), including each block's options, position, and delete. [Content blocks](/product/content/web-popup-content/blocks/)
- **Popup settings:** media, size, colors, and [dark theme](/product/content/web-popup-content/popup-settings/#dark-mode) for the popup as a whole. [Popup settings](/product/content/web-popup-content/popup-settings/)
### Work with multiple pages
Use more than one page for a short product tour or a multi-step offer. Each page can have its own layout, media, and size.