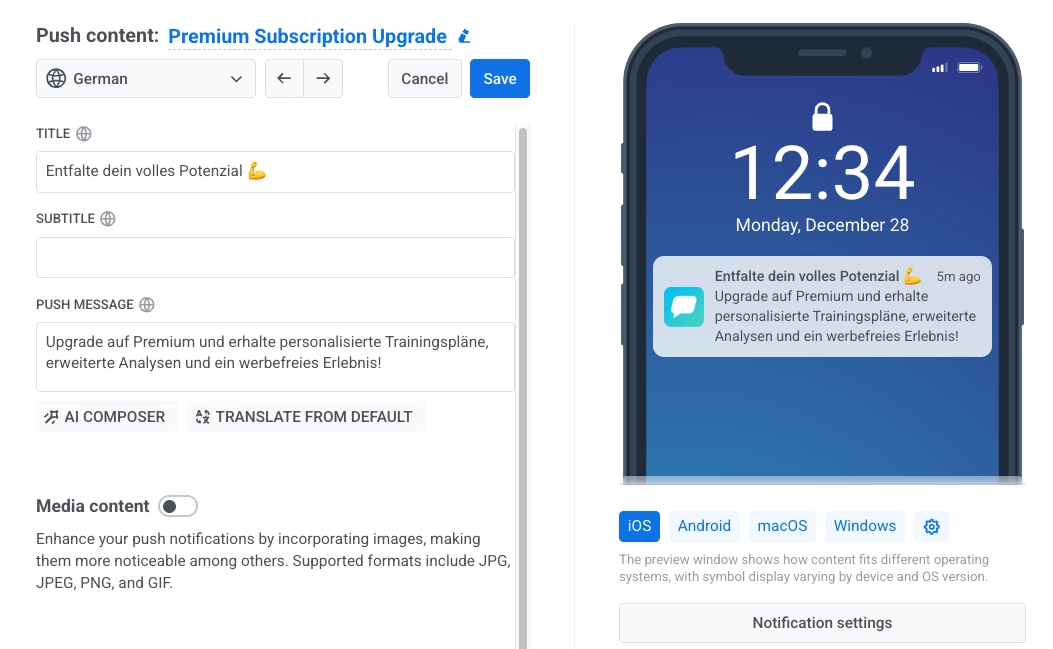
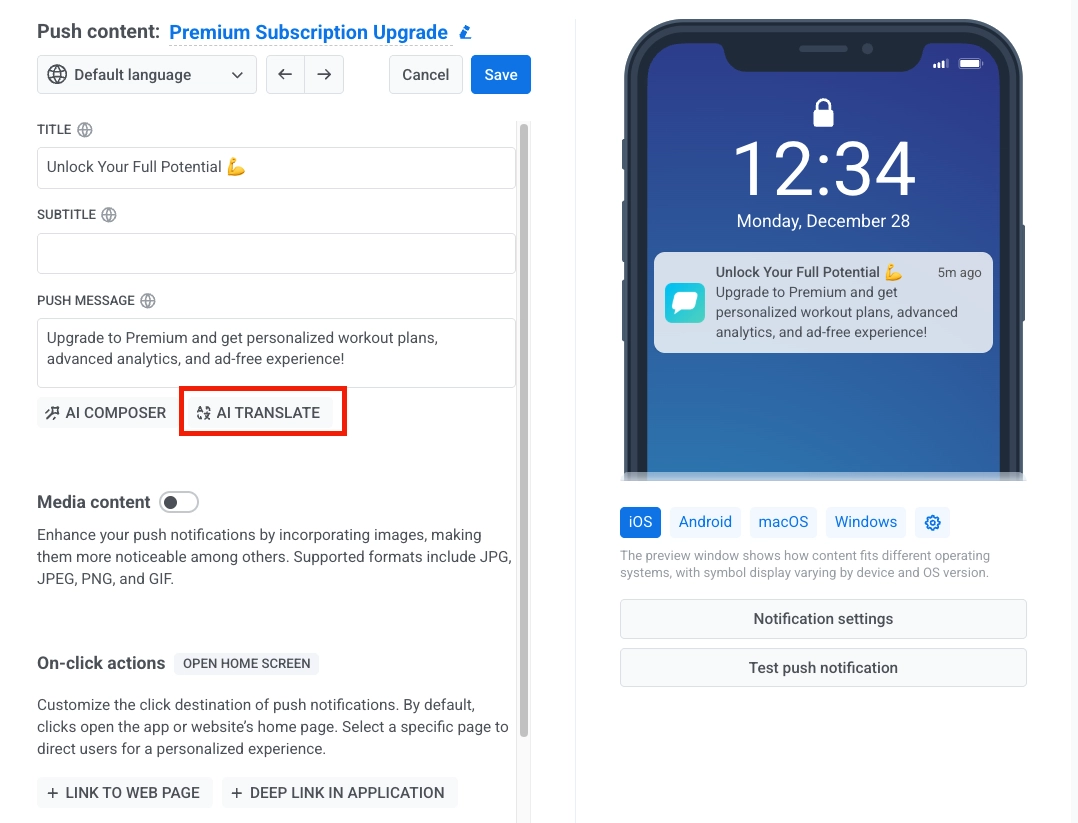
 Pushwoosh will use the current default language as the source and translate the content into the [target languages you've selected](/product/content/push-presets/#define-the-languages-you-want-to-use-in-your-push).
### Step 2: Configure translation settings
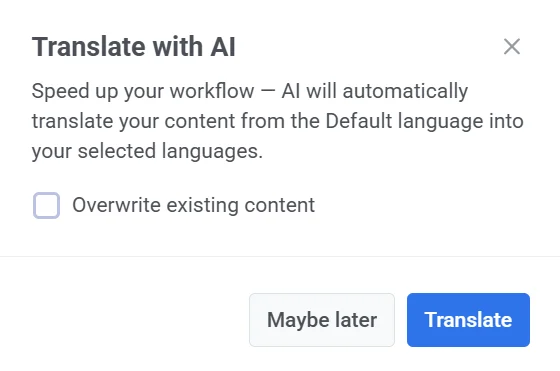
In the window that opens, check **Overwrite existing content** if you want the AI to replace any existing translations in the selected languages. Leave it unchecked to keep the ones you already have.
Pushwoosh will use the current default language as the source and translate the content into the [target languages you've selected](/product/content/push-presets/#define-the-languages-you-want-to-use-in-your-push).
### Step 2: Configure translation settings
In the window that opens, check **Overwrite existing content** if you want the AI to replace any existing translations in the selected languages. Leave it unchecked to keep the ones you already have.