# Set up your email in the editor
Before you begin creating email content, make sure that you set up your email. The steps for setting up the email are the same for both the [Drag & drop](/product/content/email-content/drag-and-drop-email-editor) and [HTML code editors](/product/content/email-content/html-code-editor).
## Define the languages you want to use in your email
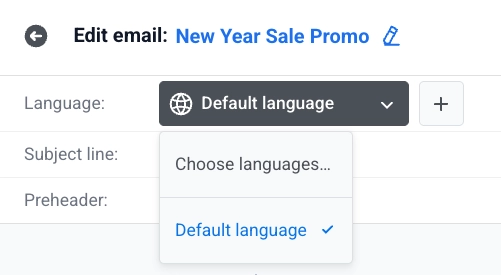
By default, your content is in one language (referred to as **Default** in the editor). However, if you want to customize the content for users who speak different languages, you can add additional languages from the provided list. For instance, if the majority of your database is in English, but you want to send Spanish to Spanish speakers and German to German speakers, you would set up your content language preferences as follows: default /es /de.
This means that users who have opted in to receive emails by default will receive content in English, while those with Spanish or German language settings will receive content in their respective languages.
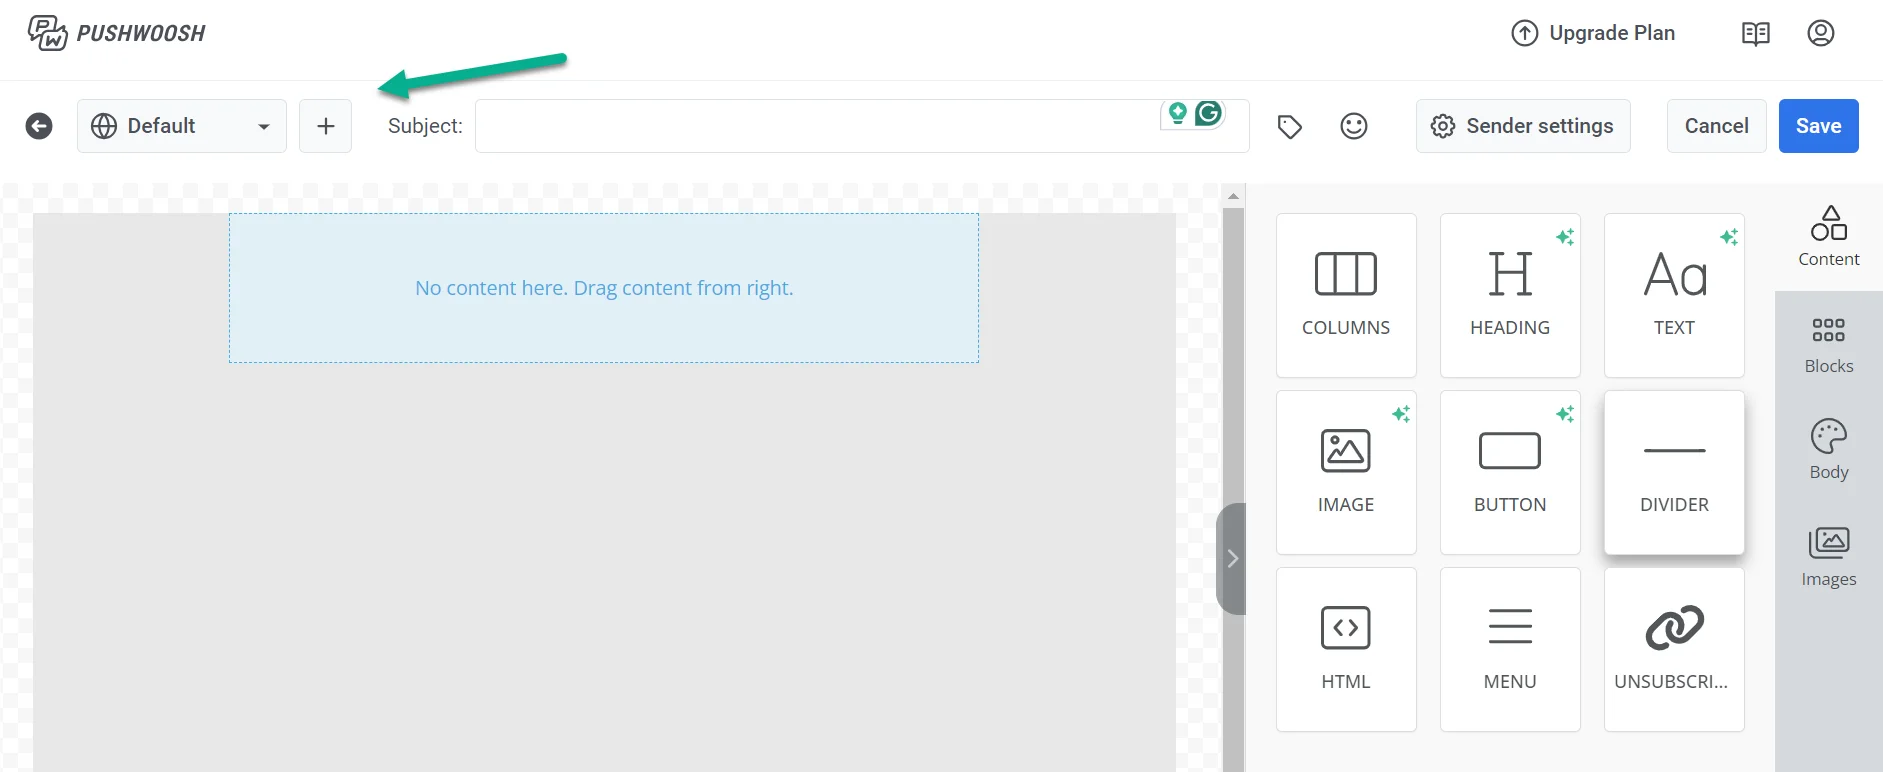
To add more languages, click on the **Plus** sign.
From the list of available languages, choose the languages you wish to use in your emails. Then click **Apply.**
Use the language switcher above the canvas to switch between languages and edit content for each one. Content you haven't translated yet for the current language shows dimmed. Start typing to create the translation. The default language keeps showing until you do.
### Auto-translate content
Click **Auto-translate** in the language bar to fill missing translations with AI instead of typing each language by hand.
Auto-translate covers the full email: body text, buttons, lists, menu items, image alt text, subject line, preheader, and footer links. Translations you entered manually are not overwritten.
## Add a subject line
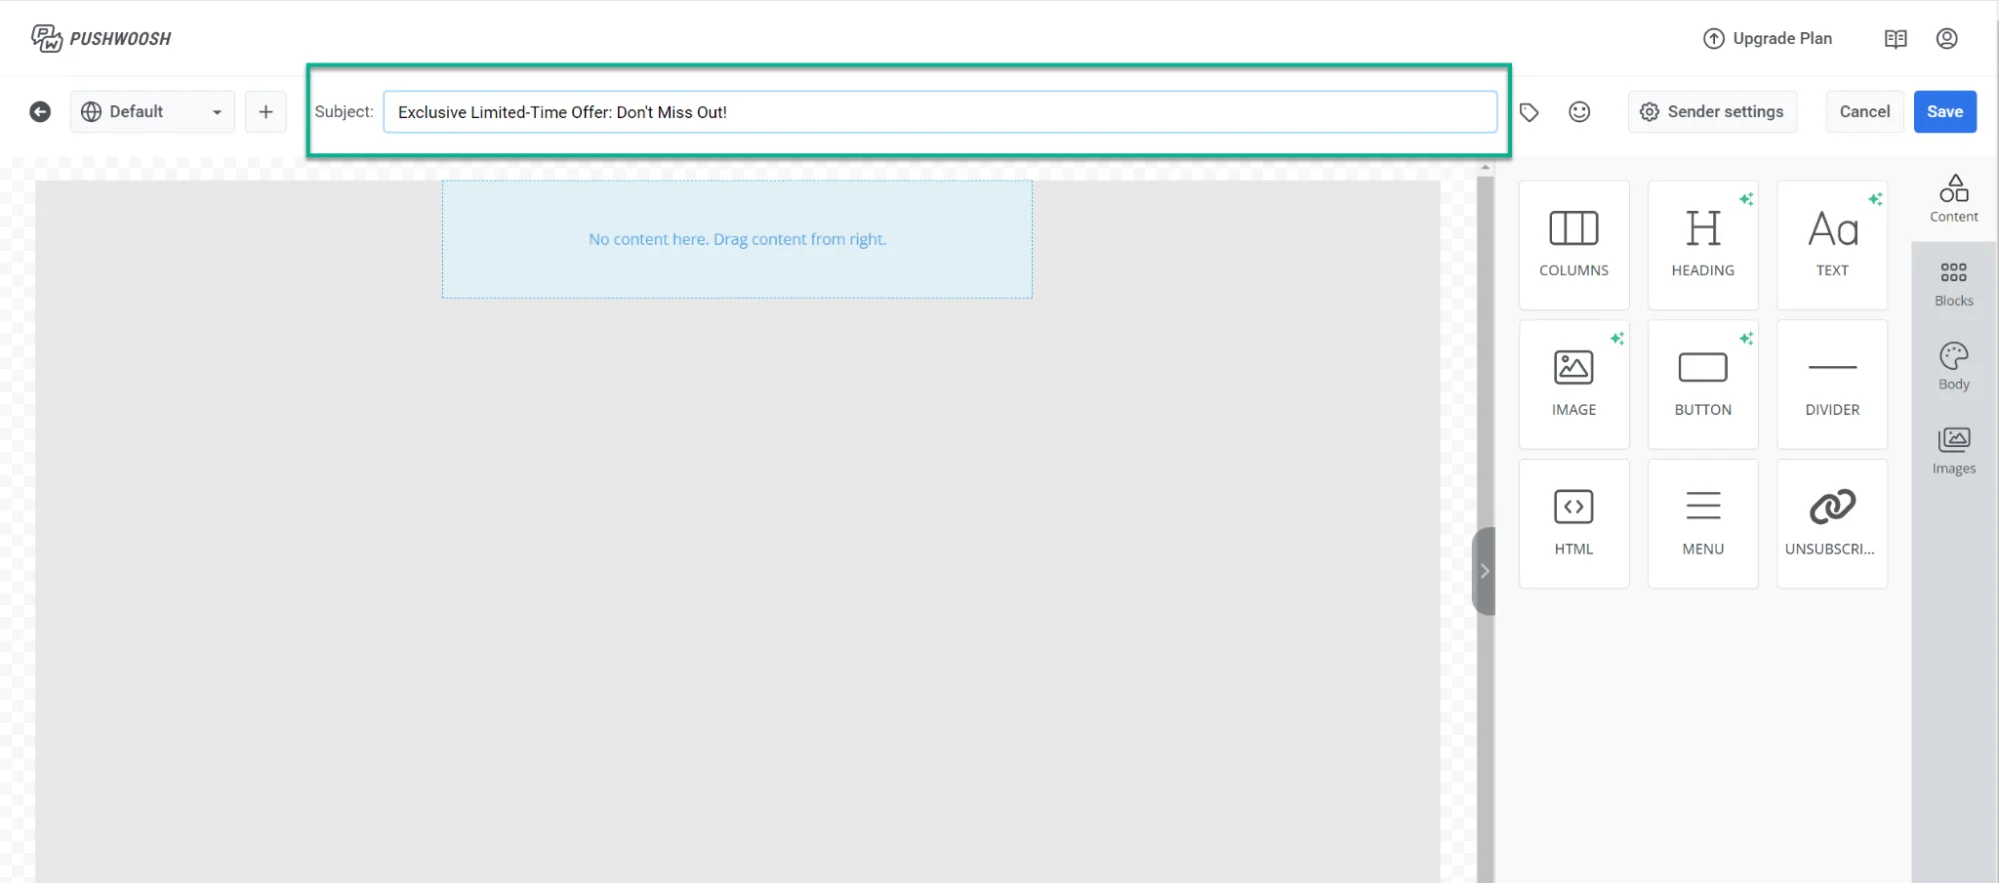
Above the canvas, in the **Subject line** field, type the subject line for your email.
If you want to add an emoji to your subject line, click the **Emoji icon** next to the **Subject line** field.
You can also generate a subject line with AI: click the **AI** icon next to the field to have it written from the email content you've already added.
## Add a preheader
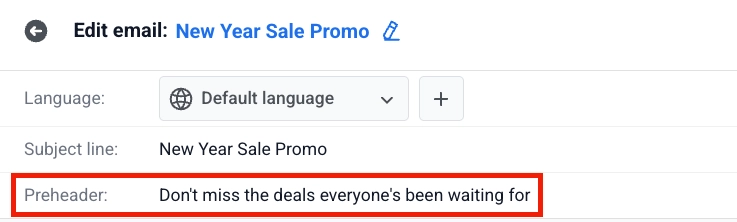
Below the subject line, use the **Preheader** field to add a short summary that appears after the subject line when recipients view the email in their inbox.
To add an emoji, click the **Emoji** icon next to the **Preheader** field.
To generate a preheader with AI, click the **AI** icon next to the field. AI writes it from the email content you've already added.
## Create email content
After you set languages, the subject line, and the preheader, build the email body in the drag & drop editor. [Learn how](/product/content/email-content/drag-and-drop-email-editor/)
## Save your email
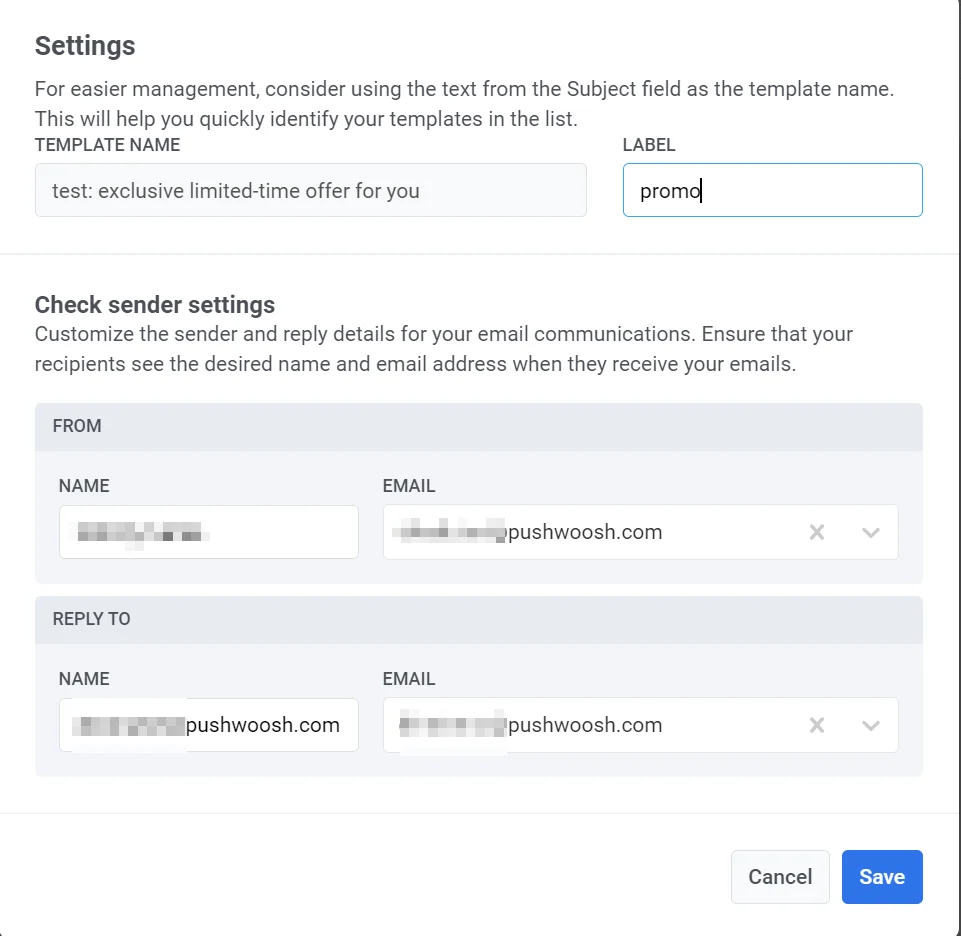
Once you've created email content and configured the settings, click **Save** in the top bar. Before sending your campaign, you can also send a test email to check how it looks. [Learn more](/product/content/email-content/drag-and-drop-email-editor/#save-your-email)
## Manage email content
After creating and saving your email, it will appear in your list of email content.
From there, you can effortlessly incorporate it into your customer journeys. This allows you to send automated, personalized messages and make any necessary edits. [Learn more](/product/messaging-channels/emails/sending-emails)
 From the list of available languages, choose the languages you wish to use in your emails. Then click **Apply.**
Use the language switcher above the canvas to switch between languages and edit content for each one. Content you haven't translated yet for the current language shows dimmed. Start typing to create the translation. The default language keeps showing until you do.
From the list of available languages, choose the languages you wish to use in your emails. Then click **Apply.**
Use the language switcher above the canvas to switch between languages and edit content for each one. Content you haven't translated yet for the current language shows dimmed. Start typing to create the translation. The default language keeps showing until you do.
 ### Auto-translate content
Click **Auto-translate** in the language bar to fill missing translations with AI instead of typing each language by hand.
Auto-translate covers the full email: body text, buttons, lists, menu items, image alt text, subject line, preheader, and footer links. Translations you entered manually are not overwritten.
### Auto-translate content
Click **Auto-translate** in the language bar to fill missing translations with AI instead of typing each language by hand.
Auto-translate covers the full email: body text, buttons, lists, menu items, image alt text, subject line, preheader, and footer links. Translations you entered manually are not overwritten.
 ## Add a subject line
Above the canvas, in the **Subject line** field, type the subject line for your email.
## Add a subject line
Above the canvas, in the **Subject line** field, type the subject line for your email.
 If you want to add an emoji to your subject line, click the **Emoji icon** next to the **Subject line** field.
You can also generate a subject line with AI: click the **AI** icon next to the field to have it written from the email content you've already added.
## Add a preheader
Below the subject line, use the **Preheader** field to add a short summary that appears after the subject line when recipients view the email in their inbox.
If you want to add an emoji to your subject line, click the **Emoji icon** next to the **Subject line** field.
You can also generate a subject line with AI: click the **AI** icon next to the field to have it written from the email content you've already added.
## Add a preheader
Below the subject line, use the **Preheader** field to add a short summary that appears after the subject line when recipients view the email in their inbox.
 To add an emoji, click the **Emoji** icon next to the **Preheader** field.
To generate a preheader with AI, click the **AI** icon next to the field. AI writes it from the email content you've already added.
## Create email content
After you set languages, the subject line, and the preheader, build the email body in the drag & drop editor. [Learn how](/product/content/email-content/drag-and-drop-email-editor/)
## Save your email
Once you've created email content and configured the settings, click **Save** in the top bar. Before sending your campaign, you can also send a test email to check how it looks. [Learn more](/product/content/email-content/drag-and-drop-email-editor/#save-your-email)
To add an emoji, click the **Emoji** icon next to the **Preheader** field.
To generate a preheader with AI, click the **AI** icon next to the field. AI writes it from the email content you've already added.
## Create email content
After you set languages, the subject line, and the preheader, build the email body in the drag & drop editor. [Learn how](/product/content/email-content/drag-and-drop-email-editor/)
## Save your email
Once you've created email content and configured the settings, click **Save** in the top bar. Before sending your campaign, you can also send a test email to check how it looks. [Learn more](/product/content/email-content/drag-and-drop-email-editor/#save-your-email)
 ## Manage email content
After creating and saving your email, it will appear in your list of email content.
## Manage email content
After creating and saving your email, it will appear in your list of email content.
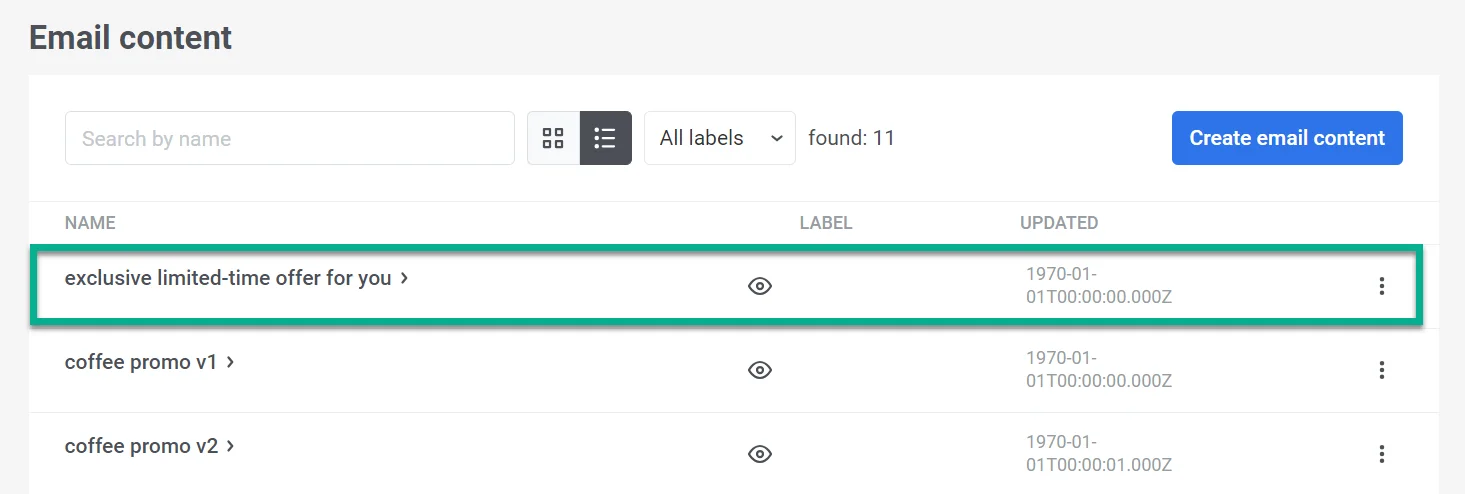 From there, you can effortlessly incorporate it into your customer journeys. This allows you to send automated, personalized messages and make any necessary edits. [Learn more](/product/messaging-channels/emails/sending-emails)