# How to create and manage email content
## Create new email content
> **Important:** Before you begin creating email content, make sure that you set up your email. The setup process is the same for both the Drag & Drop and HTML Code editors. It includes configuring sender details, subject lines, and language versions.
> [Learn more](/product/content/email-content/set-up-your-email-in-the-editor/)
Pushwoosh provides several flexible options for creating email content, so you can choose the method that best fits your skills and needs:
#### Drag & Drop email editor
A no-code, visual builder that lets you create professional emails using content blocks and ready-made layouts. Perfect for marketers and non-technical users.
#### HTML code editor
Gives you full control over the design and layout using HTML. Ideal for users comfortable with coding.
#### AI-powered tools
Integrated into the Drag & Drop Editor, AI tools help you quickly generate text, improve copy, and create images.
#### Pre-built email templates
Choose from professionally designed templates to save time and maintain consistency across campaigns.
You can access all these options from **Content → Email Content** or while setting up your campaign.
Pushwoosh automatically saves your previously created email content, making it easy to edit, clone, or reuse in future campaigns.
## View and manage your email content
To view your email content, navigate to **Content > Email Content**. Here, you'll find all the email content you've created, conveniently organized for easy access.
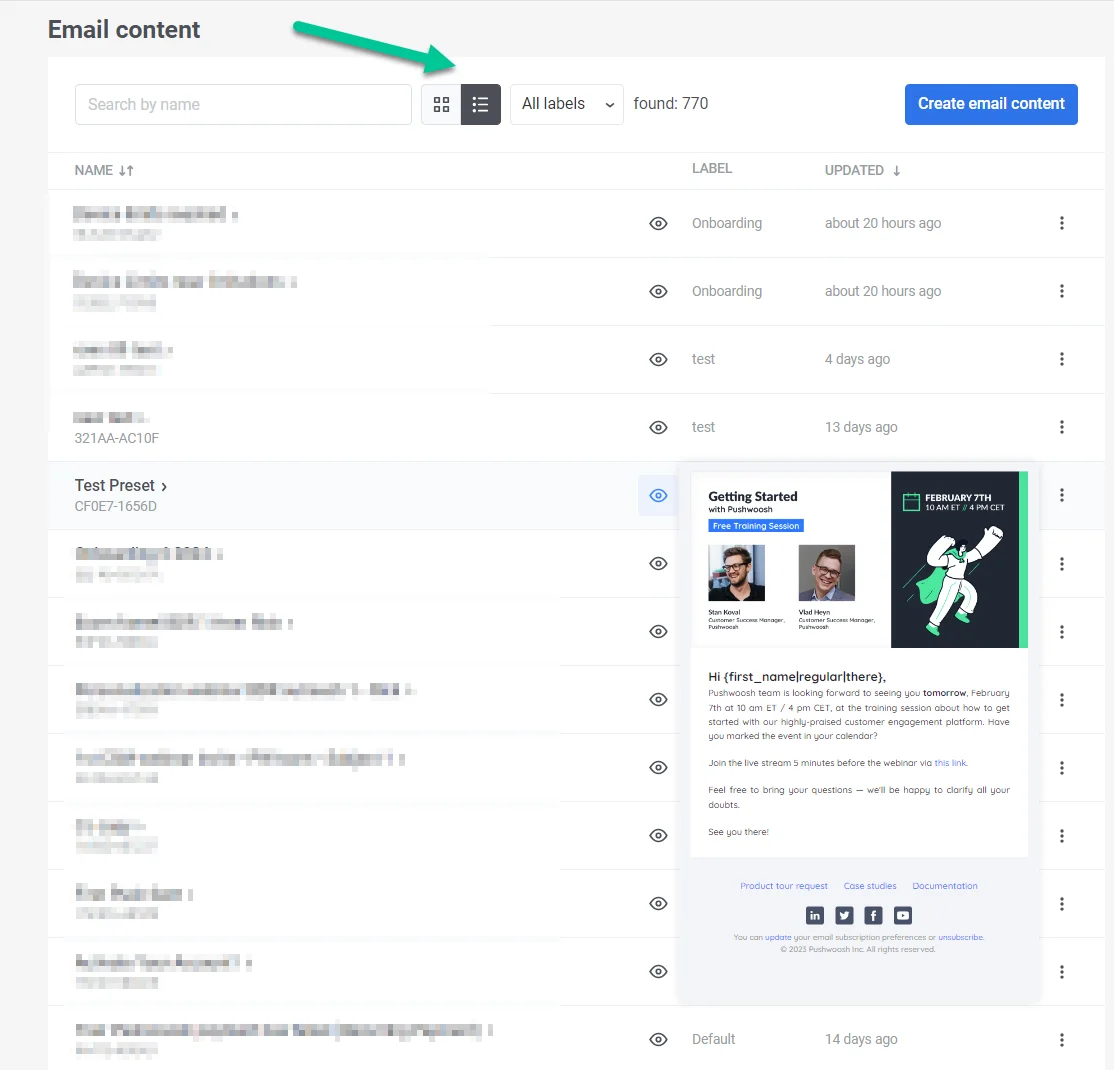
You have the flexibility to view your email content in two ways: as tiles or as a list. Simply select the preferred option at the top of the content list.
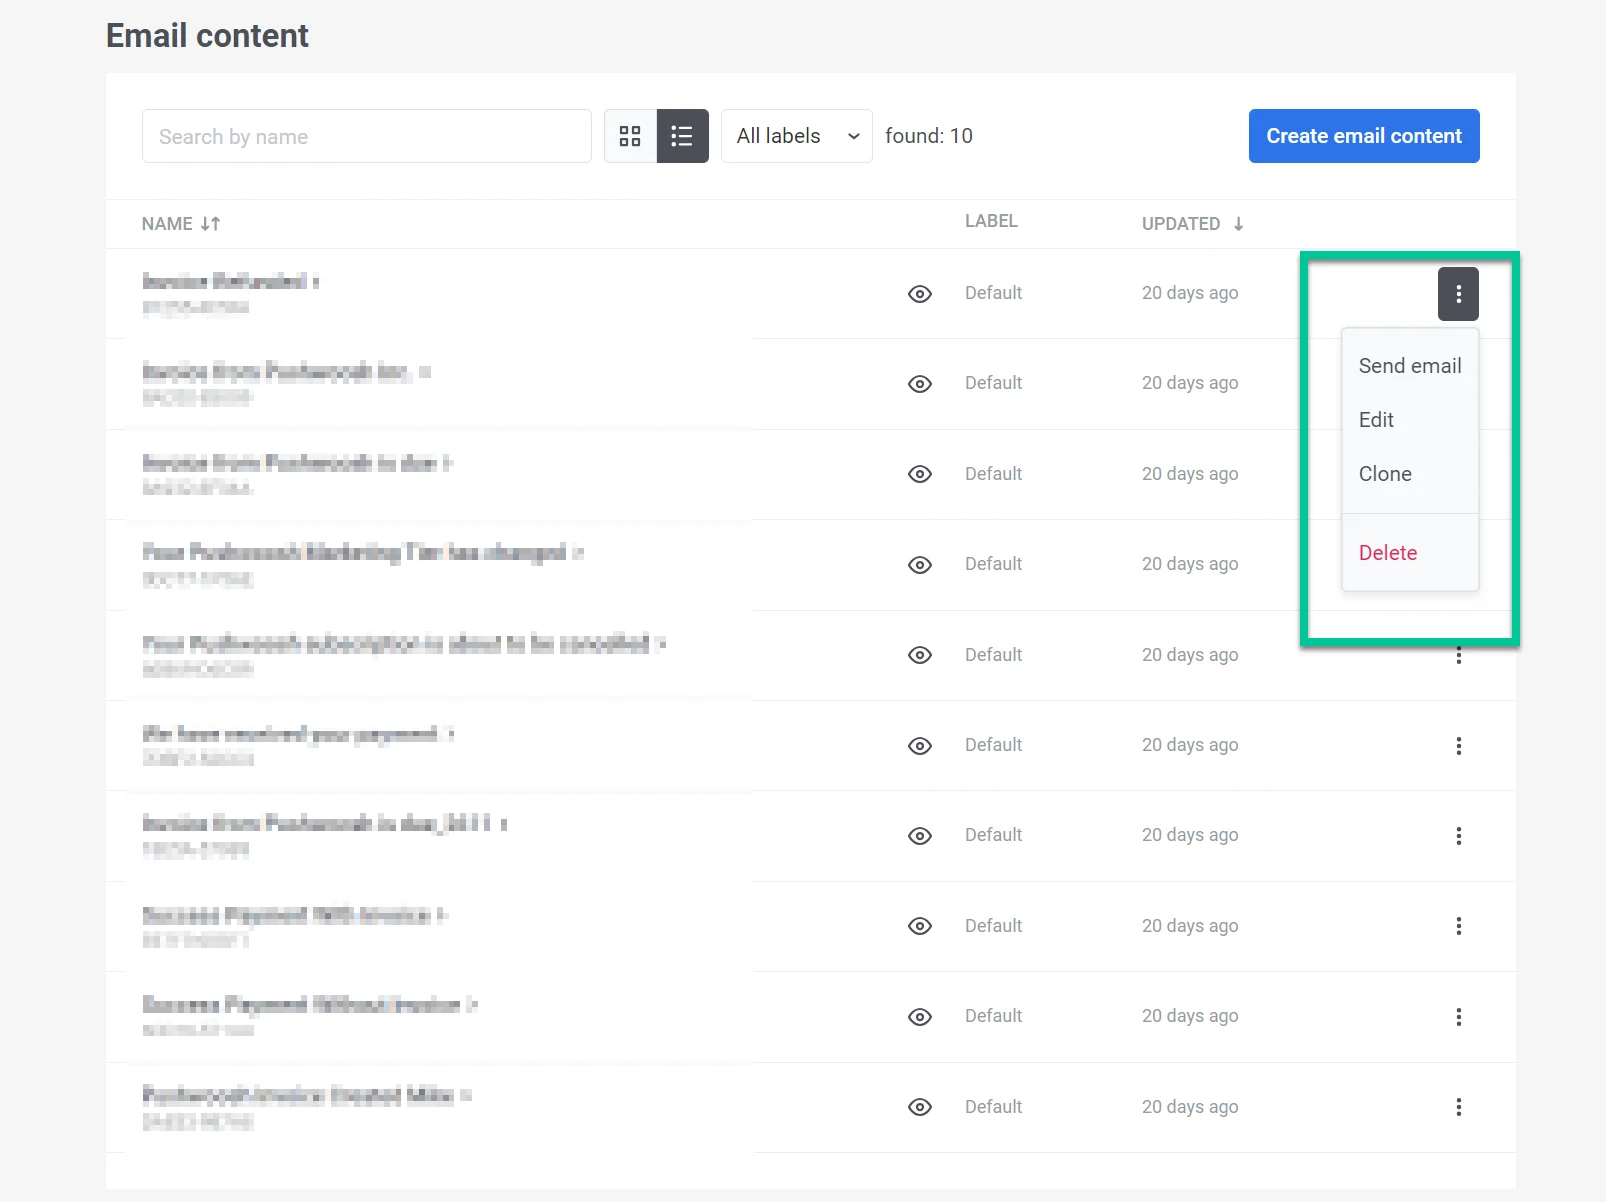
Here, you can also edit, clone, delete email content, send an email or create new email content.
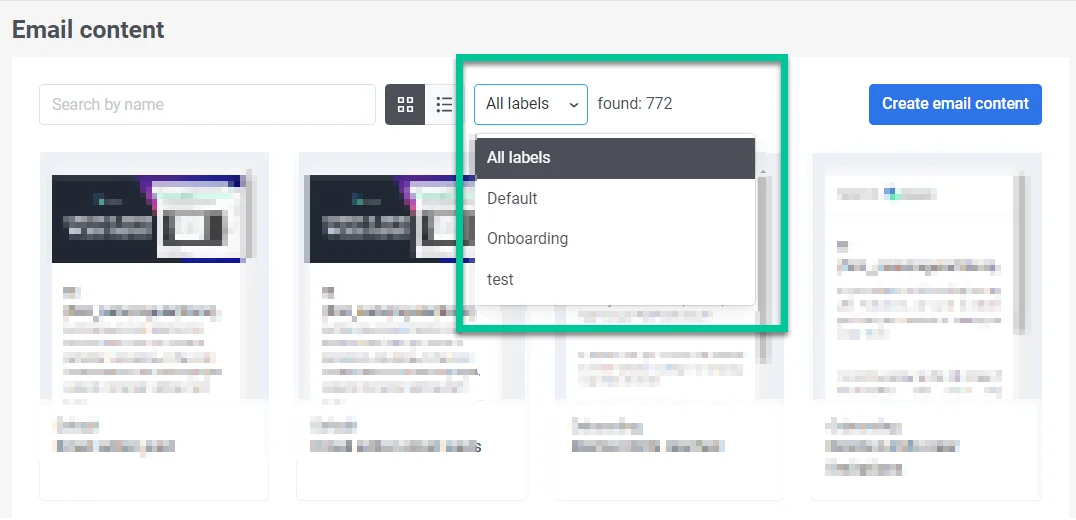
Also, you have the option to search for specific emails or filter your content based on the labels you've assigned. To do this, simply click on **Labels** at the top of the content list and select a label from the drop-down menu.
## Reuse previously created email content
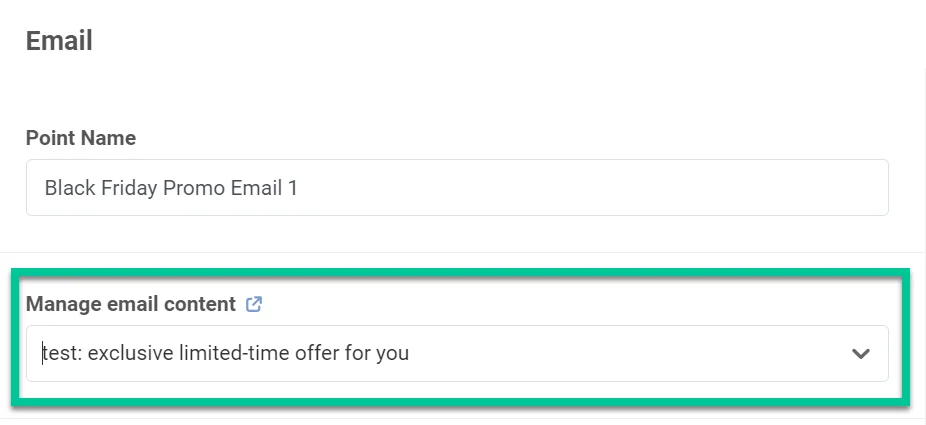
To streamline your workflow, leverage your existing email content in new campaigns. For this, simply choose the desired email content from the dropdown menu when creating an email element in the customer journey. [Learn more](/product/messaging-channels/emails/sending-emails/send-emails-via-customer-journey/)
 Here, you can also edit, clone, delete email content, send an email or create new email content.
 Also, you have the option to search for specific emails or filter your content based on the labels you've assigned. To do this, simply click on **Labels** at the top of the content list and select a label from the drop-down menu.
 ## Reuse previously created email content
To streamline your workflow, leverage your existing email content in new campaigns. For this, simply choose the desired email content from the dropdown menu when creating an email element in the customer journey. [Learn more](/product/messaging-channels/emails/sending-emails/send-emails-via-customer-journey/)
## Reuse previously created email content
To streamline your workflow, leverage your existing email content in new campaigns. For this, simply choose the desired email content from the dropdown menu when creating an email element in the customer journey. [Learn more](/product/messaging-channels/emails/sending-emails/send-emails-via-customer-journey/)