# Manage user access and permissions
Pushwoosh enables your entire team to work together within a single account, allowing team members to perform their specific tasks simultaneously.
You can invite sub-users and assign permissions based on their roles and responsibilities. This ensures efficient collaboration while maintaining control over account access.
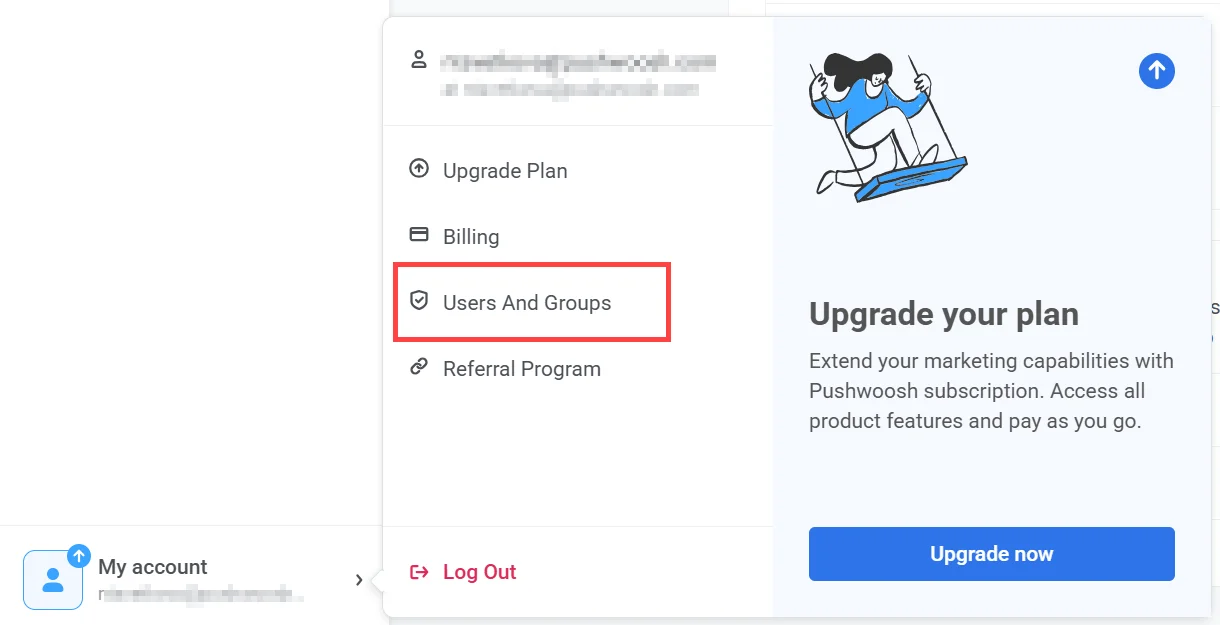
To manage team access, assign roles, and invite new users, go to **My Account → [Users and groups](https://app.pushwoosh.com/accounts/users-and-roles)**.
## Users
The **Users** tab displays a list of all team members with access to your account.
By default, the account owner appears first, and their role cannot be changed or their access revoked.
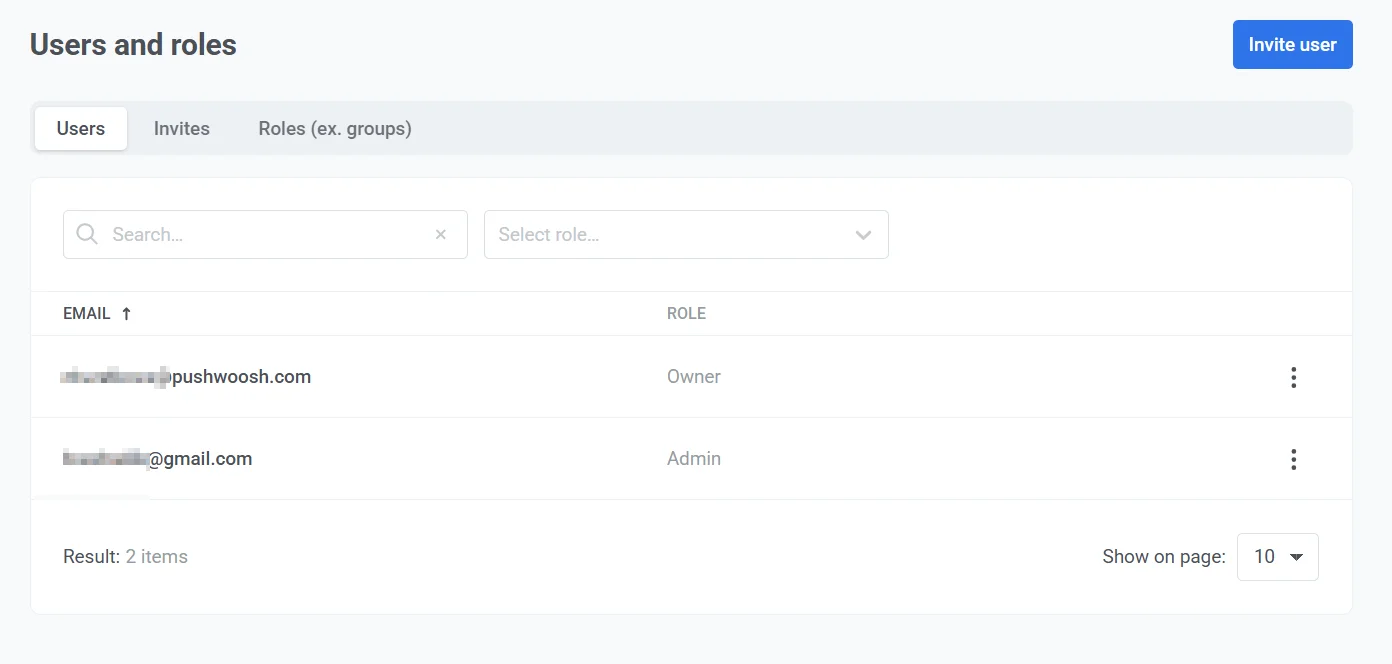
In this tab, you can:
* Search for users by email.
* Filter users by role using the dropdown menu.
* View assigned roles for each user.
* Change a user's role or revoke access by clicking the **three-dot menu** next to their email and selecting the desired option.
### How to invite a user
To add new users to your account by sending them an email invitation with a verification link, follow these steps:
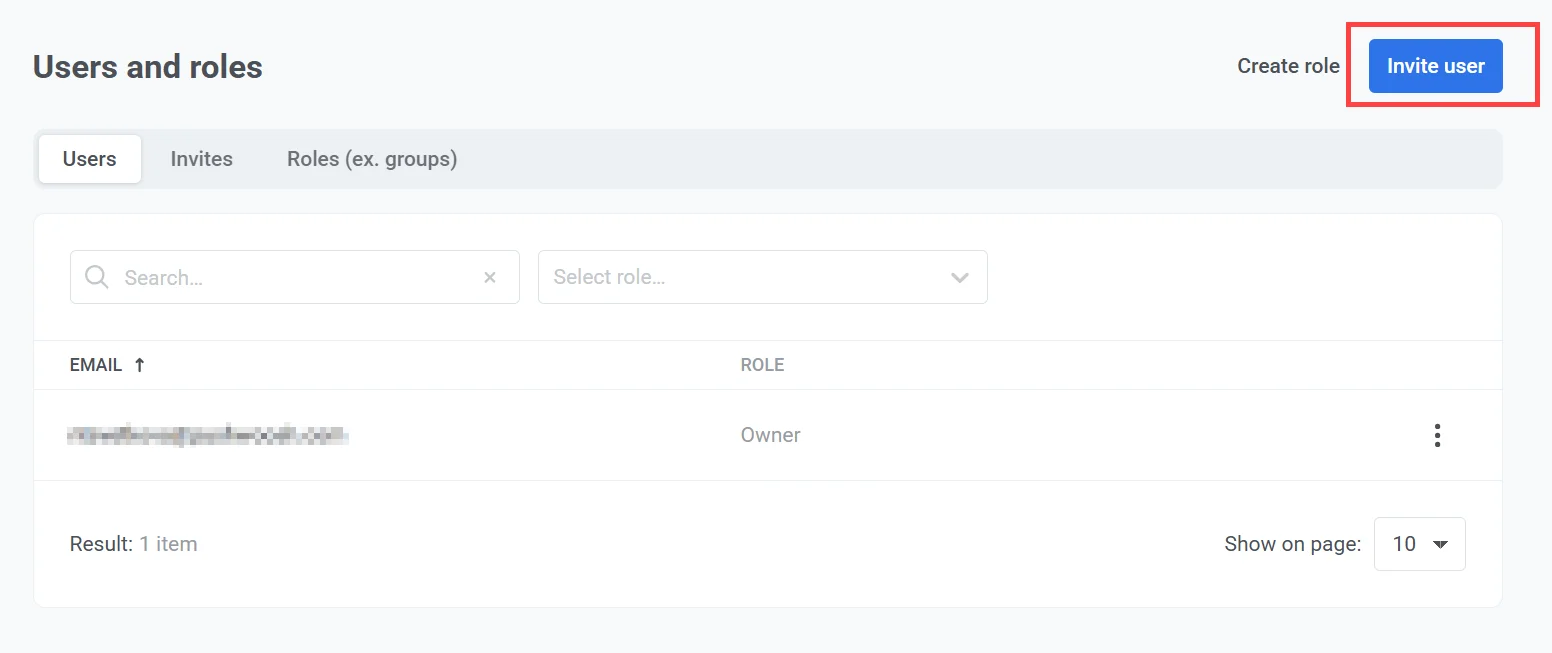
1. Click **Invite user**.
2. In the **Role** field, select the appropriate role for the new user.
3. Enter the user’s **email address** in the provided field.
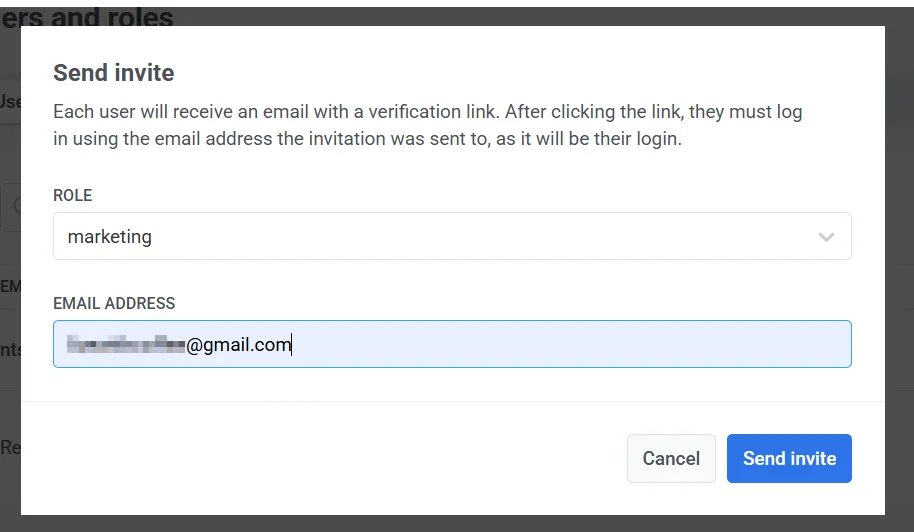
4. Click **Send invite** to send the invitation. Once the invitation is sent, the recipient's email, invite date, and status will appear in the **Invites** list.
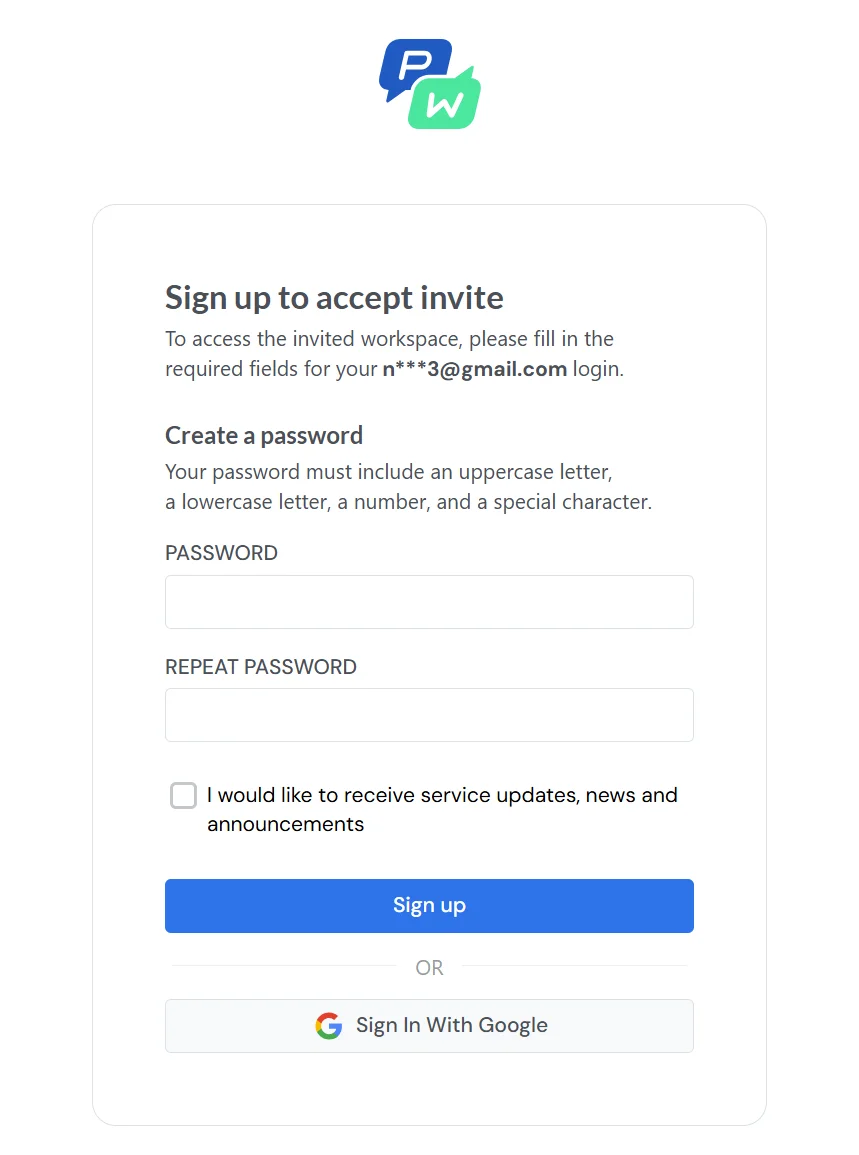
5. The invited user will receive an email with a verification link. After clicking the verification link, the user will need to either sign up or sign in. They can also choose to sign in with Google.
Once complete, they’ll automatically gain access to the workspace for which they were invited.
#### Invitation statuses
Each invitation has a status indicating its current state:
* **Accepted**: The user has accepted the invitation and successfully joined the project.
* **Sent**: The invitation has been sent but has not yet been accepted.
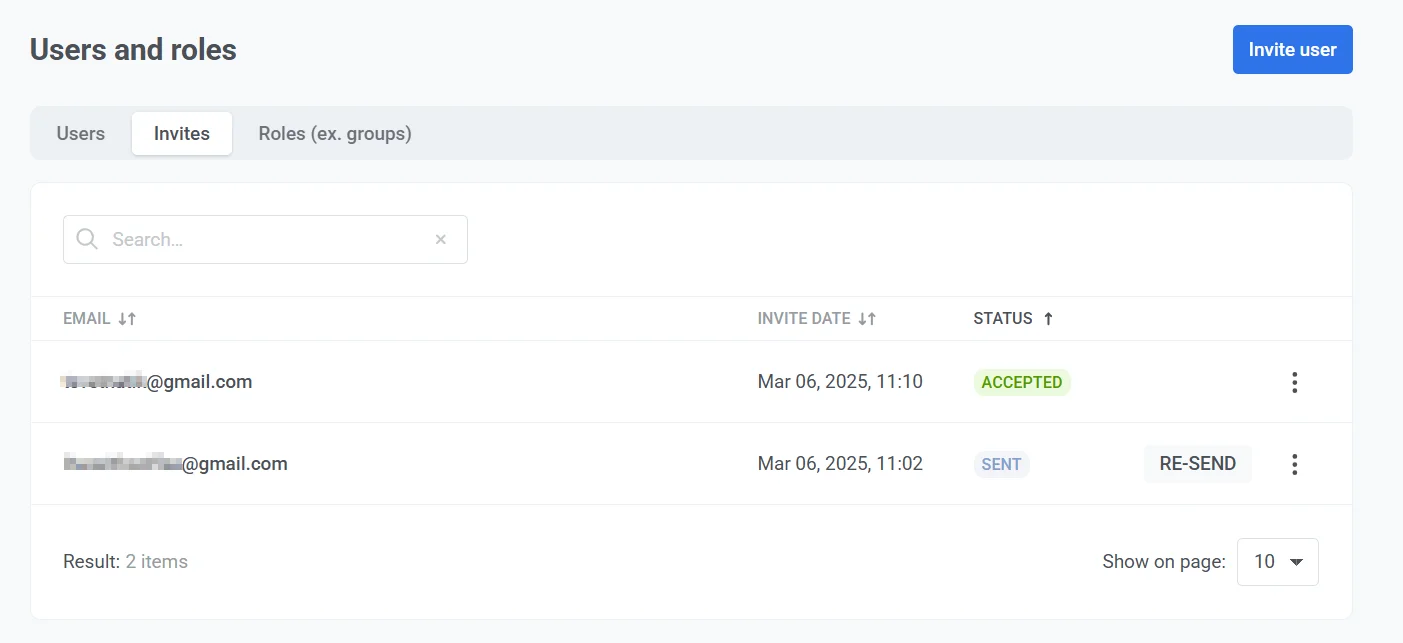
If the invitation has not been accepted or the invitee hasn’t received it, click **Re-send** to send it again after an hour.
To revoke access, click the **three-dot menu** next to the invitee's email address and select **Revoke access**.
## Creating and managing roles (formerly known as Groups)
The **Users and roles** section allows administrators to manage user accounts, roles, and permissions within the system.
### Create a new role
You can create custom roles with specific permissions to manage user access within the system.
To create a new role:
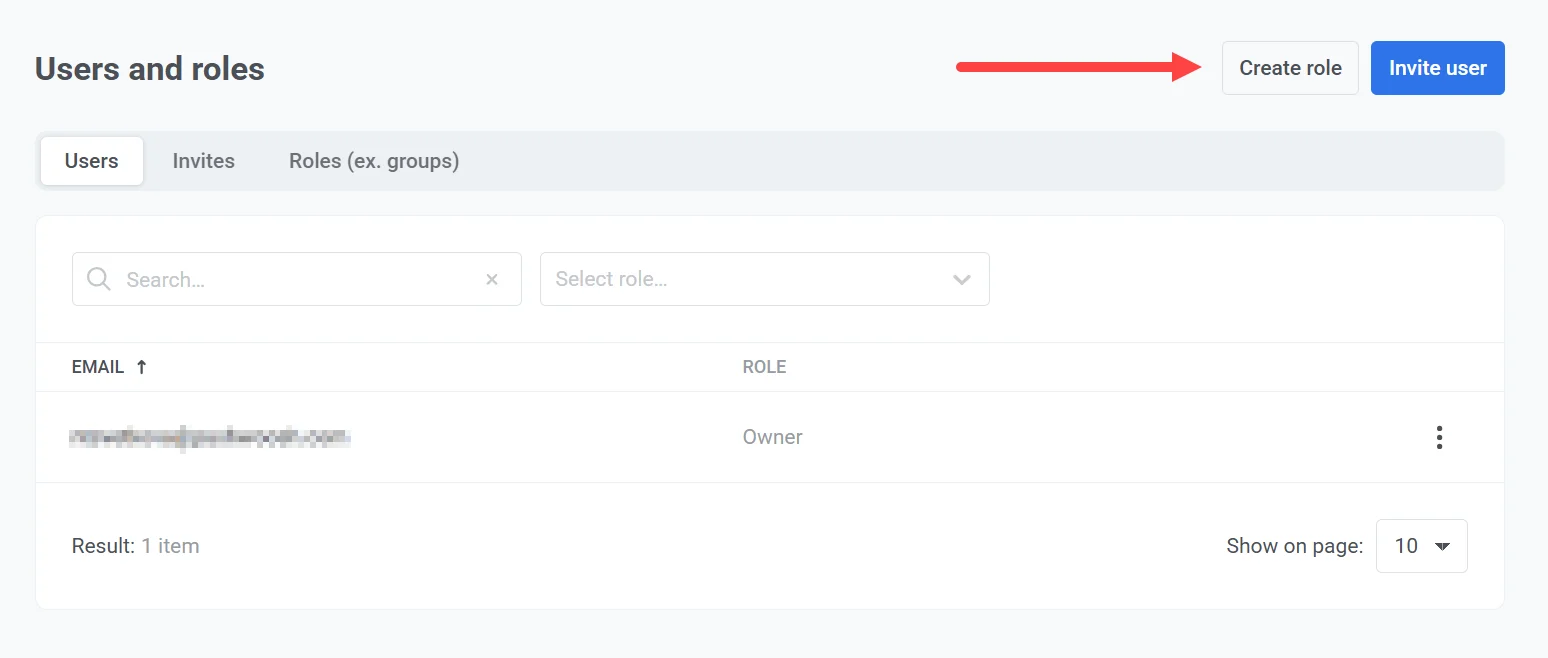
1. Click **Create role** in the top-right corner.
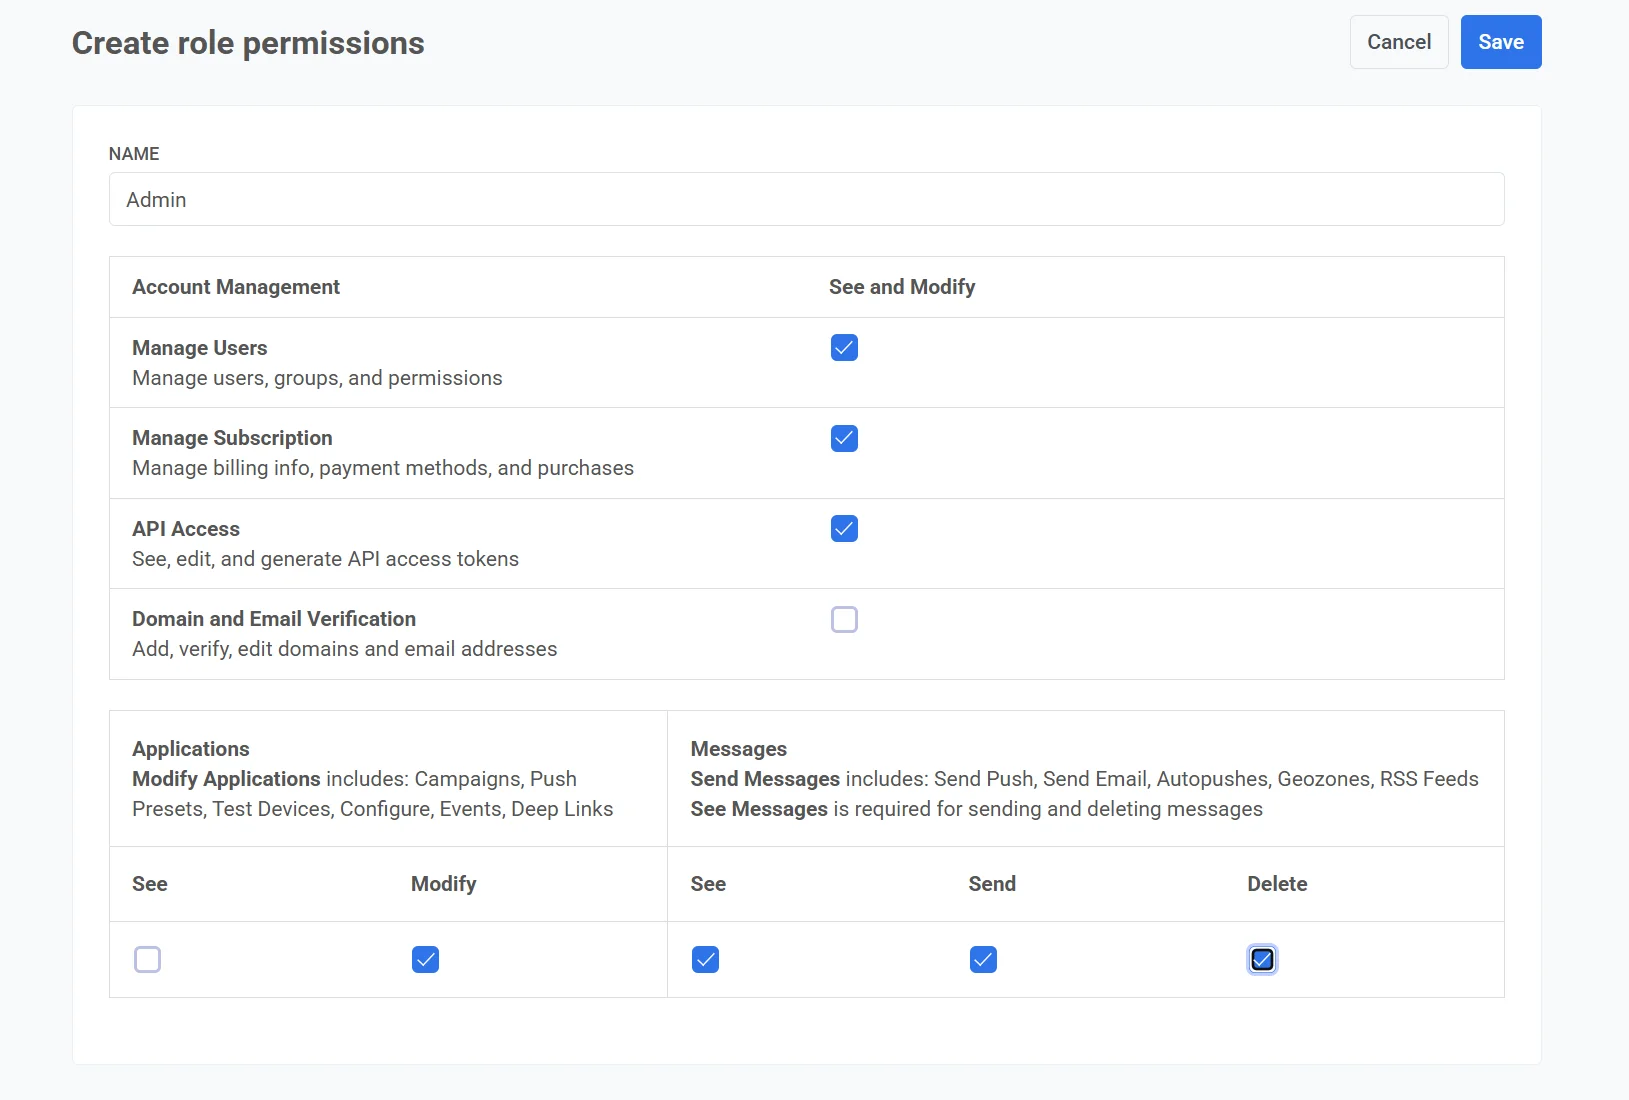
2. Enter a role name in the **Name** field.
3. Select the required permissions by checking the corresponding boxes.
#### Available permissions
| Category | Permission | Description |
| :---- | :---- | :---- |
| **Account management** | Manage users | Allows managing users, groups, and permissions. |
| | Manage subscription | Allows managing billing information, payment methods, and purchases. |
| | API access | Enables viewing, editing, and generating API access tokens. |
| | Domain and email verification | Allows adding, verifying, and editing domains and email addresses. |
| **Application permissions** | See applications | Allows viewing application-related data. |
| | Modify applications | Controls access to managing campaigns, push presets, test devices, configurations, events, and deep links. |
| **Messaging permissions** | See messages | **Important:** Required for sending and deleting messages. |
| | Send messages | Grants permission to send push notifications, emails, autopushes, geozones, and RSS feeds. |
| | Delete messages | Allows deleting messages from the system. |
6. Review the selected permissions.
7. Click **Save** to create the role. To cancel the process, click **Cancel**.
The new role will now appear in the **Roles (formerly groups)** list and can be assigned to users as needed.
### Manage roles
The **Roles (formerly groups)** tab allows administrators to view, manage, and configure user roles within the system. It displays a list of existing roles along with the number of users assigned to each role. You can use the search bar to quickly filter roles by name.
To manage a specific role, click the **three-dot menu (⋮)** next to it to access available actions such as editing permissions, managing members, or deleting the role.
#### Edit role permissions
1. Click the **three-dot menu** (⋮) next to the role.
2. Select **Edit permissions**.
3. Modify the permissions as needed.
4. Save the changes to apply the updated permissions.
#### Manage role members
1. Click the **three-dot menu** (⋮) next to the role.
2. Select **Manage members**.
3. In the pop-up window that appears, select or deselect users to assign or remove them from the role.
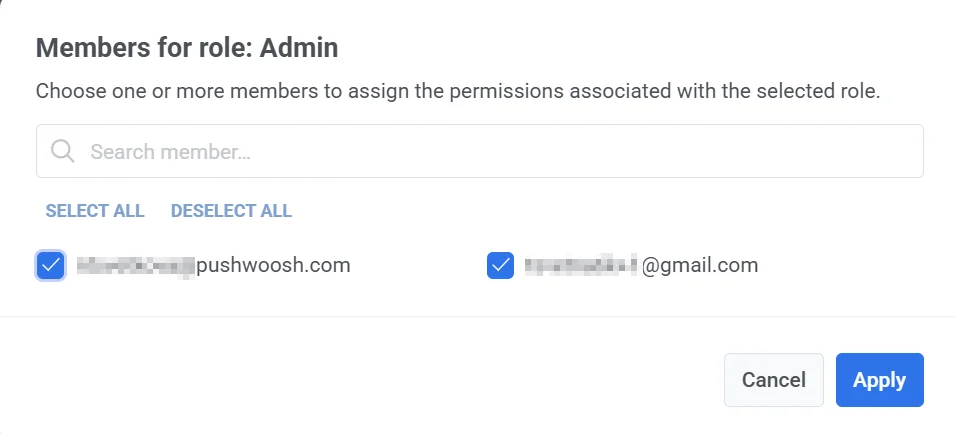
4. Click **Apply** to save the changes.
#### Delete a role
To delete a role:
1. Click the **three-dot menu** (⋮) next to the role you want to remove.
2. Select **Delete role**.
3. If users are assigned to the role, select an alternative role from the dropdown menu to reassign them.
4. Click **Delete** to confirm and remove the role.
## View authentication history
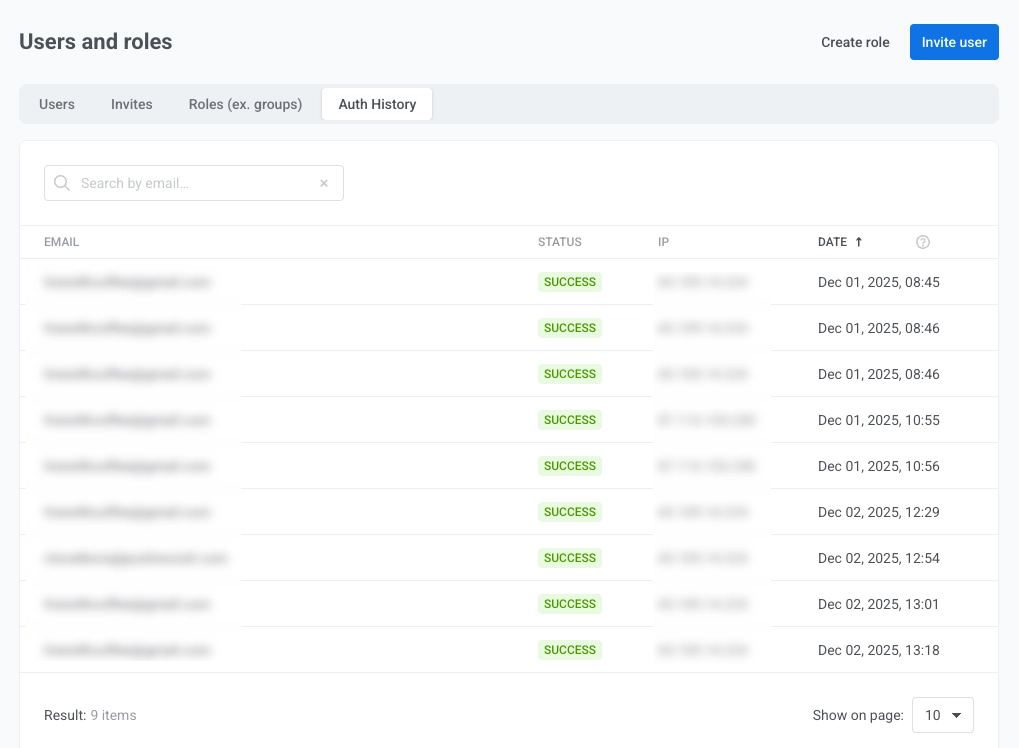
The **Auth History** tab displays a log of recent authentication activity for all users in your account. This feature enables administrators to monitor access, review successful or failed login attempts, and investigate any unusual activity.
The log includes the following details:
* **User email**: The email address used during the login attempt.
* **Status**: Indicates whether the authentication attempt was successful or failed.
* **IP address**: The IP address from which the login attempt originated, useful for identifying unexpected access locations.
* **Timestamp**: The exact date and time of the login attempt. Entries are listed in chronological order.
You can also use the search function to filter the authentication history by user email, allowing for quick access to specific records.
## App-specific permissions
If you want to grant users access to specific apps instead of the entire account, use **App-specific permissions**. These permissions are configured in the **Application Permissions** section of each individual app in your account.
App-specific permissions provide the same level of access as the equivalent **All applications permissions**, but they apply only to the selected app.
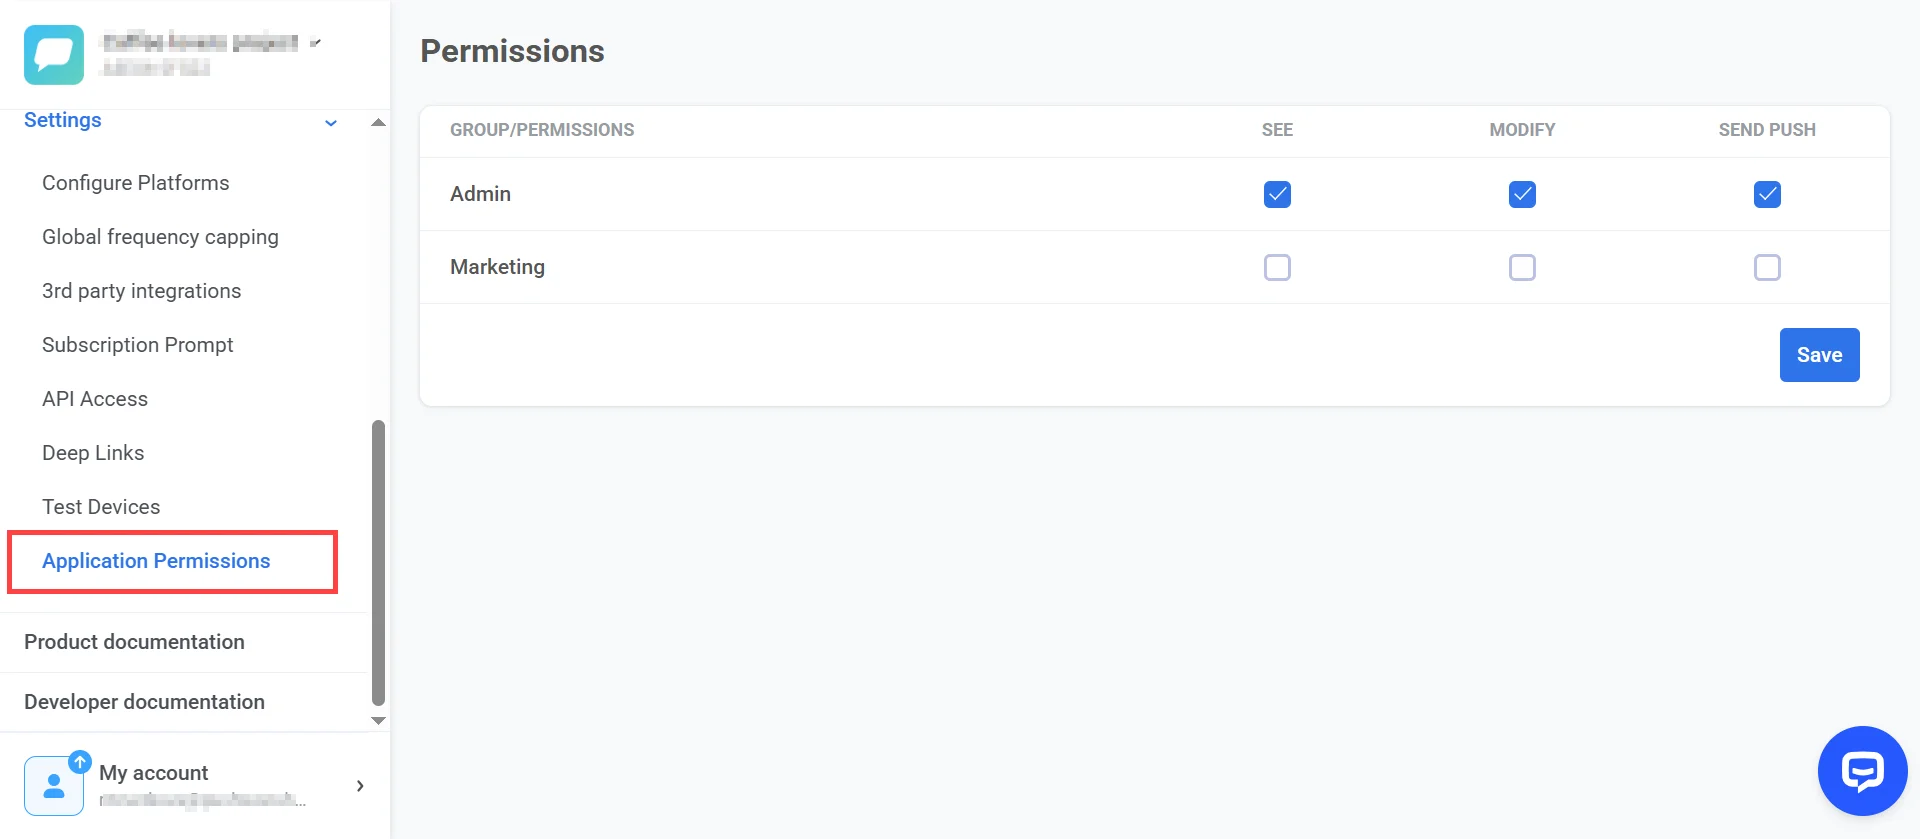
> **Note:** Even if the **See Applications** permission is not enabled for a user group, you can still assign app-specific permissions to give them access to selected apps.