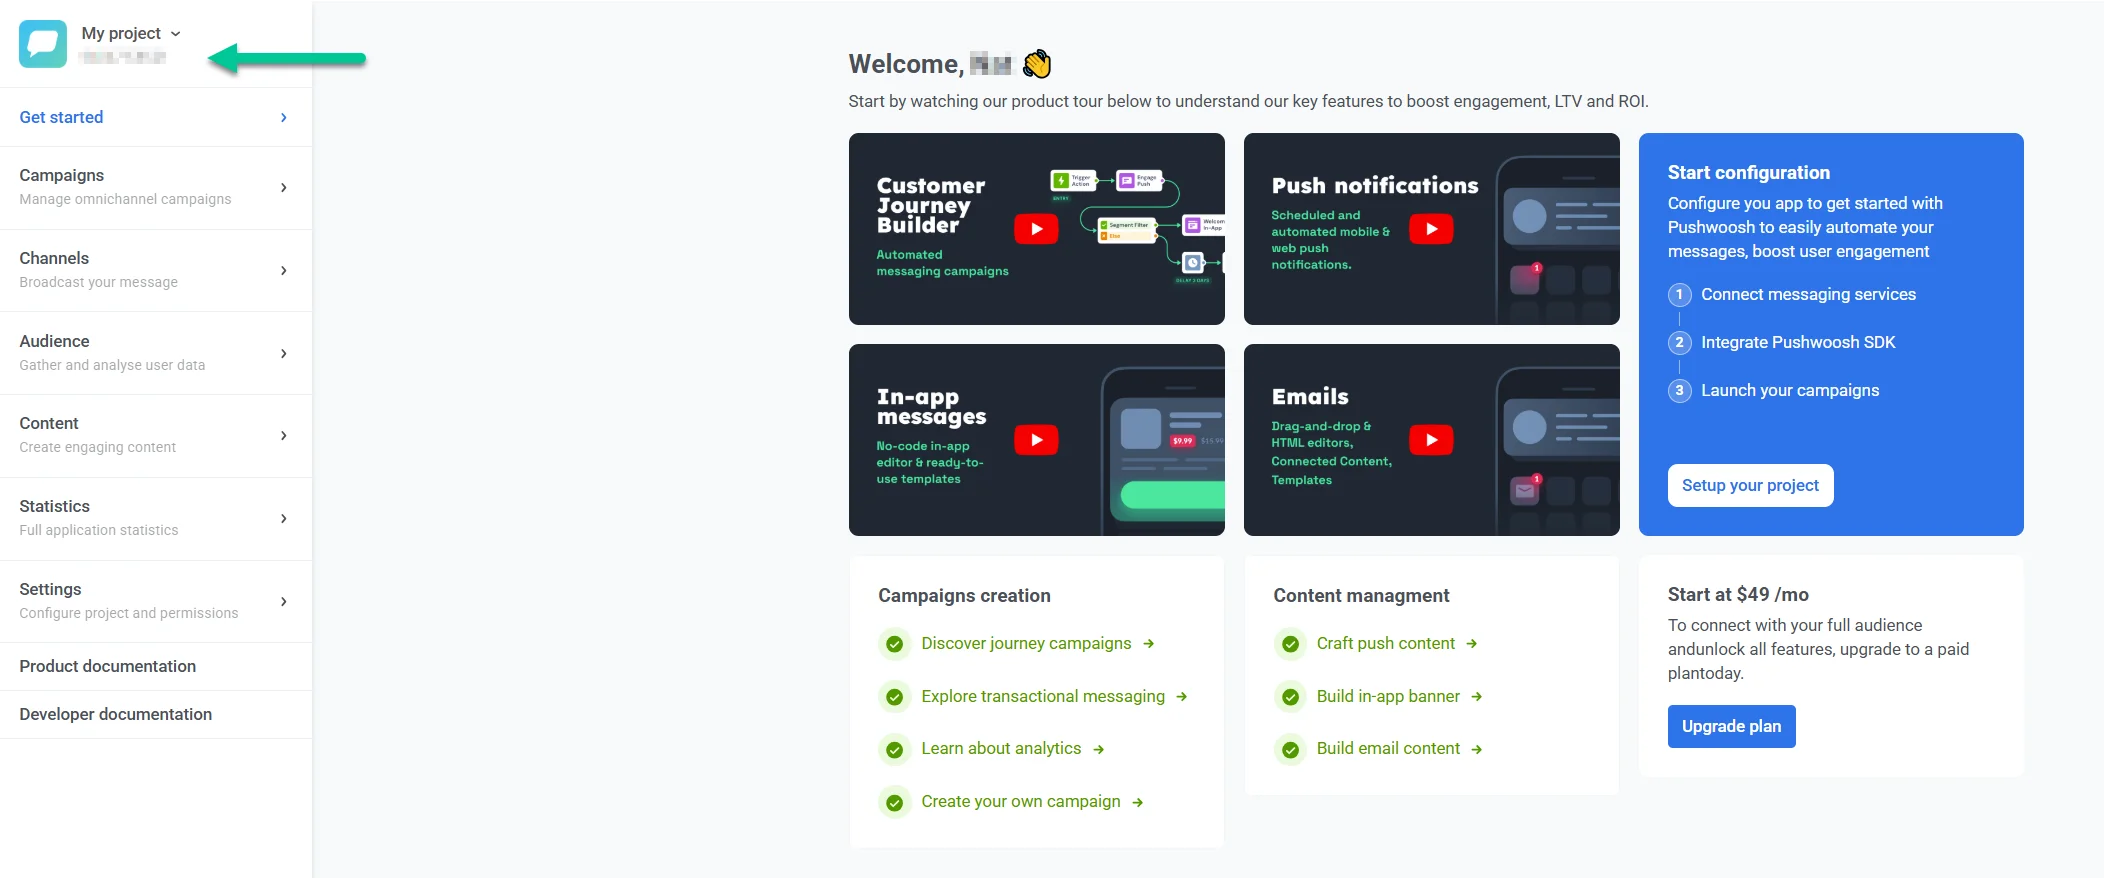
 Here, the app code can be copied to the clipboard with a single click.
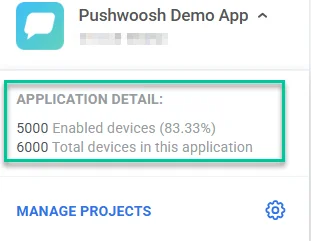
* The number of **enabled devices** shows how many devices are reachable with push notifications (i.e., they have push tokens assigned by cloud messaging gateways).
* **Total devices** are the devices registered for this app with or without push tokens. They are reachable with In-Apps even if there’s no push token assigned.
Here, the app code can be copied to the clipboard with a single click.
* The number of **enabled devices** shows how many devices are reachable with push notifications (i.e., they have push tokens assigned by cloud messaging gateways).
* **Total devices** are the devices registered for this app with or without push tokens. They are reachable with In-Apps even if there’s no push token assigned.
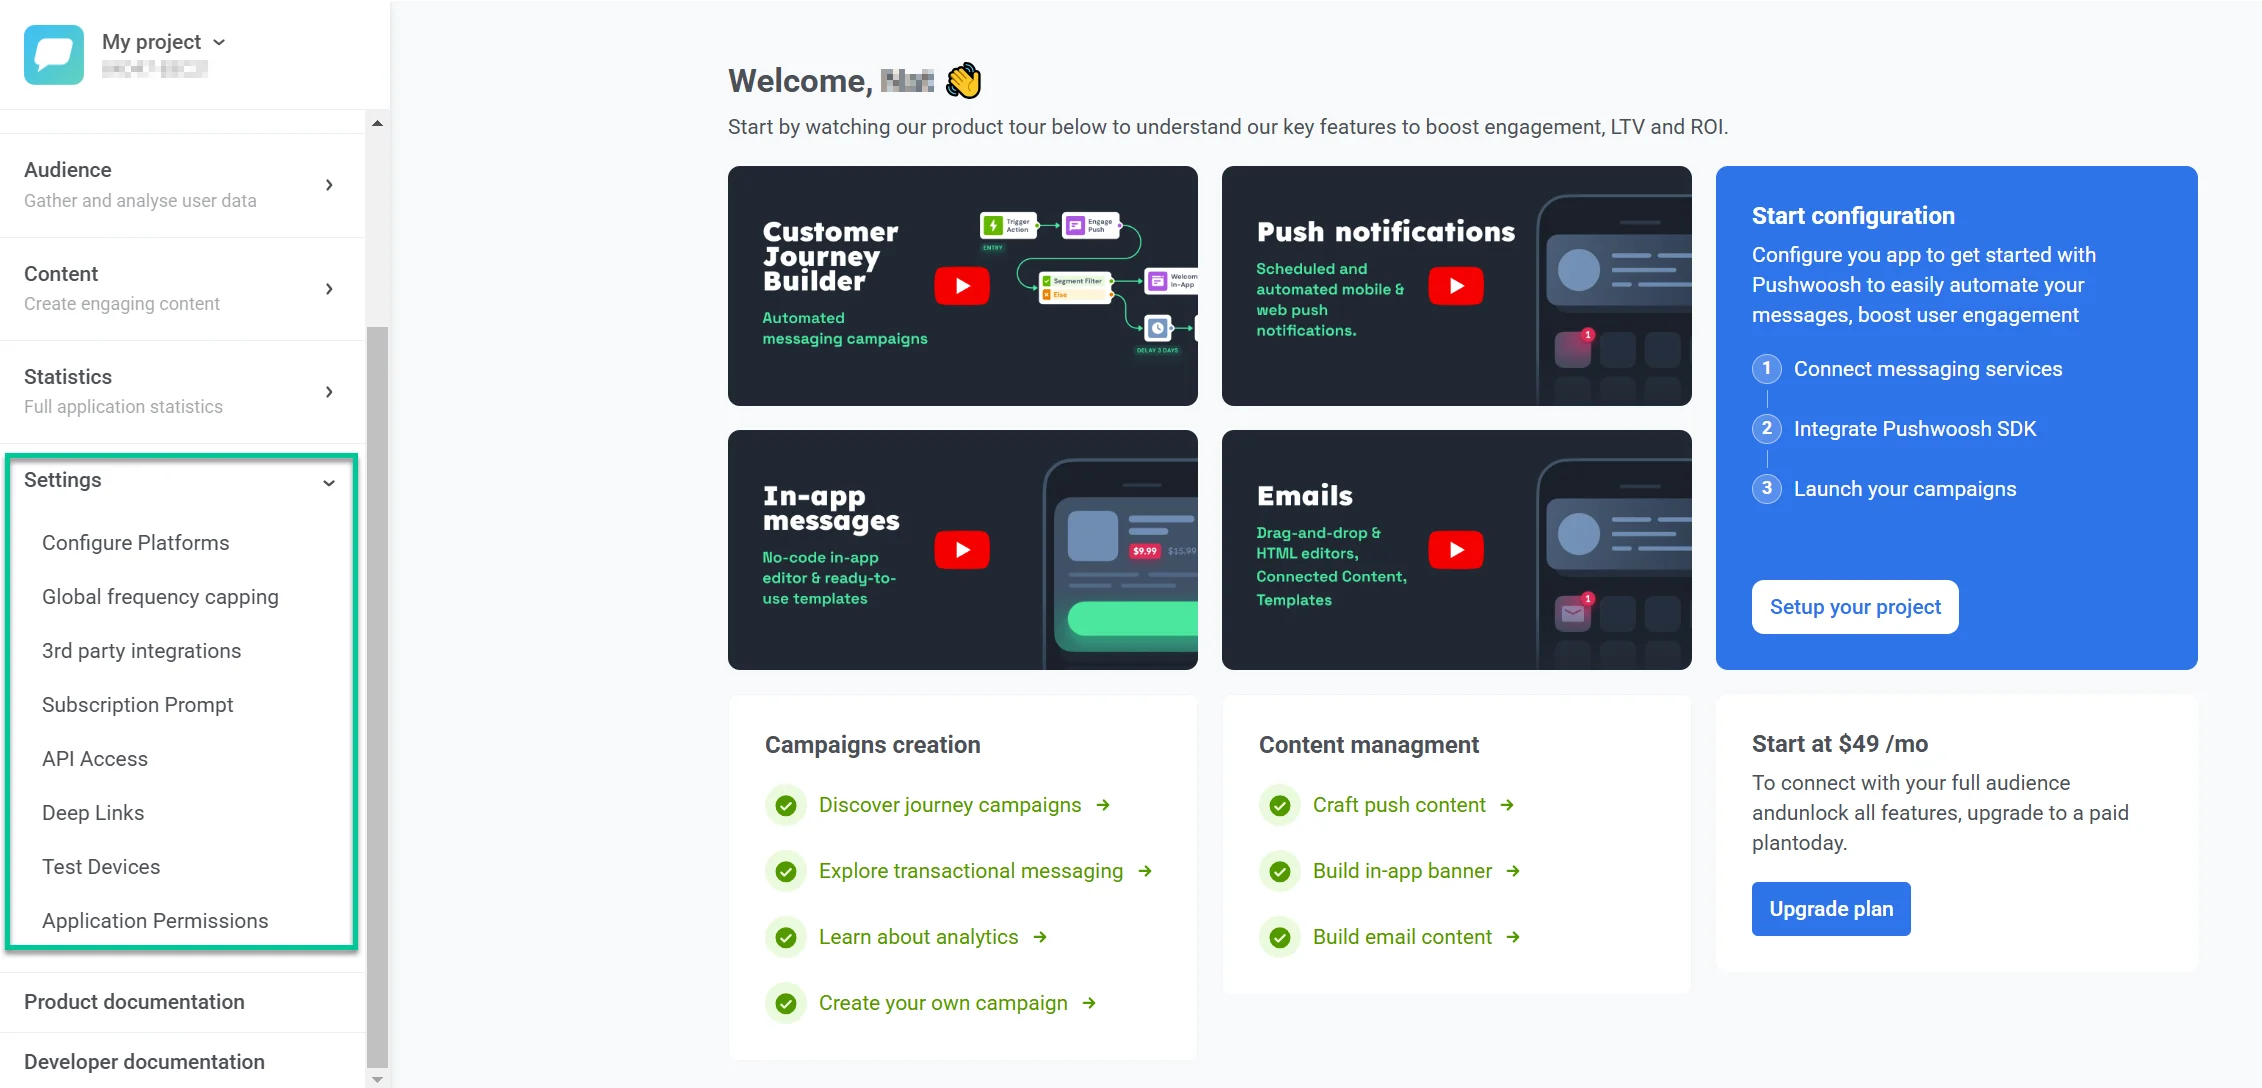 In the **Settings** section, you can:
* [configure or reconfigure project platforms](/product/first-steps/start-with-your-project/configure-platforms/) (iOS, Android, Web, Email, etc.).
* [manage message delivery settings](/product/messaging-channels/global-frequency-capping) for frequency capping and send rate limits.
* [connect 3rd party integrations](/product/integrations/) with external tools and services.
* [set up a global control group](/product/audience-data-and-segmentation/global-control-group) to exclude a share of your audience from campaigns for unbiased measurement.
* [create API tokens](/developer/api-reference/api-access-token/#create-a-new-api-access-token) and [manage access permissions](/developer/api-reference/api-access-token/#manage-a-token).
* [create and edit Deep Links](/product/messaging-channels/push-notifications/advanced-push-features/deep-linking) that take users directly to specific app pages when they open push messages.
* [add Test Devices](/product/first-steps/start-with-your-project/test-your-integration/test-devices) to test your messages before sending them to subscribers.
* [set permissions for sub-users](/product/account-management-and-security/multi-login-accounts) to view or manage this particular project.
### Edit project details
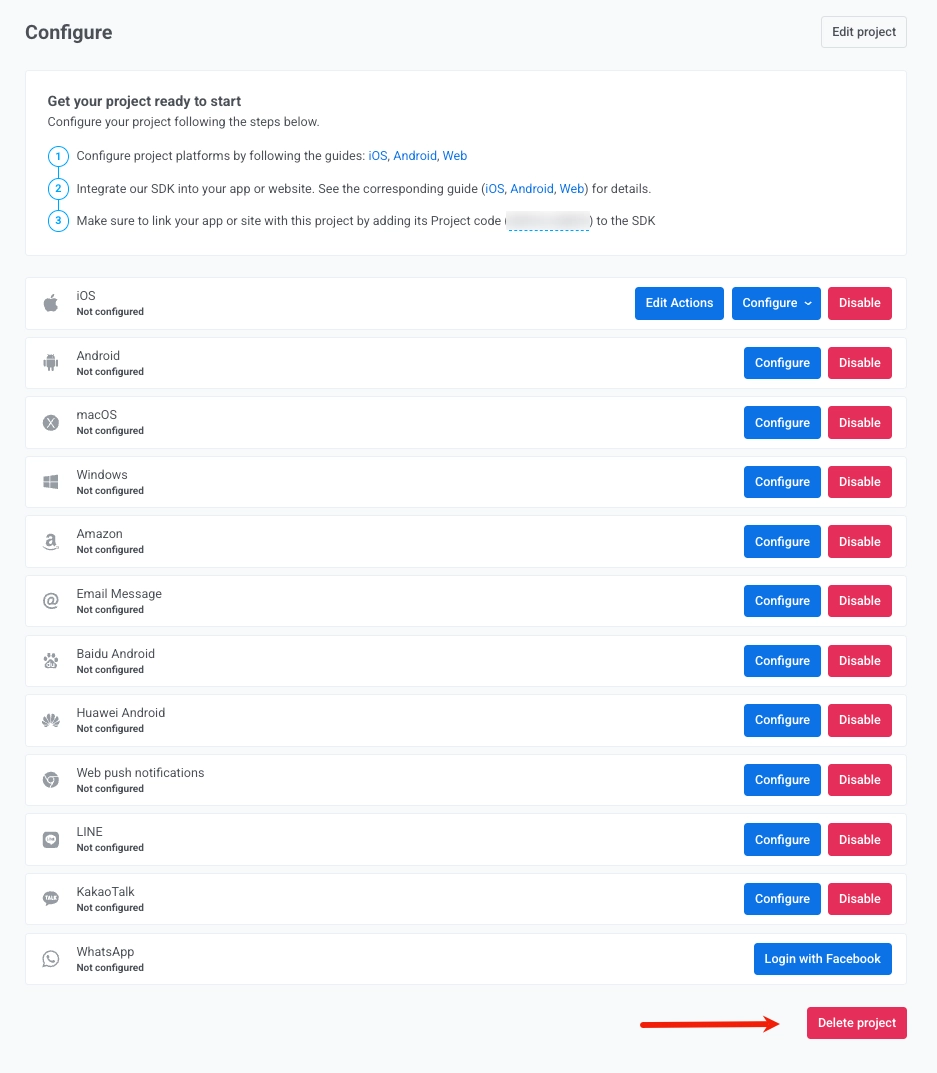
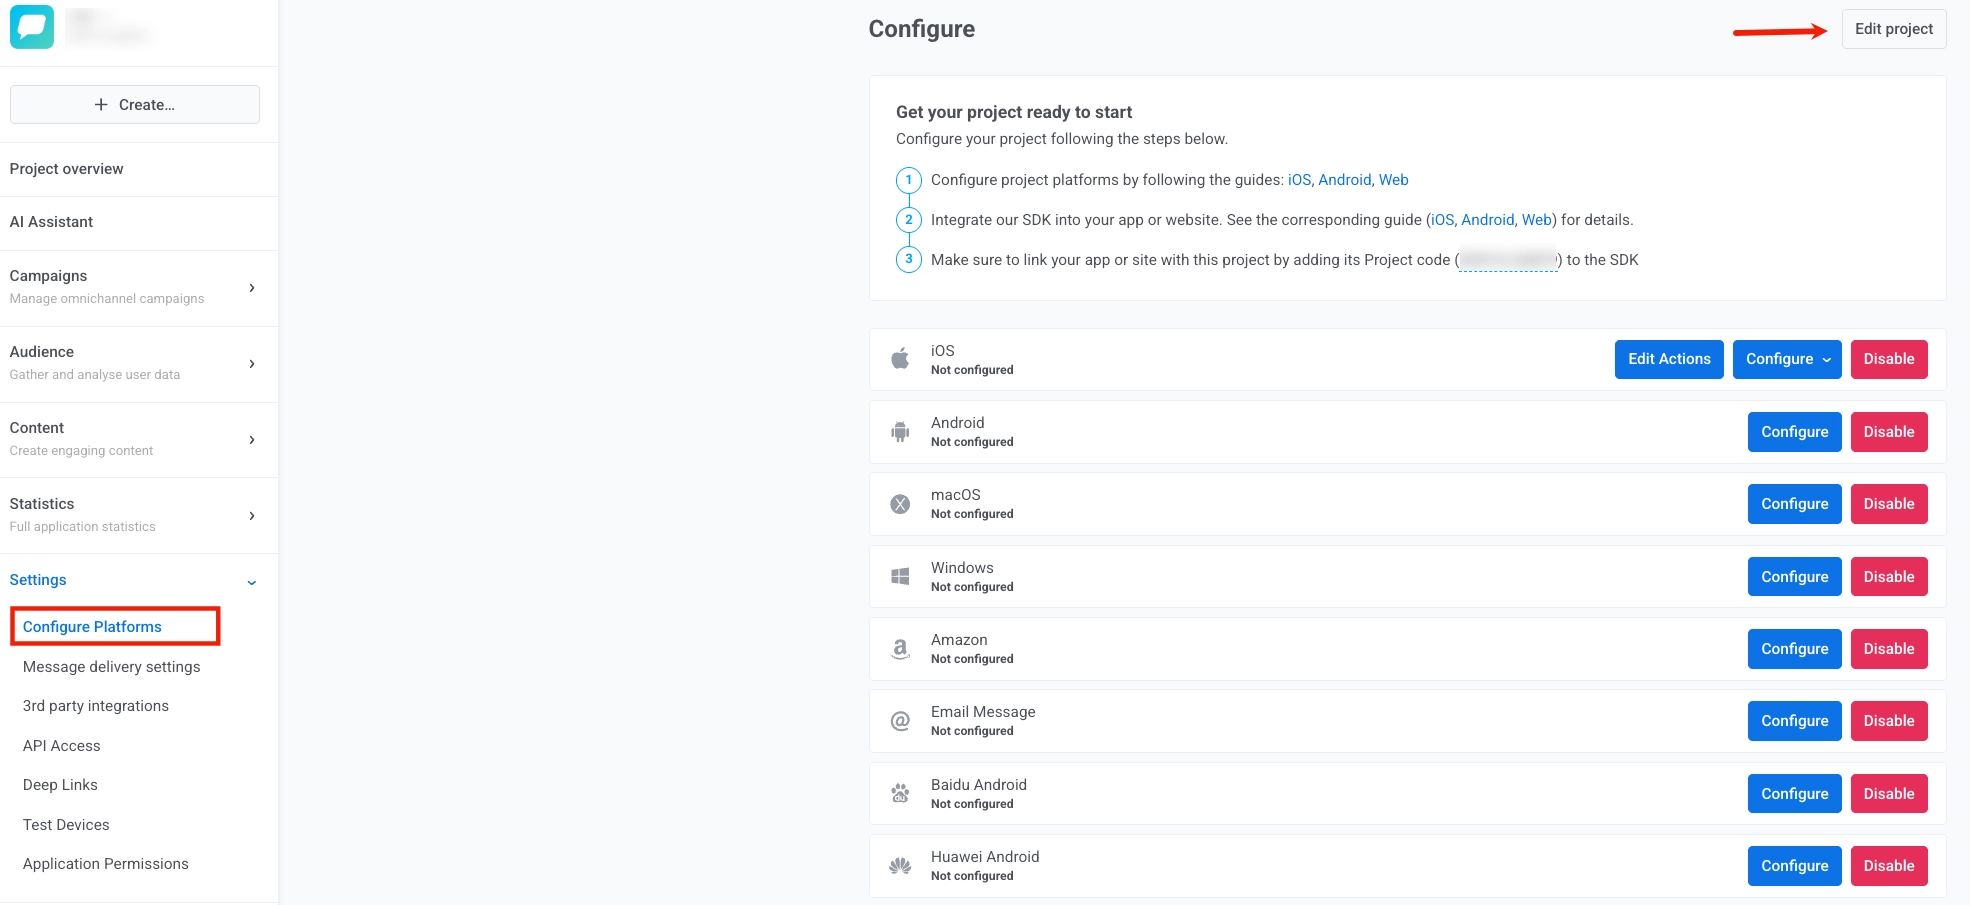
To modify the project settings, go to the **Configure platforms** page in the **Settings** section and click **Edit project** in the top right corner.
In the **Settings** section, you can:
* [configure or reconfigure project platforms](/product/first-steps/start-with-your-project/configure-platforms/) (iOS, Android, Web, Email, etc.).
* [manage message delivery settings](/product/messaging-channels/global-frequency-capping) for frequency capping and send rate limits.
* [connect 3rd party integrations](/product/integrations/) with external tools and services.
* [set up a global control group](/product/audience-data-and-segmentation/global-control-group) to exclude a share of your audience from campaigns for unbiased measurement.
* [create API tokens](/developer/api-reference/api-access-token/#create-a-new-api-access-token) and [manage access permissions](/developer/api-reference/api-access-token/#manage-a-token).
* [create and edit Deep Links](/product/messaging-channels/push-notifications/advanced-push-features/deep-linking) that take users directly to specific app pages when they open push messages.
* [add Test Devices](/product/first-steps/start-with-your-project/test-your-integration/test-devices) to test your messages before sending them to subscribers.
* [set permissions for sub-users](/product/account-management-and-security/multi-login-accounts) to view or manage this particular project.
### Edit project details
To modify the project settings, go to the **Configure platforms** page in the **Settings** section and click **Edit project** in the top right corner.
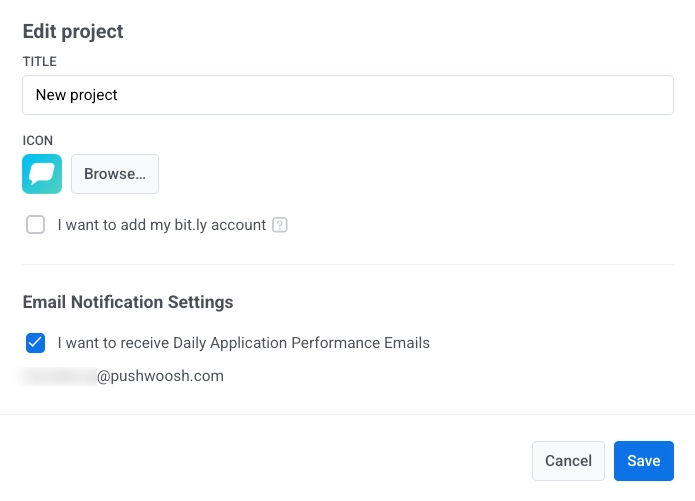
 Here you can modify the following:
* **Title**: Update the project name in the **TITLE** field.
* **Icon**: Change the project icon by clicking **Browse...** next to the current icon and selecting a new image file.
* **Bit.ly integration**: Enable the **I want to add my bit.ly account** checkbox and enter your bit.ly access token in the **ACCESS TOKEN** field to integrate your Bit.ly account for link shortening.
* **Email notifications**: Configure email notification settings. Enable **I want to receive Daily Application Performance Emails** to receive daily performance reports. The email address where notifications will be sent is displayed below the checkbox.
Here you can modify the following:
* **Title**: Update the project name in the **TITLE** field.
* **Icon**: Change the project icon by clicking **Browse...** next to the current icon and selecting a new image file.
* **Bit.ly integration**: Enable the **I want to add my bit.ly account** checkbox and enter your bit.ly access token in the **ACCESS TOKEN** field to integrate your Bit.ly account for link shortening.
* **Email notifications**: Configure email notification settings. Enable **I want to receive Daily Application Performance Emails** to receive daily performance reports. The email address where notifications will be sent is displayed below the checkbox.
 Click **Save** to apply your changes or **Cancel** to discard them.
## Deleting projects
To delete a project, go to the **Settings** section and navigate to the **Configure platforms** page. Open the three-dot menu at the top right of the page (next to **Edit project**) and select **Delete project**.
Click **Save** to apply your changes or **Cancel** to discard them.
## Deleting projects
To delete a project, go to the **Settings** section and navigate to the **Configure platforms** page. Open the three-dot menu at the top right of the page (next to **Edit project**) and select **Delete project**.