Billing page
To access your financial information and payment methods, navigate to My account > Billing. In the same menu, click Upgrade Plan to change your subscription. To compare plans and pricing, see the Pushwoosh pricing page.

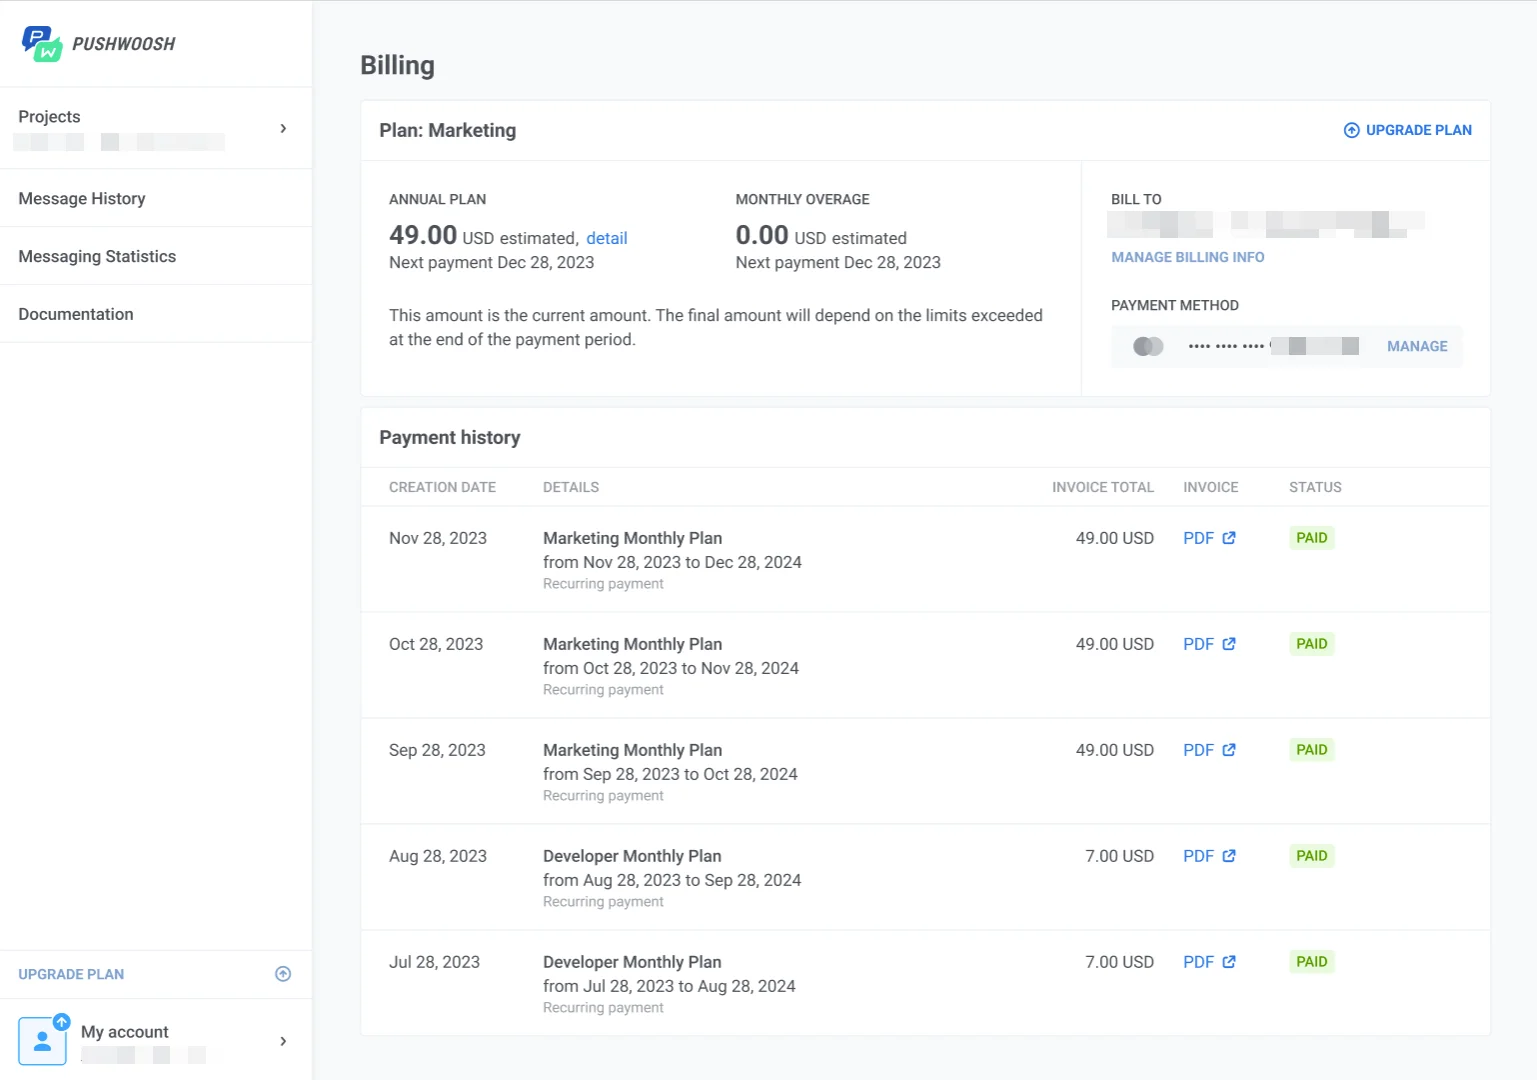
The Billing page gives you a full picture of your account finances and payment setup:
- Overview: Your plan, estimated charges, billing contact, and usage.
- Invoices: Billing history with PDF downloads.
- Payment methods: Saved cards and the default payment method.
Overview
Anchor link toIn Overview, you can review your plan charges, billing details, usage, and ManyMoney AI daily request usage.
- Plan: shows your plan name, billing cycle, and next payment date. You can also see how charges are calculated and the estimated total for the current period.
- Payment information: shows who receives invoices and which card is charged by default.
- Usage: shows how much of your plan you have used in the current billing period, including monthly active users and email sends against your plan limit.
- ManyMoney AI: shows your daily request usage and when the limit resets.
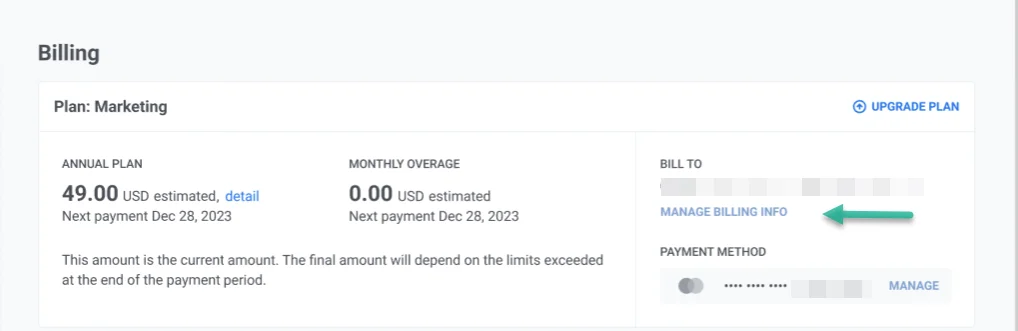
How to manage your billing information
Anchor link toIf billing is not yet configured, click Add billing info in the Payment information section.
To update existing billing details, click Manage Billing Info.
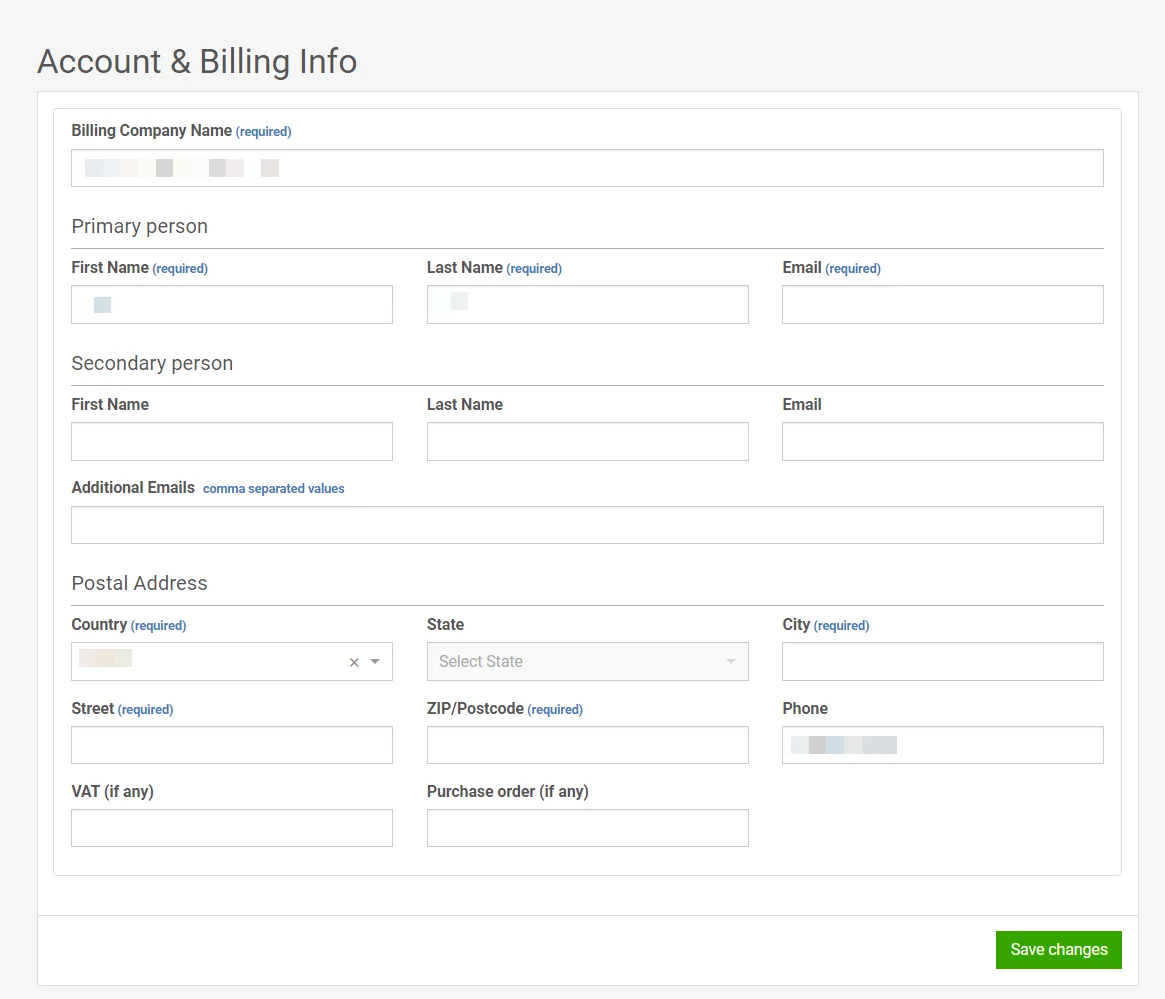
In the billing information window, enter your billing company name, primary and secondary contact details, and postal address, then click Save.
Invoices
Anchor link toIn the Invoices tab, you can review your billing history and download invoice files for each billed period.
Each row shows the invoice creation date, plan name, billing period, charged amount, payment status, and a PDF link to open or download the invoice.
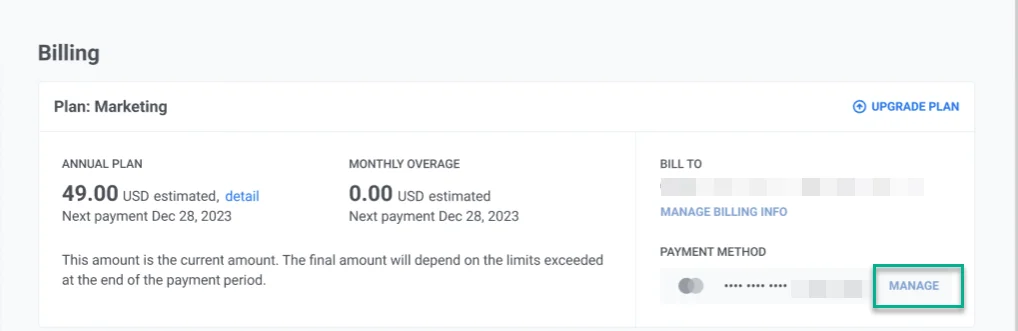
Payment methods
Anchor link toTo manage billing cards and accounts, open the Payment methods tab.
Click Add method and select Debit/Credit Card or PayPal. For PayPal, complete the authorization in the window that opens. For a card, fill in the card number, expiration date, cardholder name, and CVV/CVC, then click Save.
After you add a method, it appears in the payment methods list.

To delete a method, click the three-dot menu next to it and select Remove method.