iOS interactive push
iOS Interactive Push Notifications offer a dynamic way to engage users by allowing them to interact directly with notifications. Unlike standard push notifications that simply open the app, interactive notifications provide actionable options within the notification itself.
This increased interactivity boosts user engagement by enabling swift responses, such as replying to a message or completing a task. By offering valuable quick actions, you can significantly enhance user experience and foster deeper connections with your app.
Use cases
Anchor link toE-commerce
Anchor link to- Notify users of a sale and provide actions like “Shop Now” or “Save for Later.”
- Send abandoned cart reminders with options like “Complete Purchase” or “View Cart.”
Media & Entertainment
Anchor link to- Send notifications about new content with actions like “Watch Now” or “Add to Playlist.”
Gaming
Anchor link to- Alert players to special in-game events with actions like “Join Now” or “View Details.”
- Daily rewards: Notify users of daily rewards with options like “Claim Now” or “View Rewards.”
Creating categories in Pushwoosh Control Panel
Anchor link toTo implement these interactive elements, iOS utilizes notification categories. These categories group the available actions within a notification, defining the options users can select. Pushwoosh simplifies this process by allowing you to create and manage iOS Categories directly from the Pushwoosh Control Panel. For this, follow these steps:
- Create a Category in your Pushwoosh Control Panel. A category contains either one or two buttons.
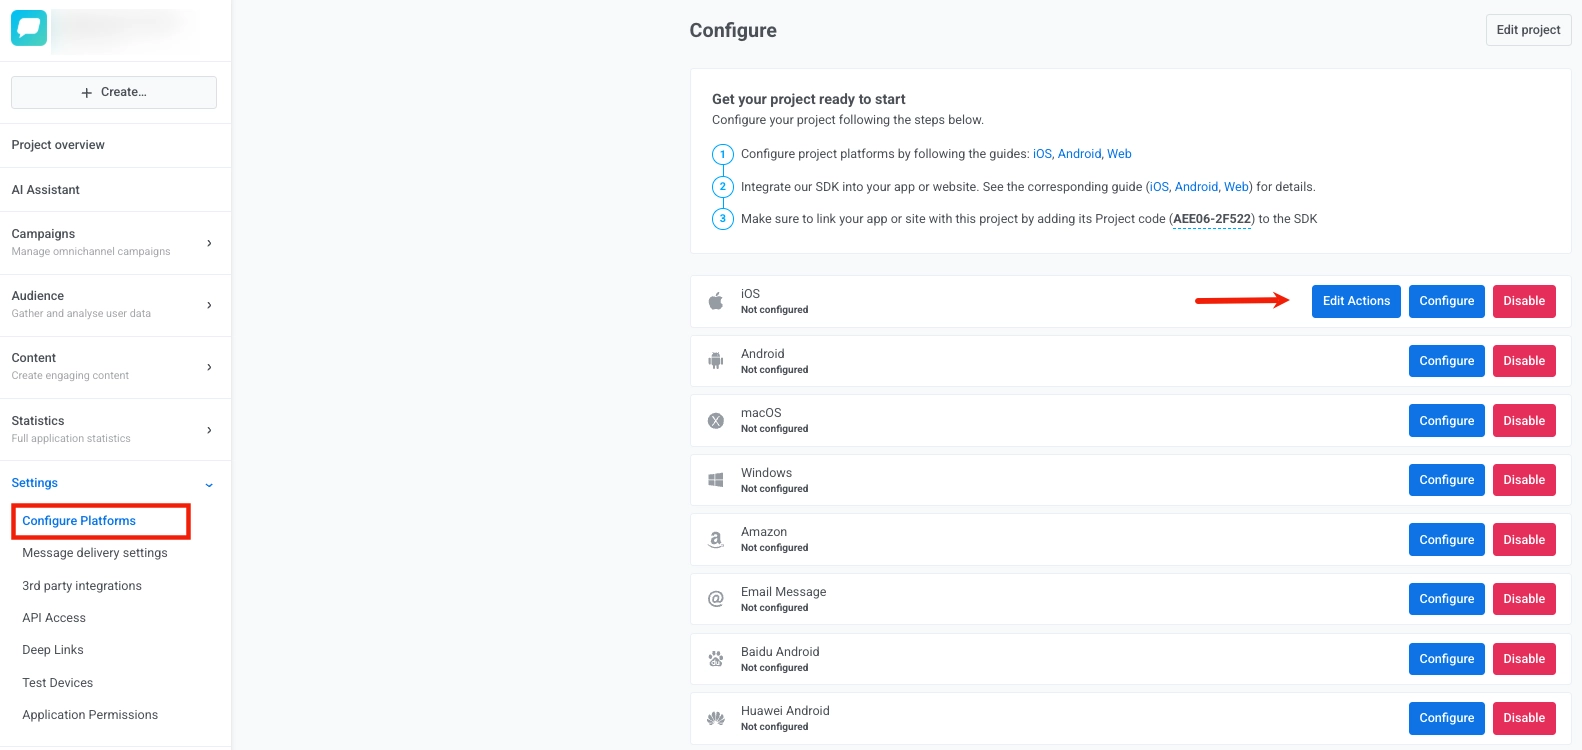
- Open the Configure platforms page of your application in Pushwoosh, and click Edit Actions.
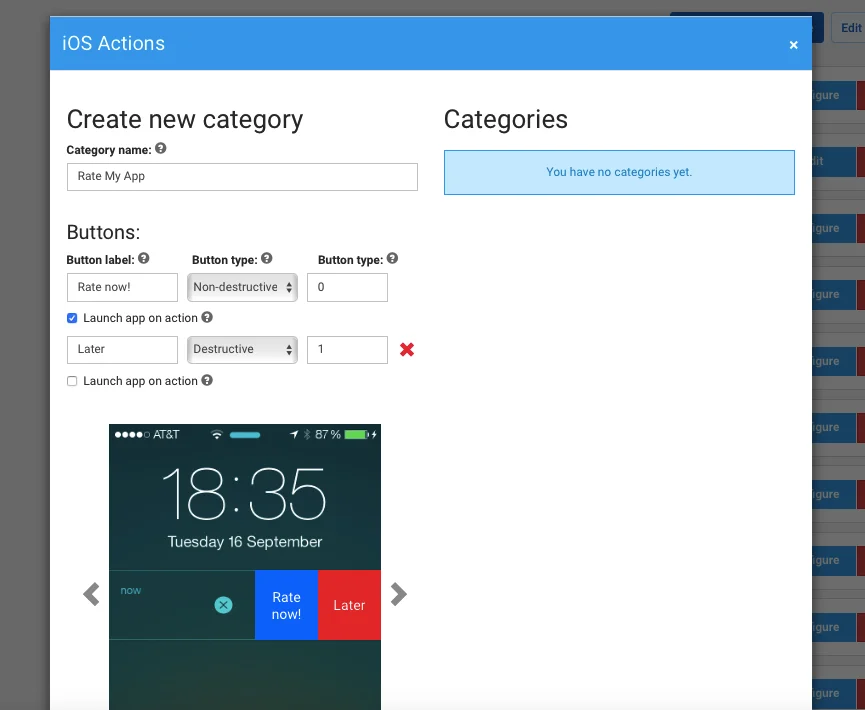
- Give a name to the Category you are about to create. You will use it for your further reference.
- Specify the text which will be used as a button label. iOS displays up to two lines of text.
- Select a button type:
- Destructive: the button is red, signifies actions such as delete, reject, dismiss, etc.
- Non-destructive: the button is blue, signifies positive actions.
- Choose whether you would like your app to be launched in the foreground when a user taps on the button by enabling the Launch app on action checkbox.
- Click Save changes, and it will be saved in Pushwoosh with a Category ID.