Create email content with Drag & drop editor
The Drag & drop email editor enables you to easily design emails without coding or design skills. It offers a wide range of content elements and layouts tailored to your specific requirements.
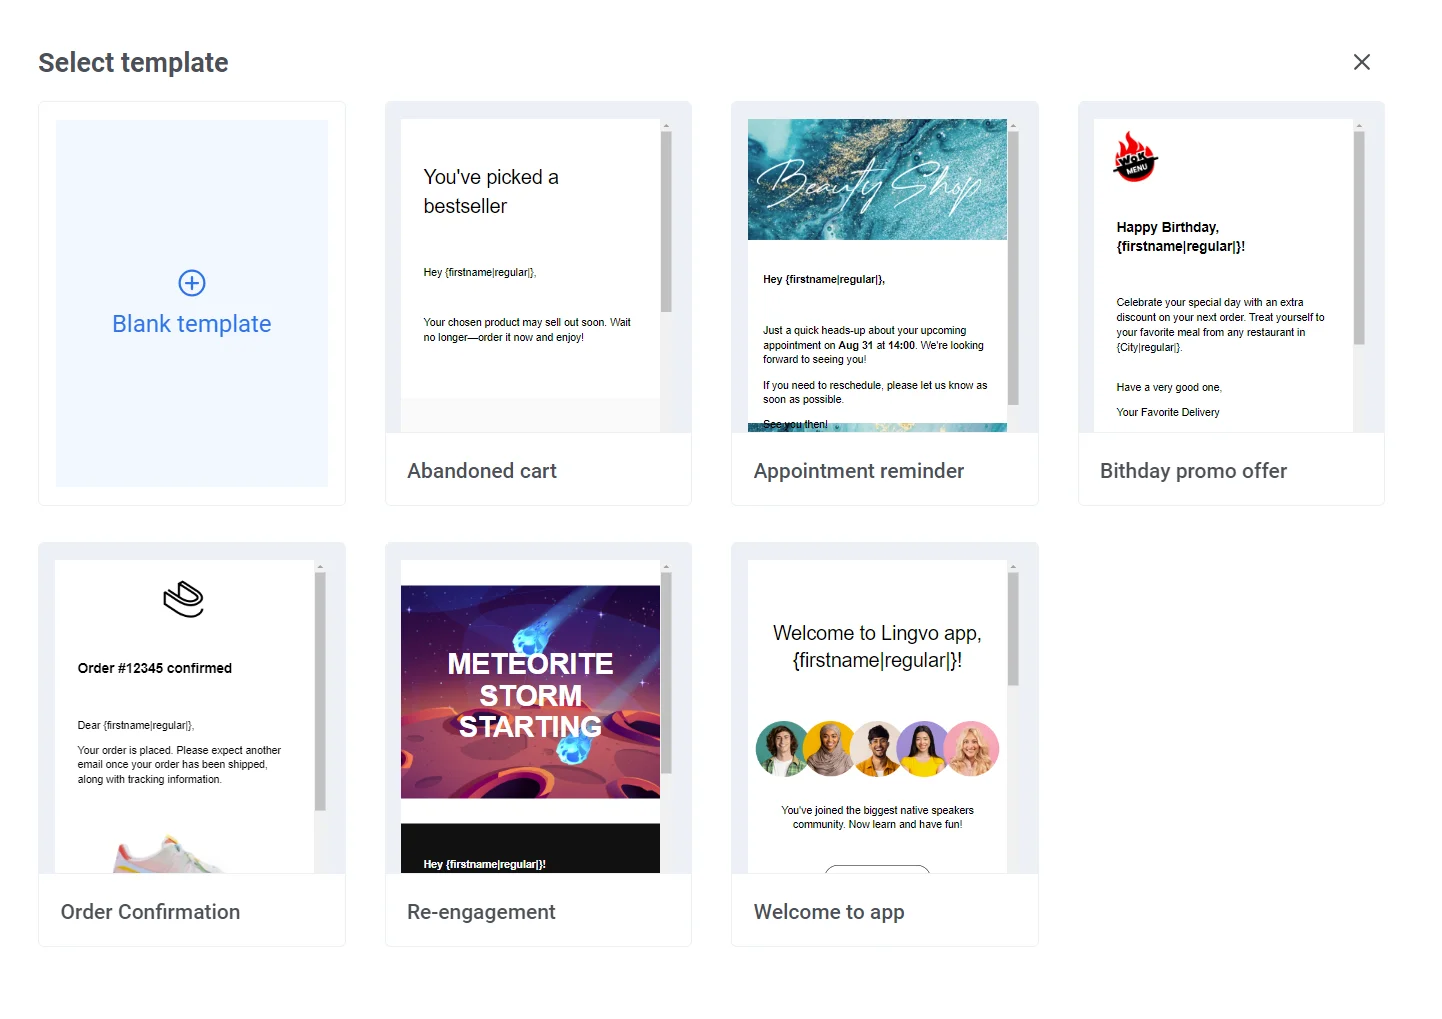
Within the Drag & drop email editor, you can either start from scratch or select from a variety of pre-designed templates. There are ready-made templates for common scenarios such as abandoned carts, appointment reminders, order confirmations, and re-engagement. You can easily edit and customize these templates to fit your needs.
If you prefer full control over your design, choose Blank template to build a completely customized email from the ground up.
Key tabs in the Drag & Drop editor
Anchor link toThe Drag & drop editor comprises four key tabs:
Content
Anchor link toThis tab allows you to build an email layout by inserting various content elements.
Blocks
Anchor link toCreate unique layouts using ready-made blocks. You can add as many as you need to your email for a personalized look.
Body
Anchor link toIn this tab, you manage the overall settings of your email, including the preheader, text, and link formatting.
Images
Anchor link toThis tab enables you to search for stock images or generate unique images using AI.
Customize email layout
Anchor link toFirst, go to the Blocks tab to provide a basic structure for your email.
The Drag & drop email editor offers the flexibility to adjust an email layout to your needs. You can add as many rows as you need, with different numbers of columns.
To build an email layout, drag and drop the blocks from the editor panel to the email body.
In the Blocks tab, you have the option to specify properties for both columns and rows.
For Columns, you can customize the following:
- Background color
- Padding
- Border
For Rows, you can specify the following:
- Background color
- Content background color
- Background image. You can either upload an image, select one from a stock photo library, or provide a custom image URL.
Create email content
Anchor link toAfter you’ve built the basic structure of your email, it’s time to start adding content.
Within the Content tab, you can insert various content elements into your email, including:
- Heading
- Text
- Image
- Button
- HTML
- Divider
- Menu
- Unsubscribe link
To include these content elements in your email, just select an element from the menu and drag it into the email on the left.
Add a heading
Anchor link toTo insert a heading, just drag the Heading element into the email body.
You can write your heading, or you can use our Smart Headings AI tool to help you generate effective headings. To do this, click on Get Suggestions and type a few words. The tool will provide various heading options.
Additionally, you can select a desired tone of voice for your heading.
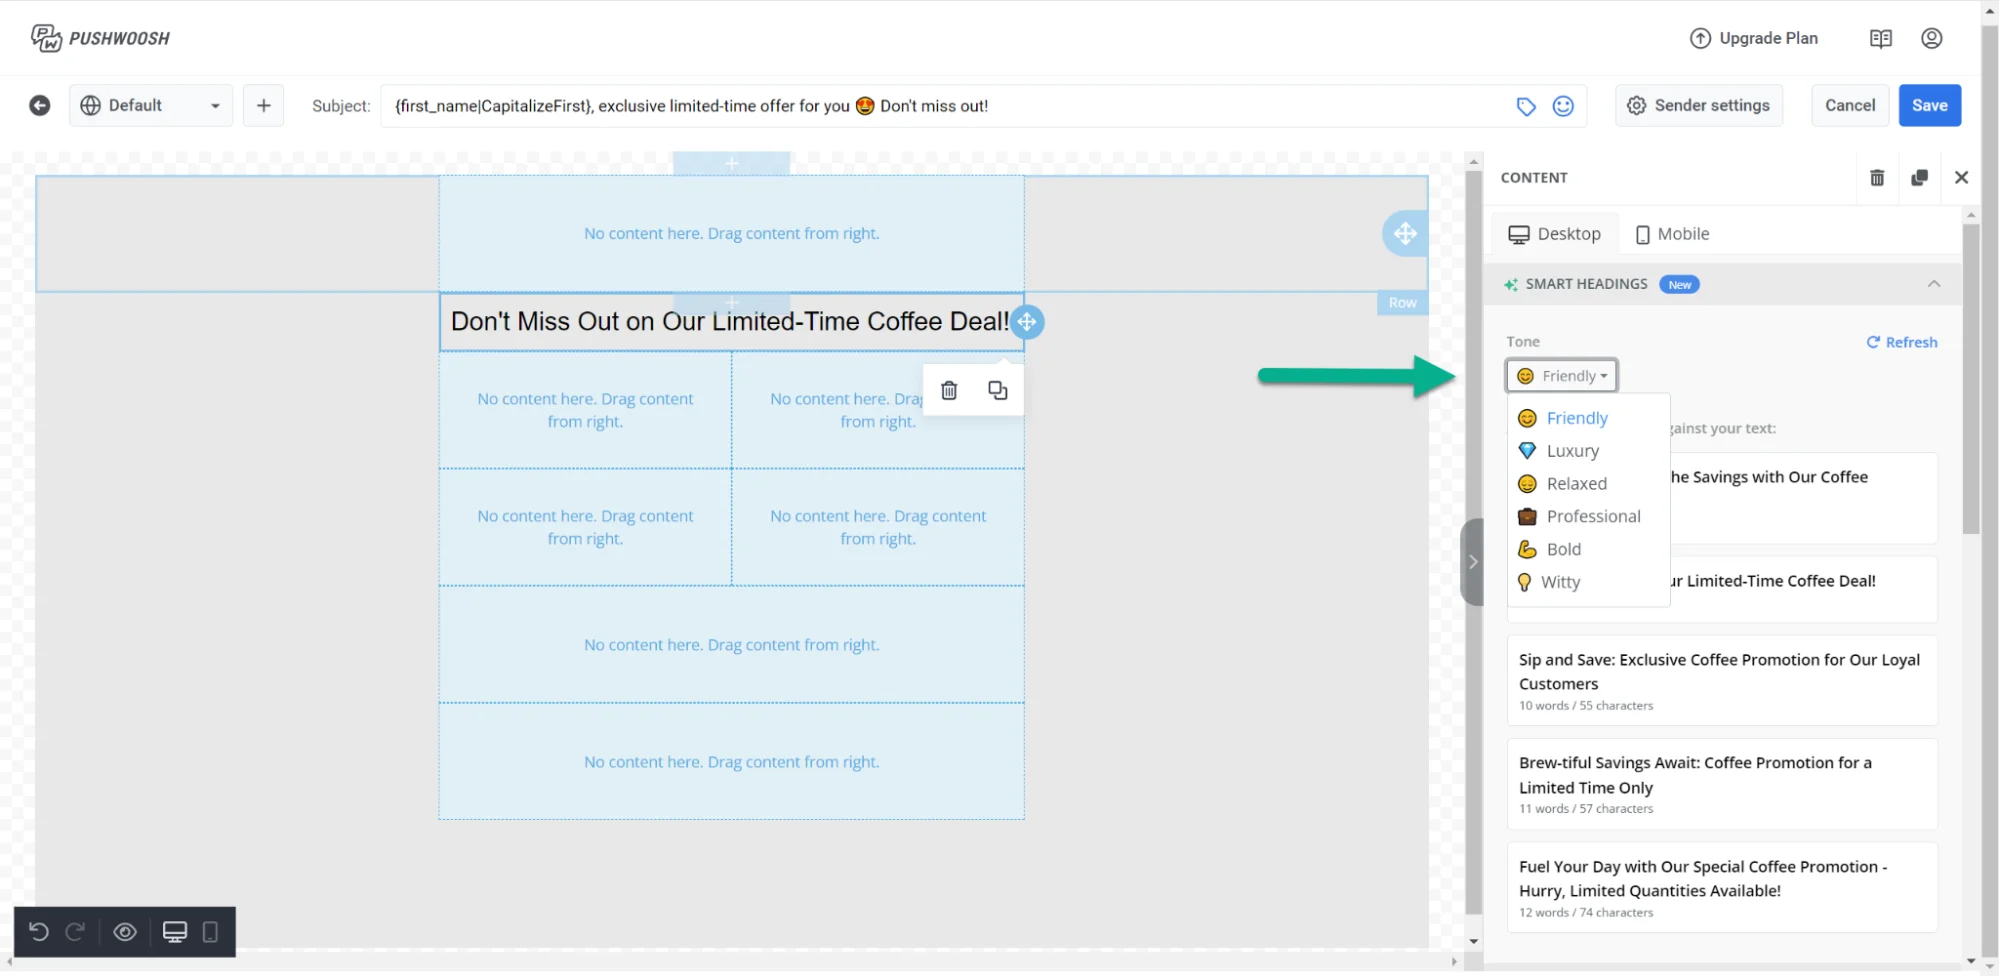
If you’re not satisfied with the results or need more options of the heading to choose from, just hit the Refresh button.
When you click on the heading in the email body, a formatting toolbar appears, allowing you to pick formatting styles, add links, or add some emojis.
Personalize the heading
Anchor link toYou can also personalize your heading right from the toolbar. For this, simply choose Merge tags, and in the dropdown menu pick the tag you wish to incorporate into your heading.
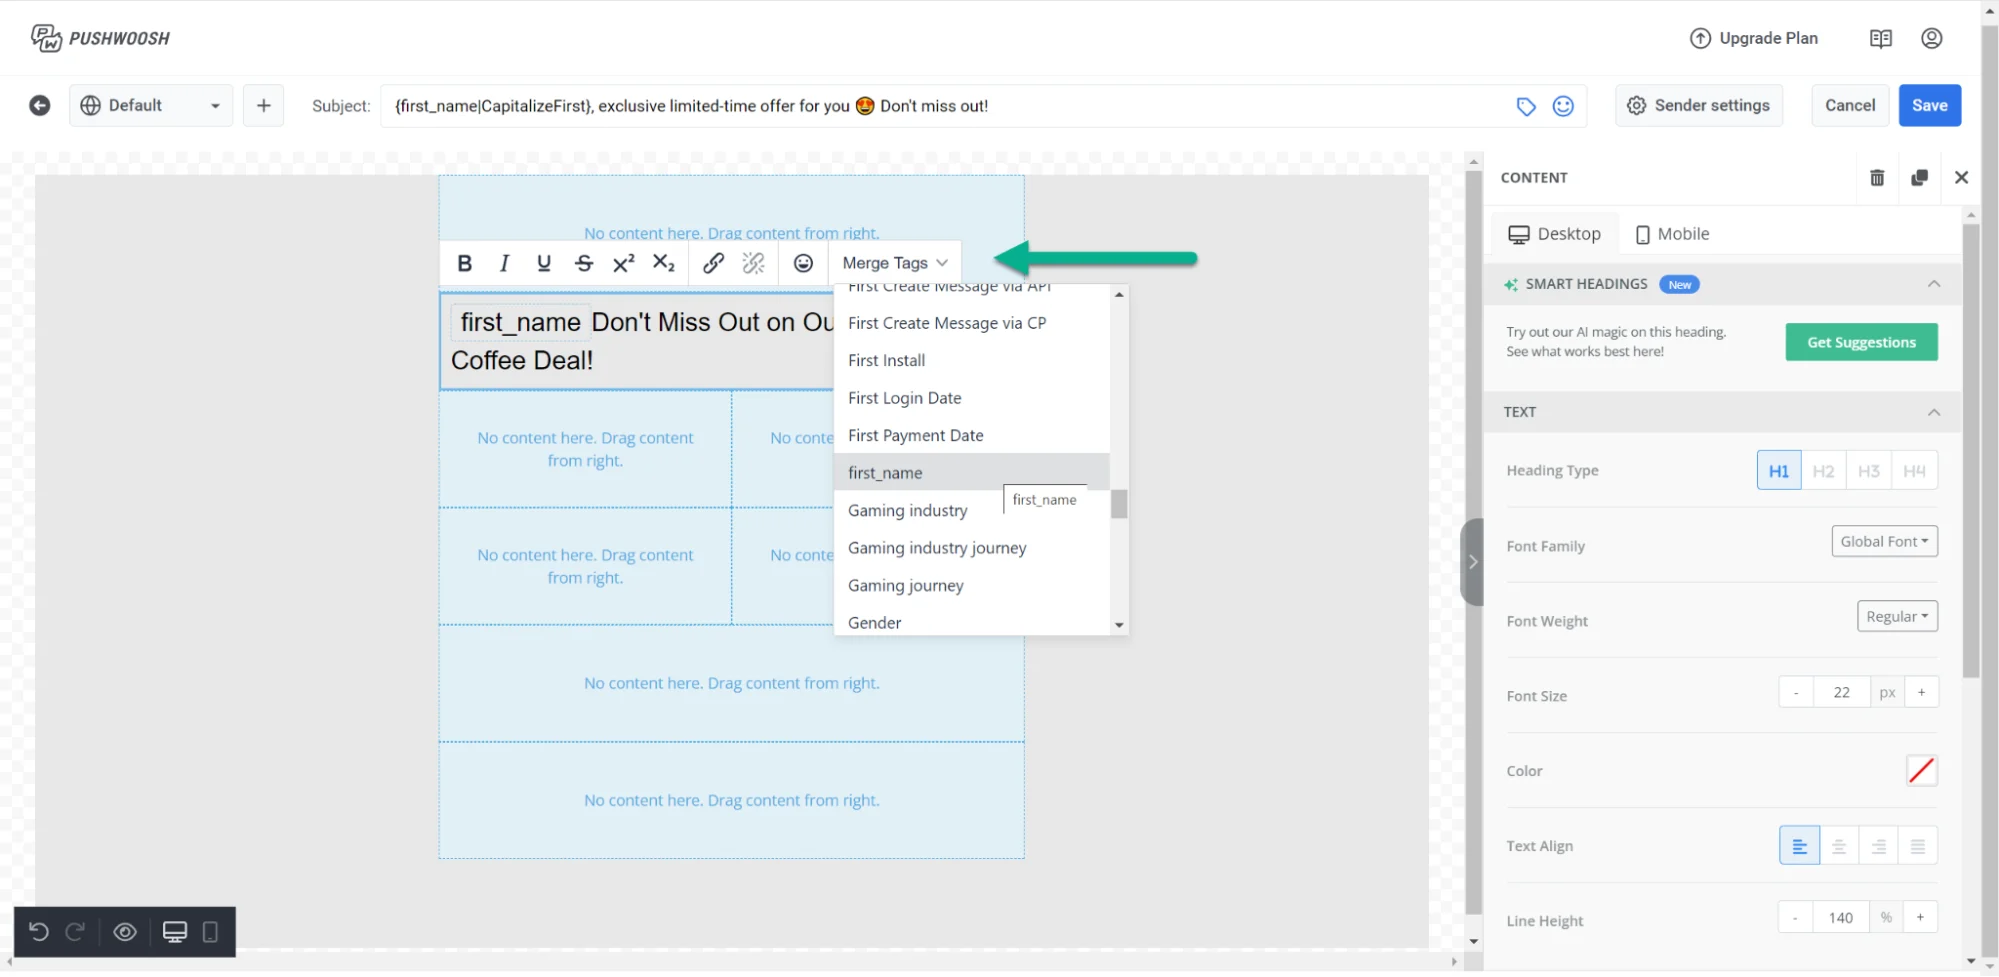
From the right pane, you also have the flexibility to adjust various text settings, such as:
- Heading level
- Font family, weight, and size
- Text color
- Text alignment
- Line height
- Link styles
- Padding
- Responsive design, and more.
Add text
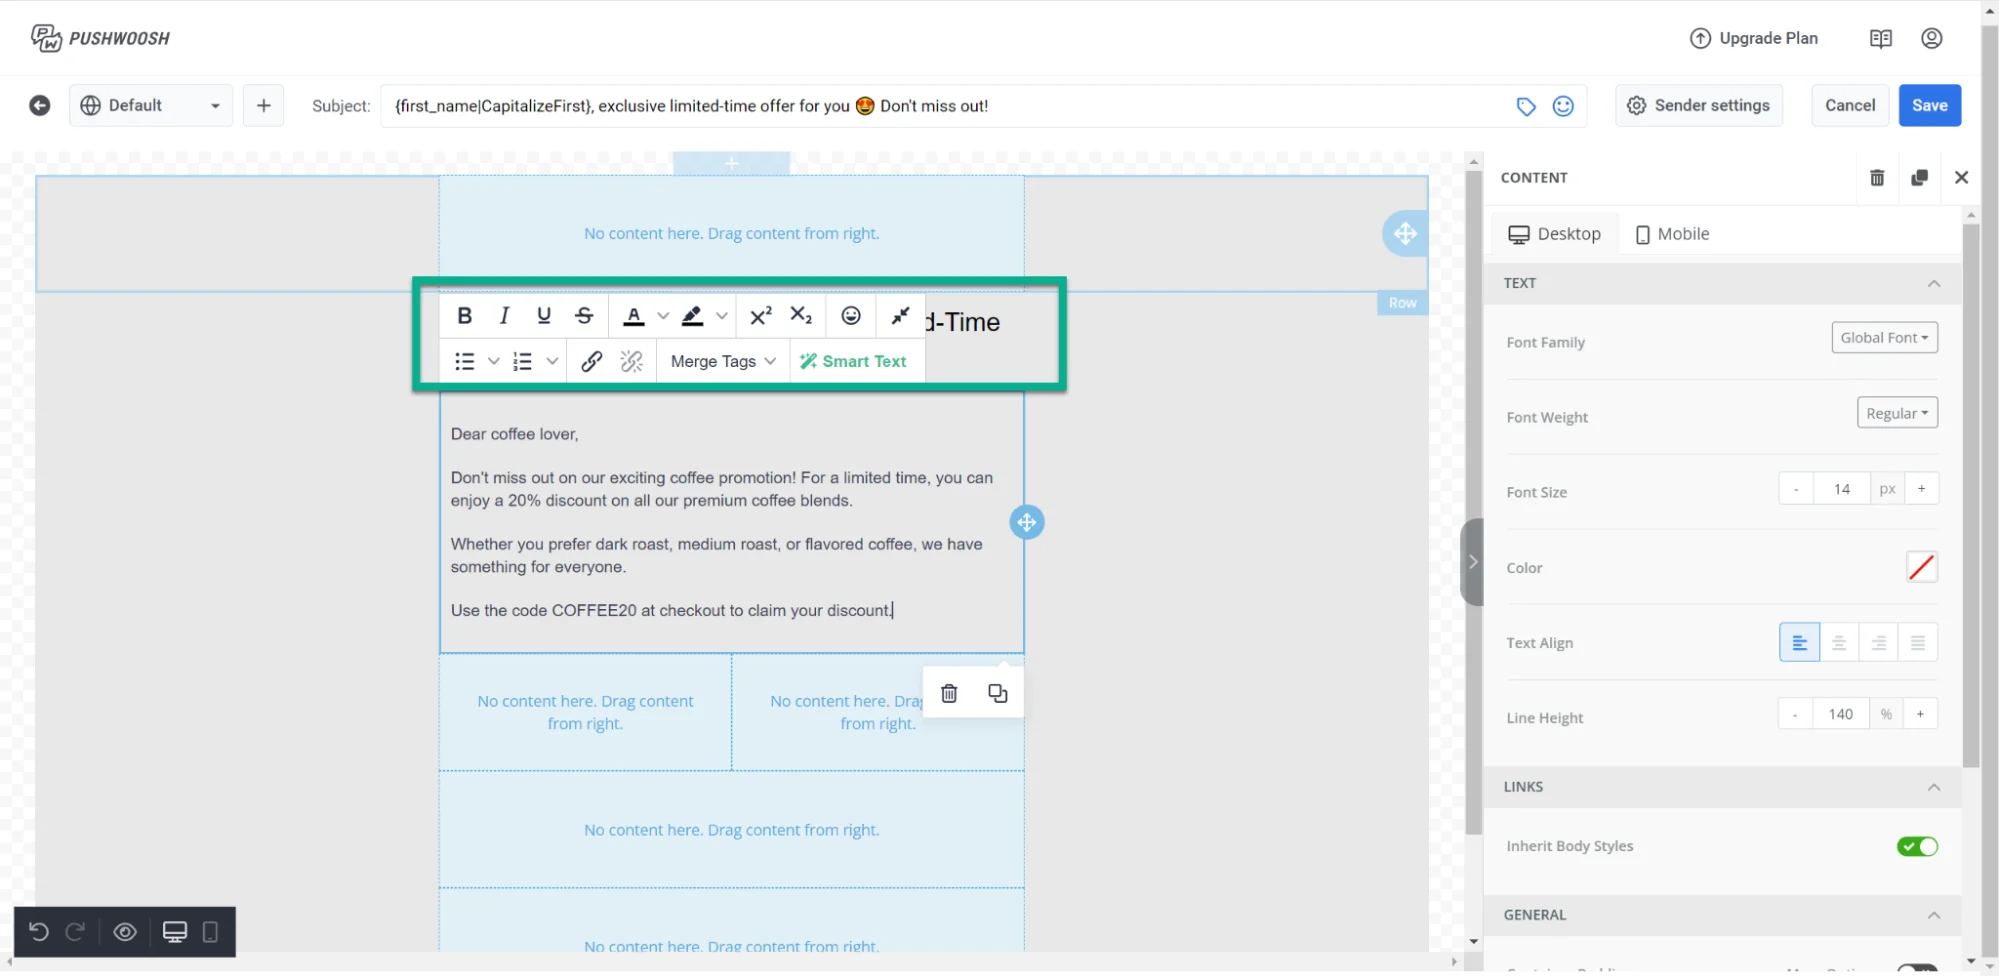
Anchor link toTo include text in your email, drag the Text element into the email body and then type or paste your text. If you’re pasting content, you can choose whether to retain or remove the formatting of your text.
When you click on the text, a toolbar will appear, providing options for formatting the text.
Personalize the text
Anchor link toTo personalize your text, click Merge tags in the toolbar and choose the tag you want to include from the drop-down menu.
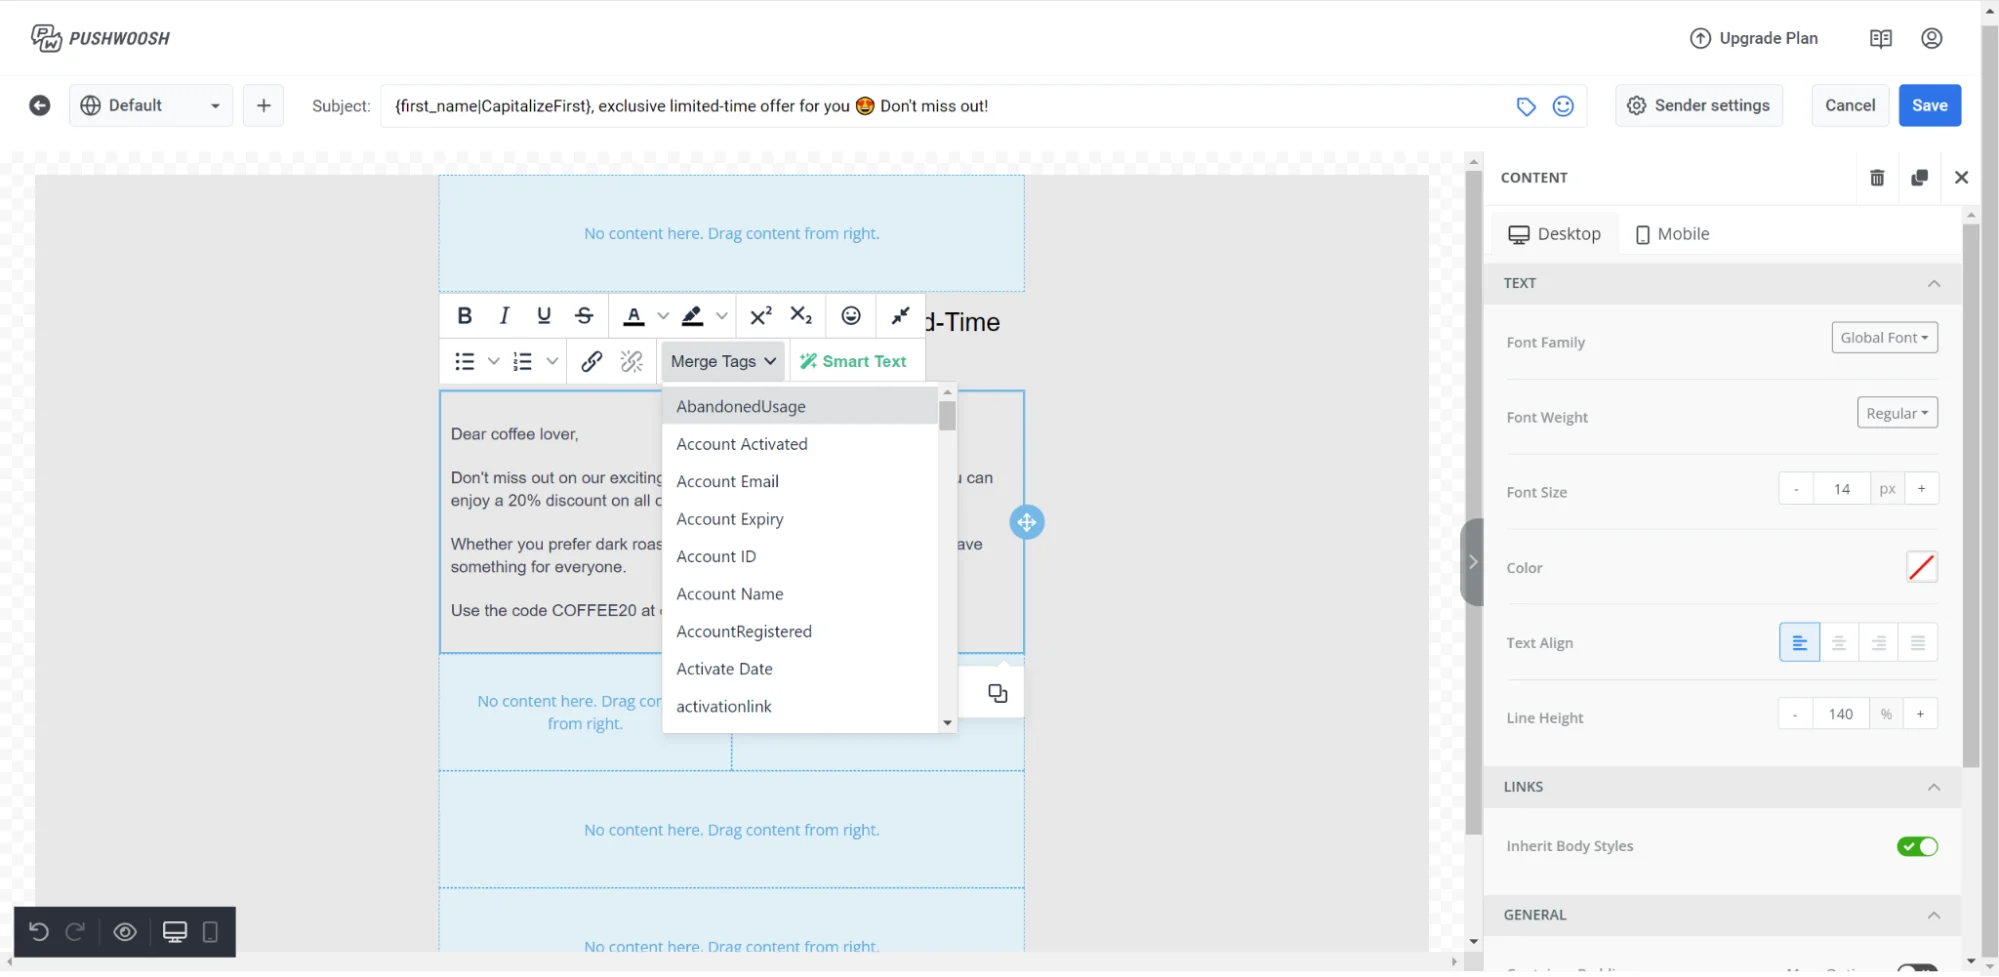
To improve the quality of your writing with AI, select Smart Text in the toolbar and choose a specific way you’d like AI to assist you with your text.
Add images
Anchor link toTo insert an image element in your email, drag the Image element to where you want it in your email.
You have several options for adding an image:
- To upload an image, click Upload Image on the right pane.
- Add a link to an image you wish to use in the Image URL field.
- To select an image from stock photos, click More Images and then choose Stock Photos to find the desired photo.
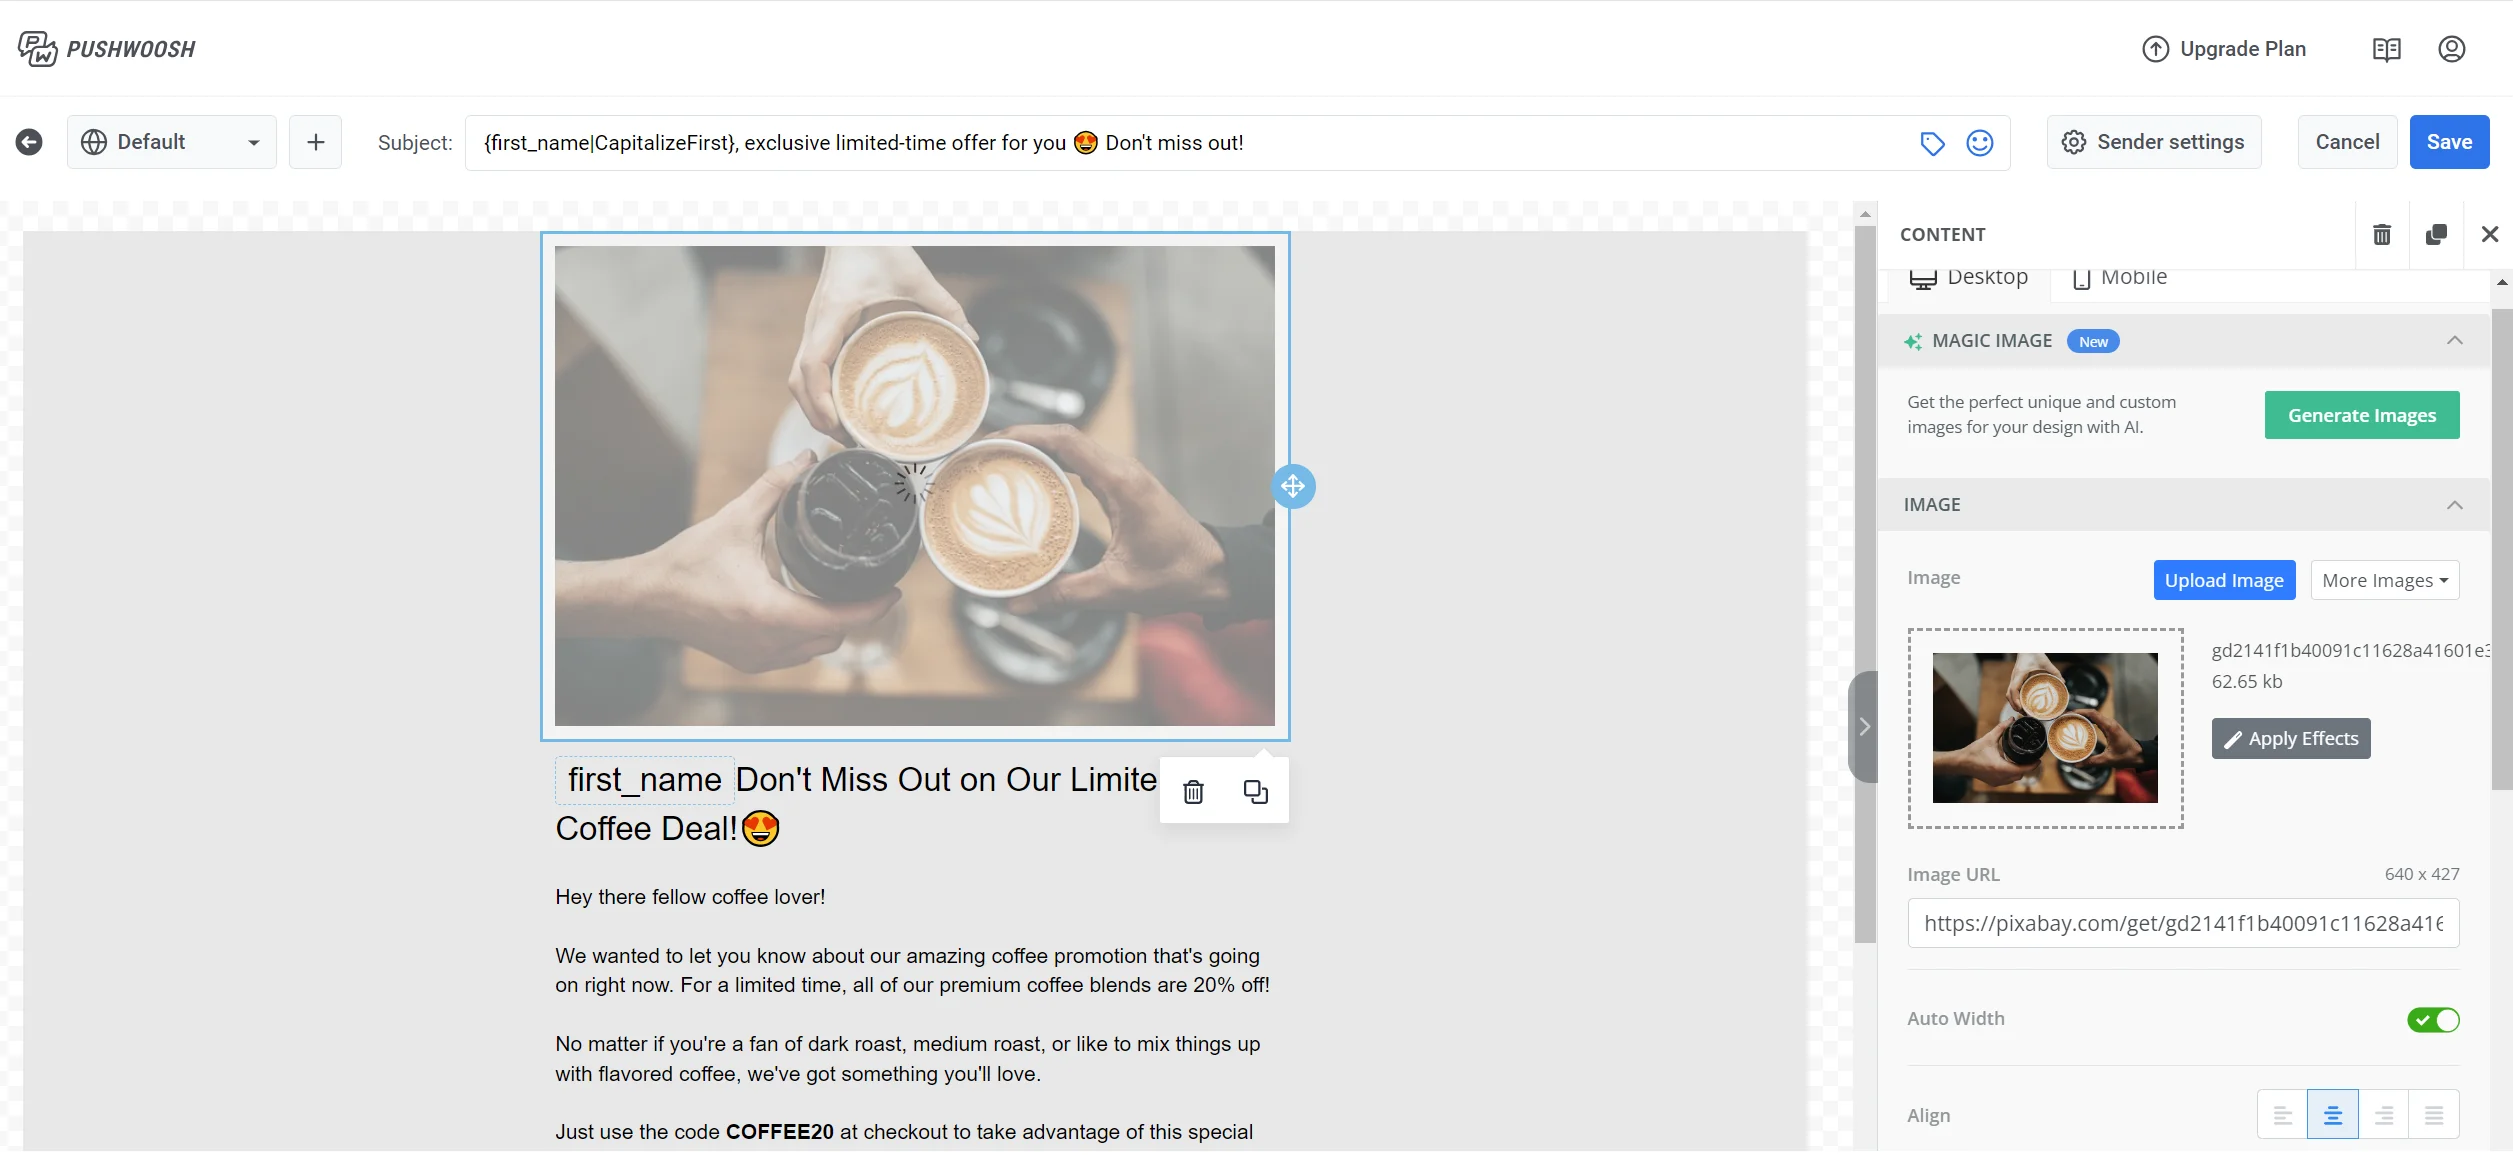
- You can also utilize the Magic Image AI tool to generate the unique images you need.
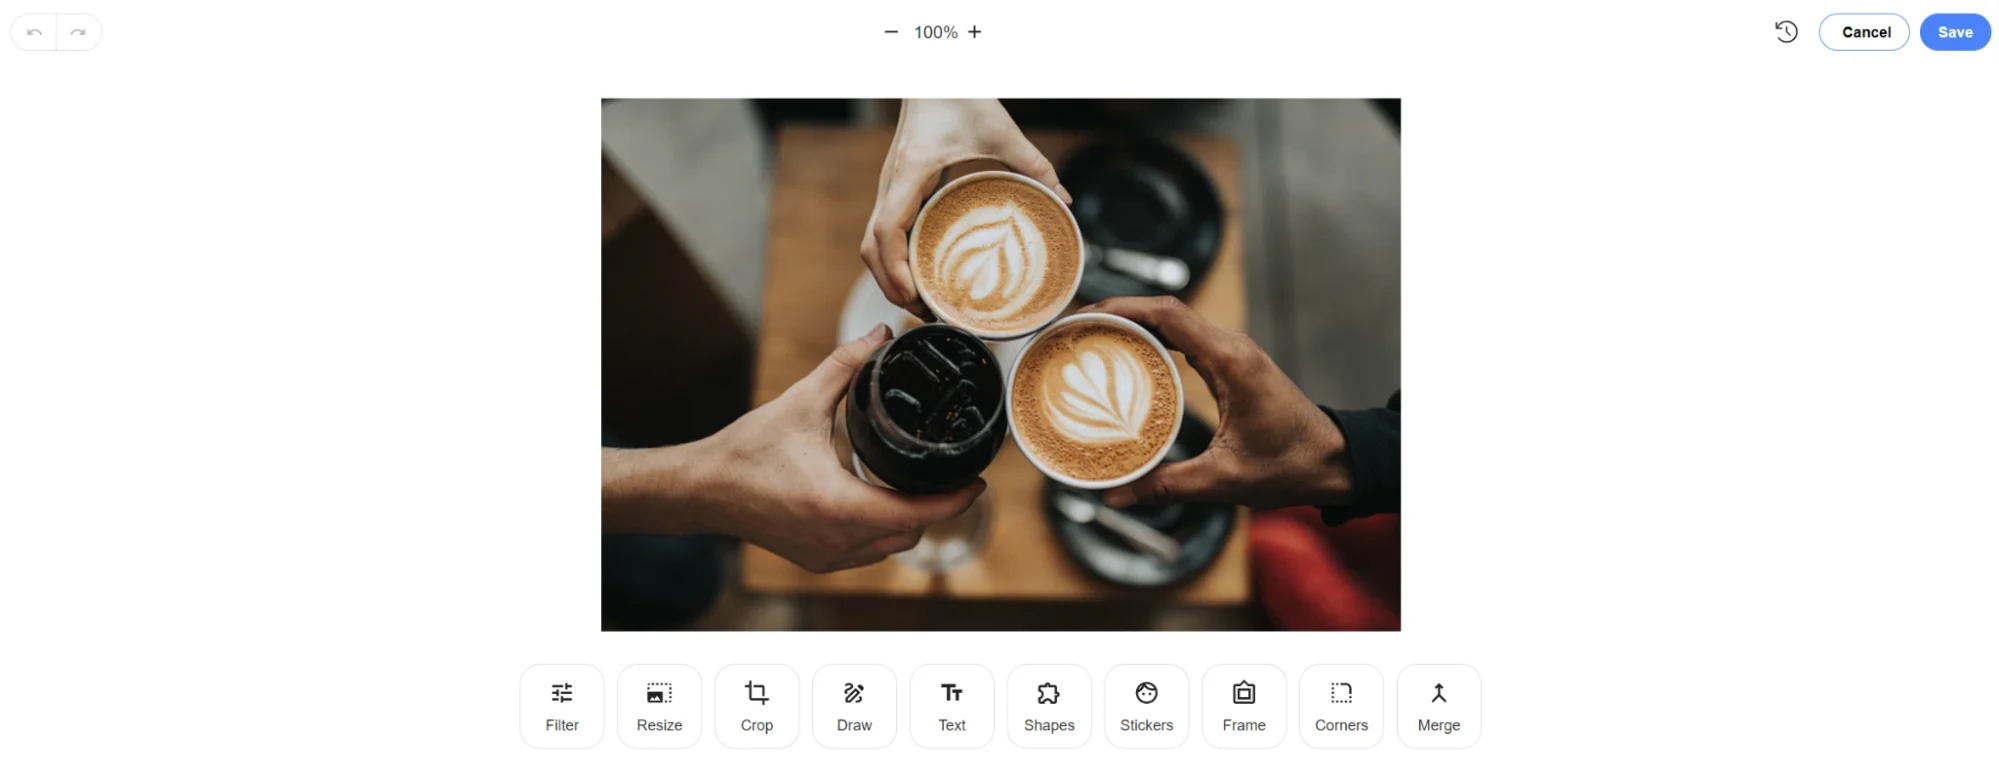
To add effects to your images, click on Apply Effects in the right pane. In the popup window, select the desired effect for the image and click on Save to apply it.
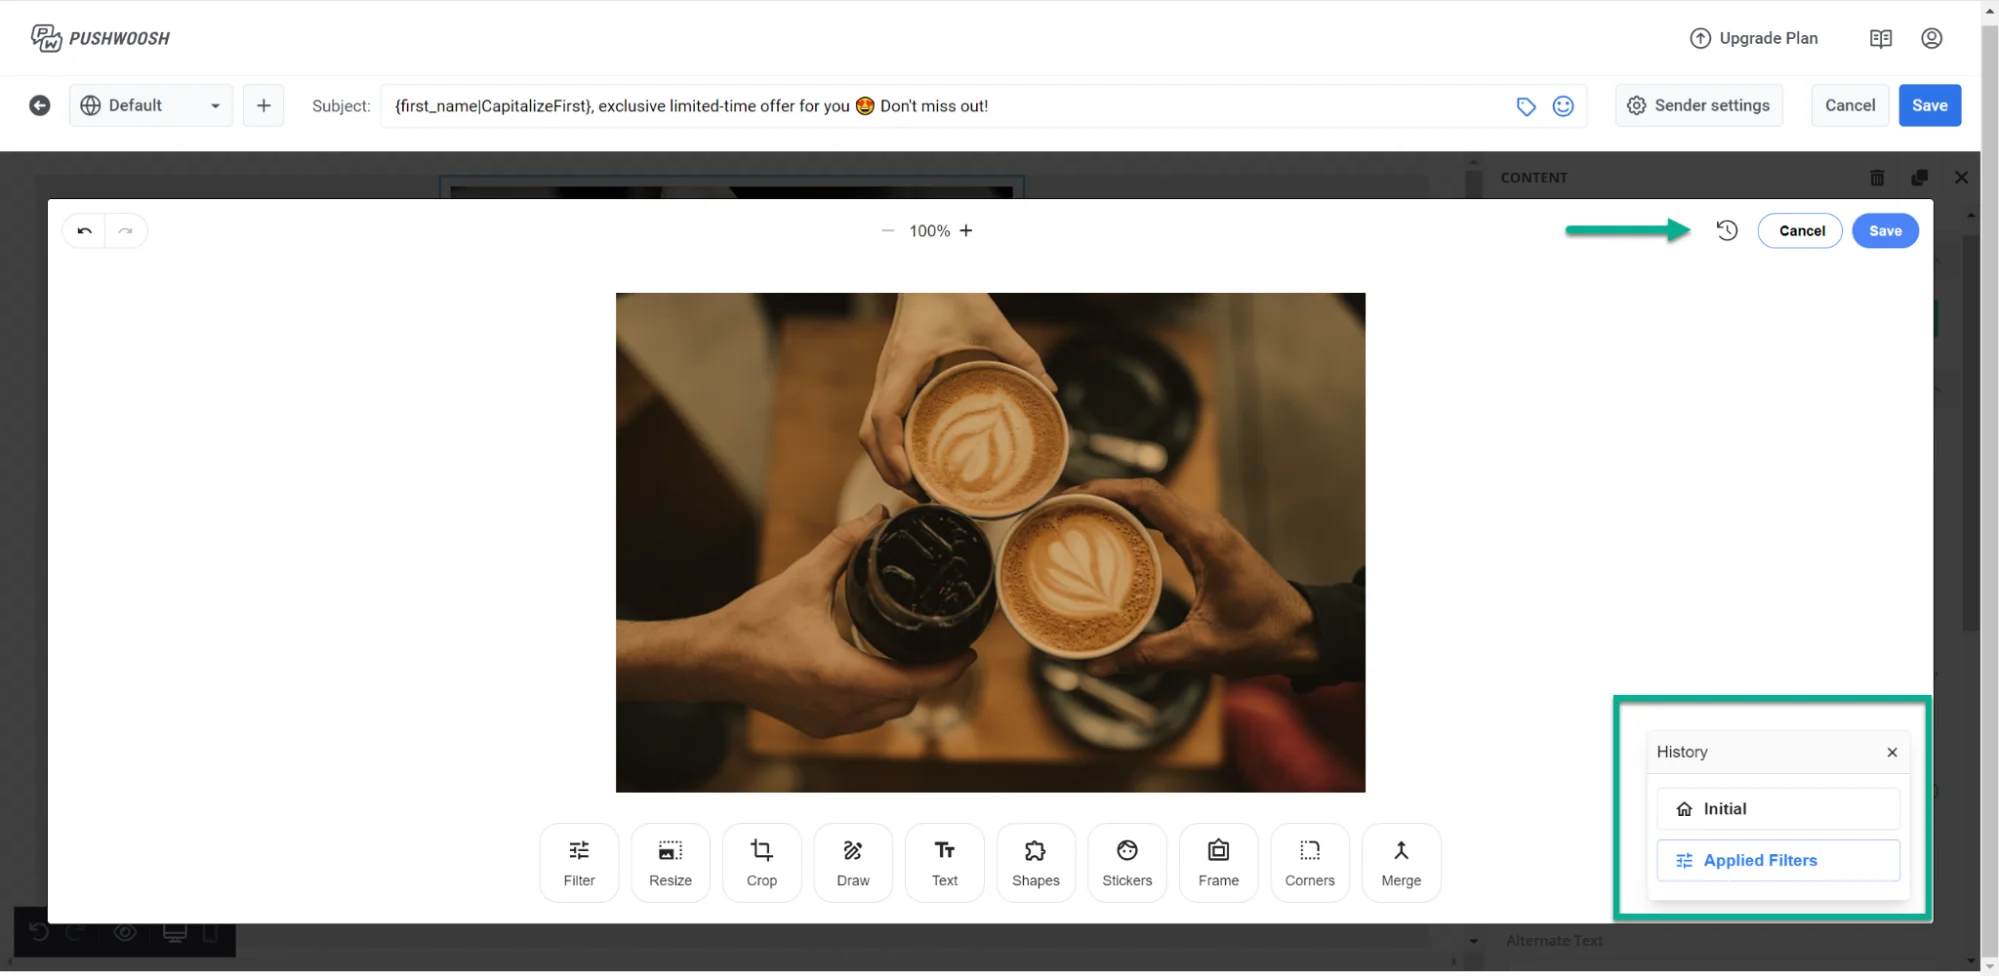
You can also review the history of changes you’ve made to the image and revert them by clicking on the History icon located at the top.
Add buttons
Anchor link toTo include a button in your email, drag the Button element from the right pane of the editor.
You can either enter your custom button text or make use of the Smart Buttons AI tool to generate the text for you.
Next, specify the action type for the button when it’s clicked, and provide a URL and a target tab.
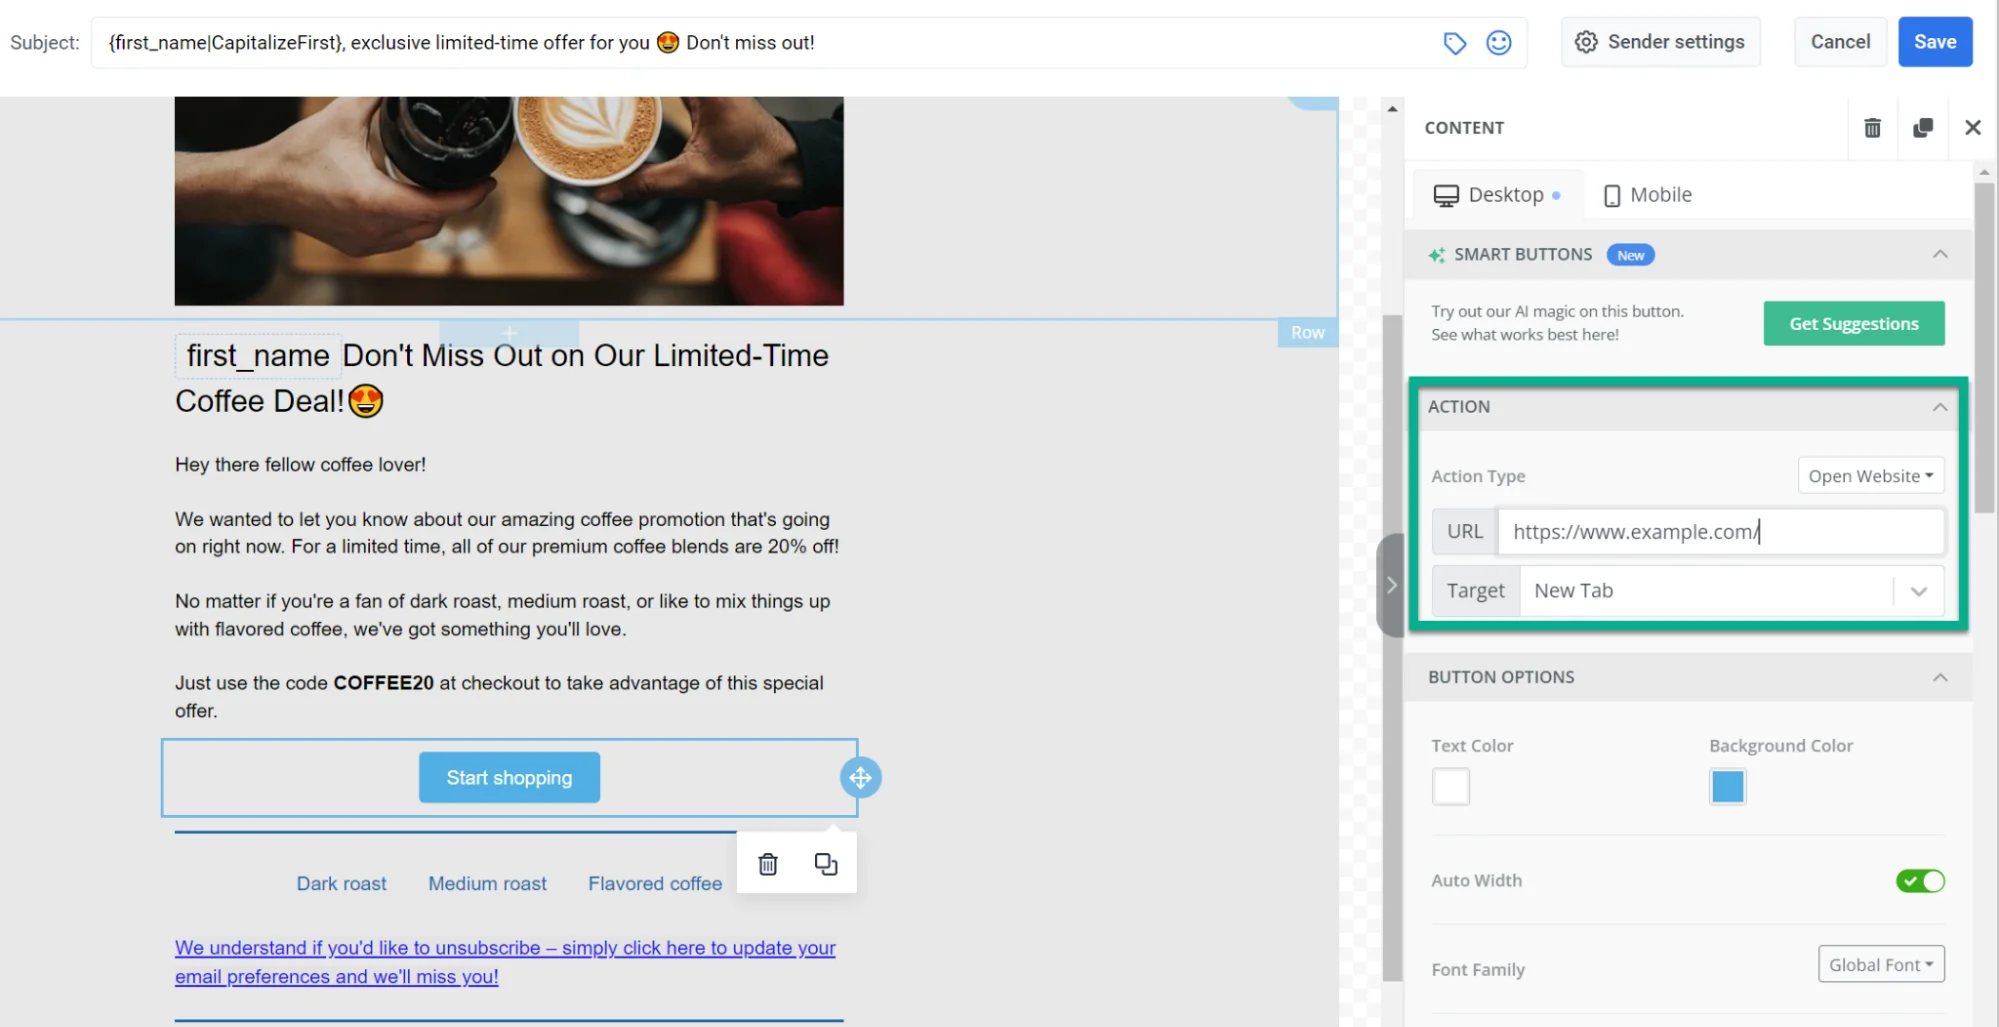
Additionally, you have the option to configure the button options, spacing preferences, and responsive design settings.
Add HTML
Anchor link toYou also have the option to incorporate HTML code into your email. To do this, drag the HTML element to the left and insert the code into the HTML field on the right pane.
Add menus
Anchor link toYou can incorporate an interactive menu into your email to streamline navigation and increase click-through rates, offering recipients an organized and engaging method to explore your content.
To do so, drag the Menu element into the email body and include menu items. Then specify the text for each menu item, insert the URL, and select the target tab.
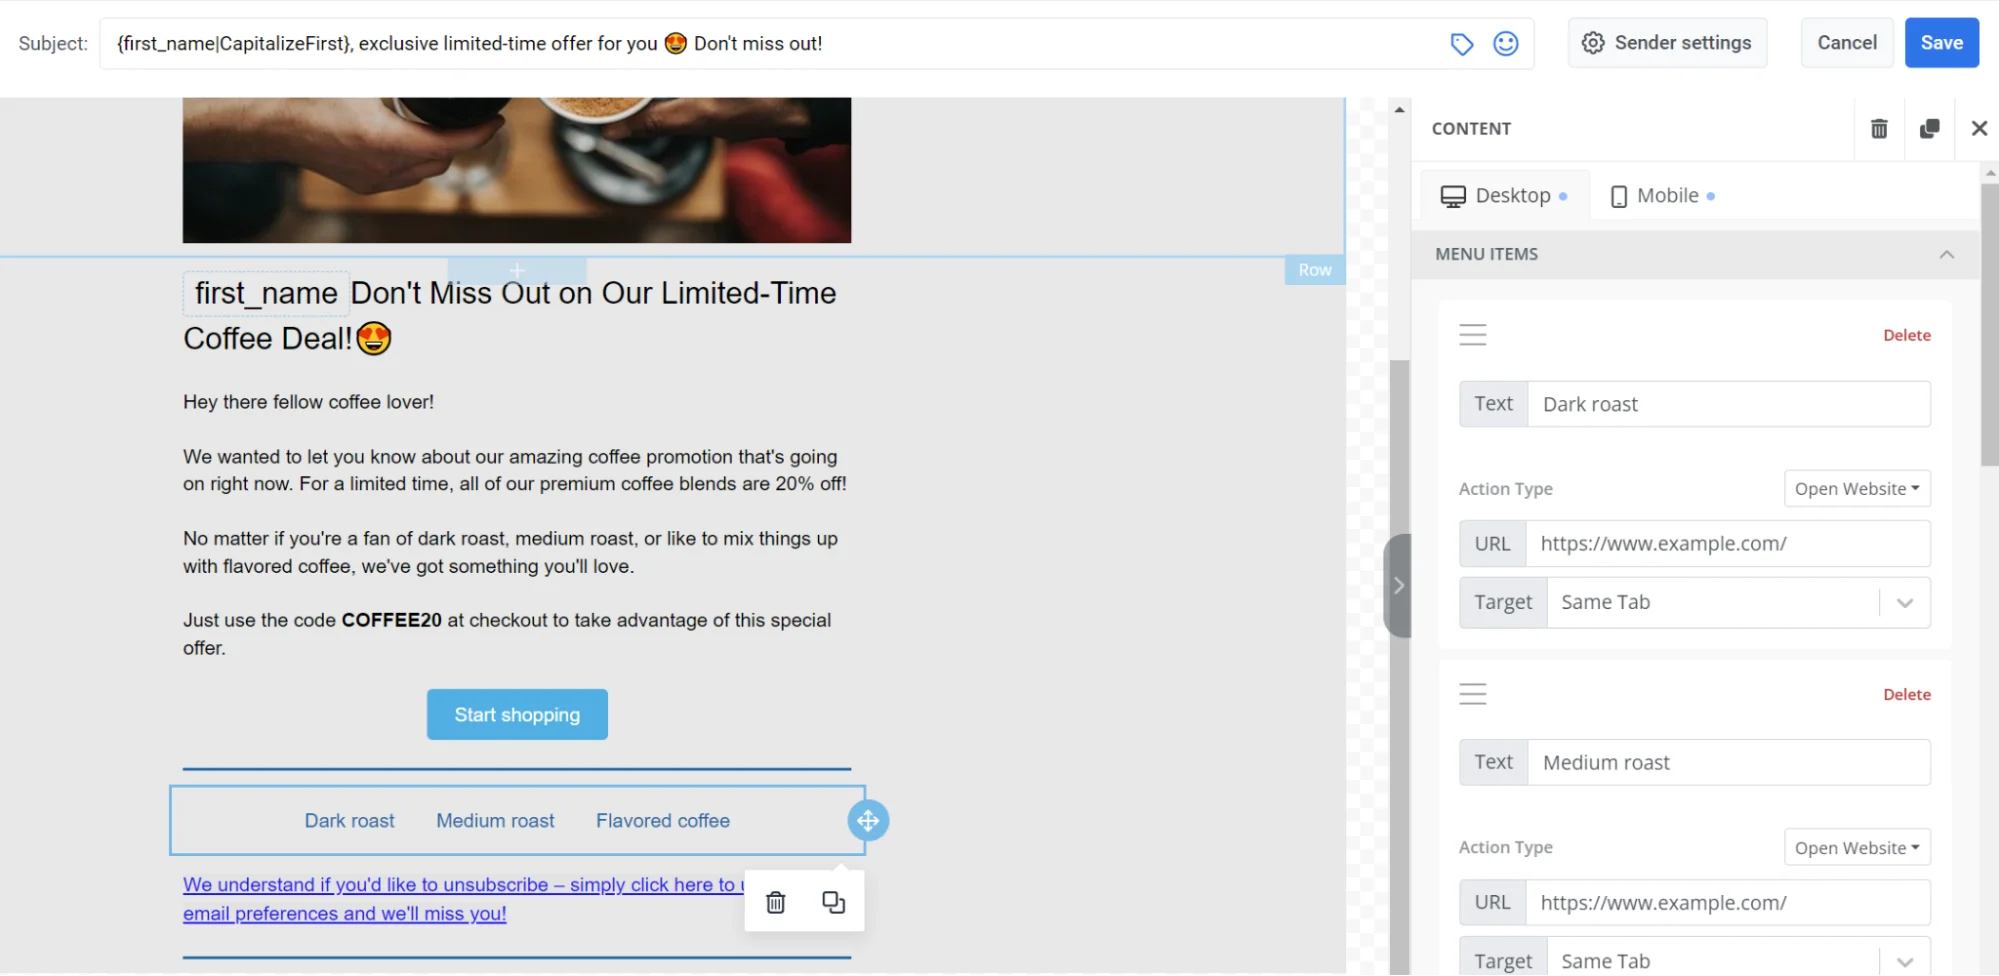
You can also customize styles, adjust container padding, and decide whether to display the menu on mobile or desktop devices.
Add dividers
Anchor link toTo make your email well-structured and emphasize the most important blocks, use Dividers. A divider is a line you can place between blocks of elements.
To add a divider, drag the Divider element from the right pane and customize its appearance.
Add a timer
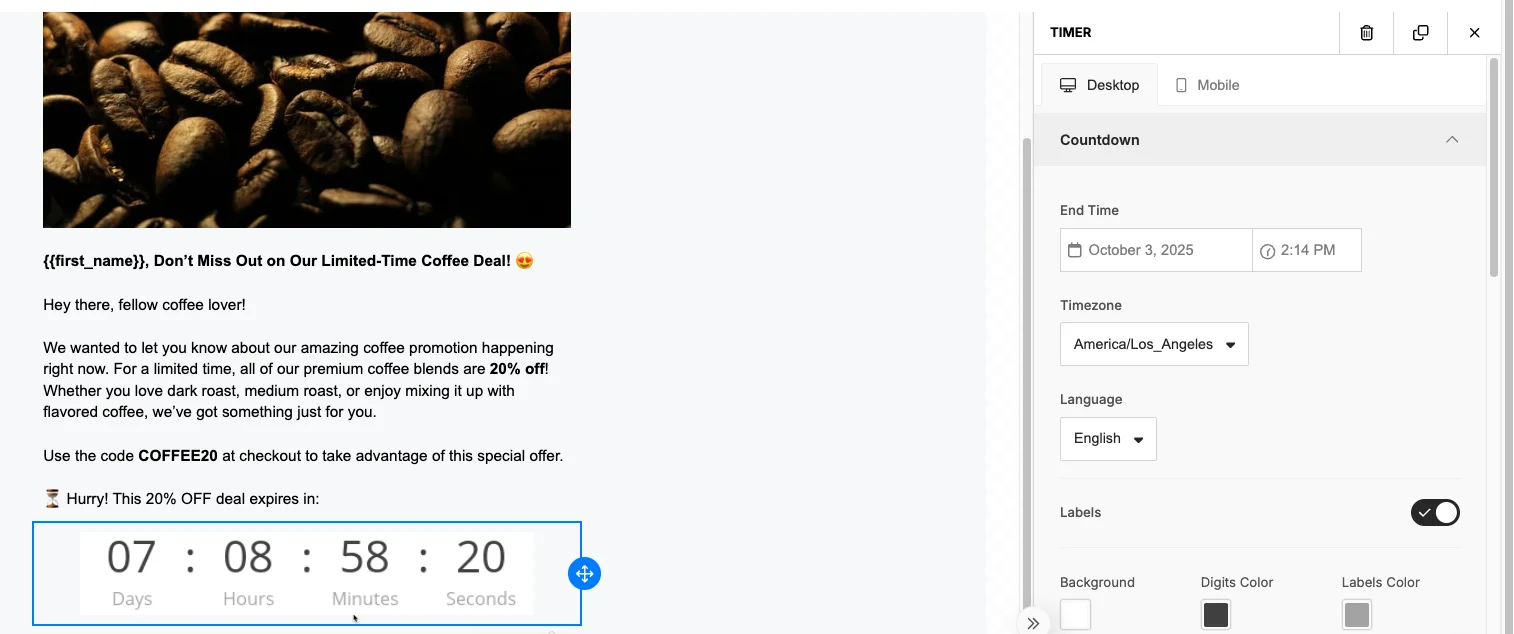
Anchor link toThe timer element lets you show a countdown for limited-time offers or upcoming events. It’s a great way to create urgency and encourage users to take action before time runs out. To add a timer:
- Drag the Timer element into your email or message layout.
- Set the end date and time for the countdown.
- Choose the timezone so the countdown displays correctly for your audience.
- Select a language for the time unit labels (days, hours, minutes, seconds).
- Toggle labels on or off depending on whether you want to show unit names.
- Customize the timer’s appearance to match your design.
Add links
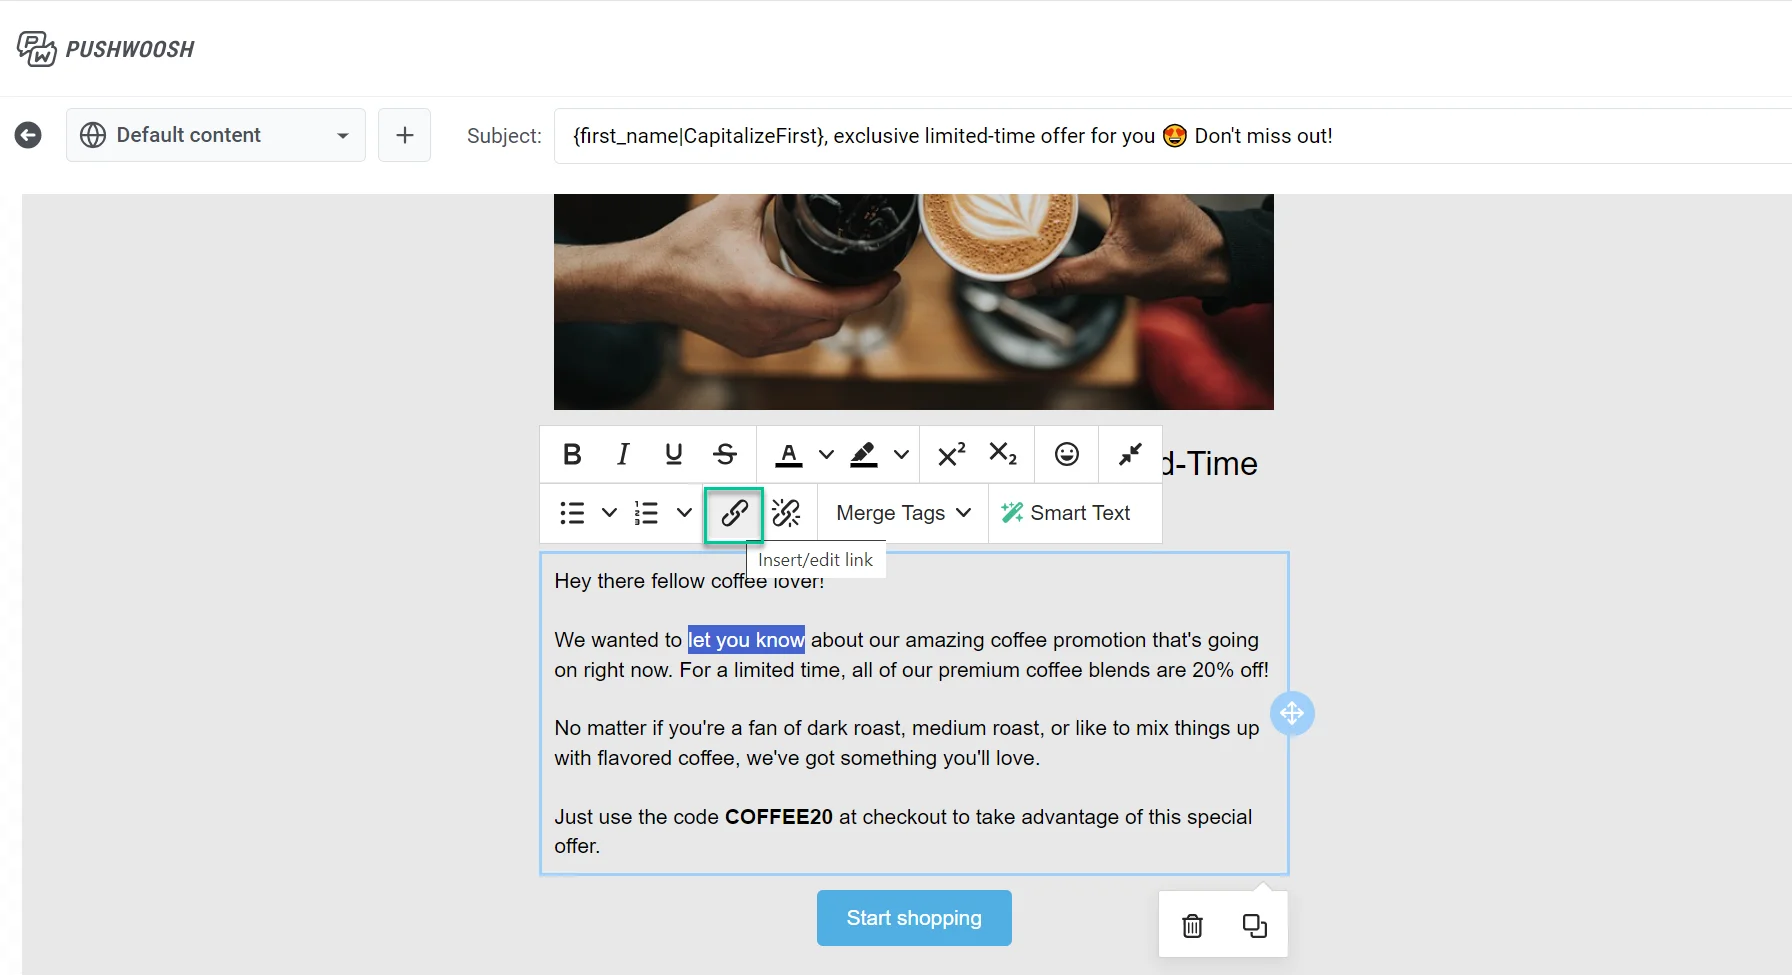
Anchor link toTo add a link to your email, select the text where you want to insert the link, then click on the link icon in the toolbar.
In the Action type dropdown choose:
- Open website
- Manage preferences link
- Unsubscribe link
- Web version link
- No track statistics
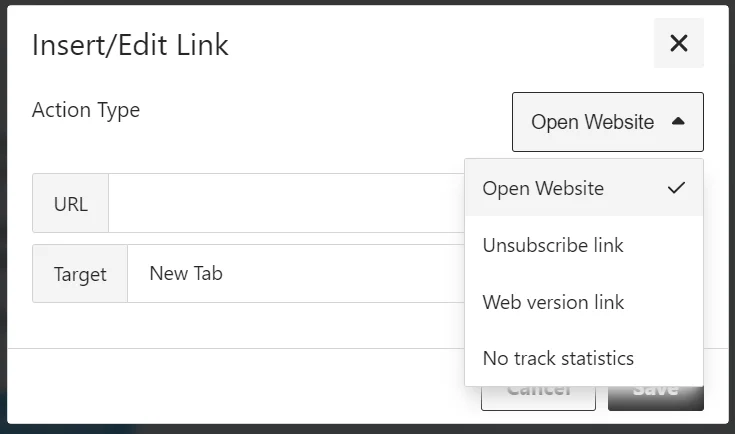
Open website
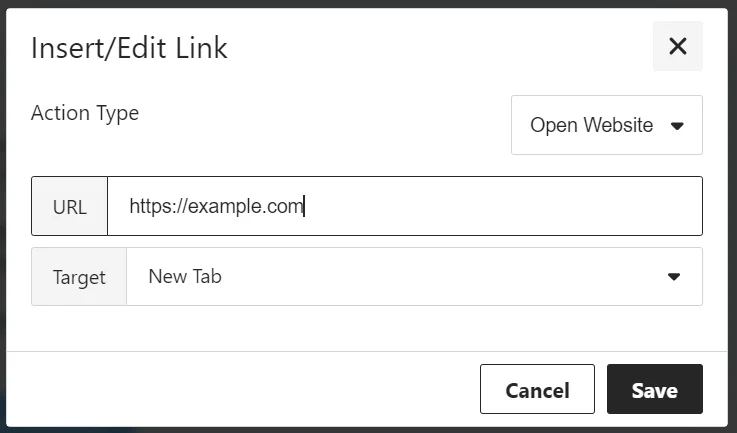
Anchor link toSelect this option to insert a hyperlink that directs the recipient to an external website. When clicked, the recipient will be taken to the specific webpage you specify.
In the URL field, enter the full web address of the website you want to link to.
Set the Target option to define how the link will open:
- New Tab: The link opens in a new browser tab.
- Same Tab: The link replaces the current page in the same tab.
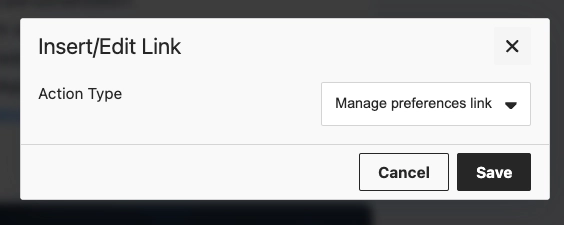
Manage preferences link
Anchor link toSelect this option to add a link to the subscription preference center where recipients can choose which email categories they receive. The link will be inserted automatically.
Unsubscribe link
Anchor link toInclude an unsubscribe link in your email so recipients can opt out in line with regulations and their preferences.
To add the unsubscribe link:
- Highlight the text you want to use as the link.
- Click the Link icon in the Formatting toolbar.
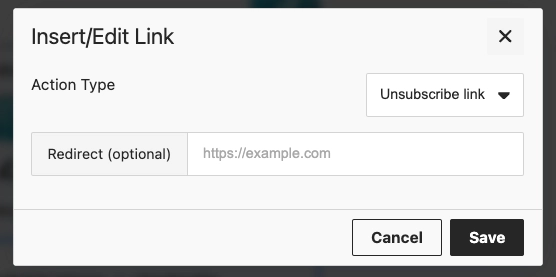
- In the Insert/Edit Link window, select Unsubscribe link from the Action type dropdown.
- Optionally, enter a URL in Redirect (optional) to send users to your own page after they unsubscribe.
- Click Save.
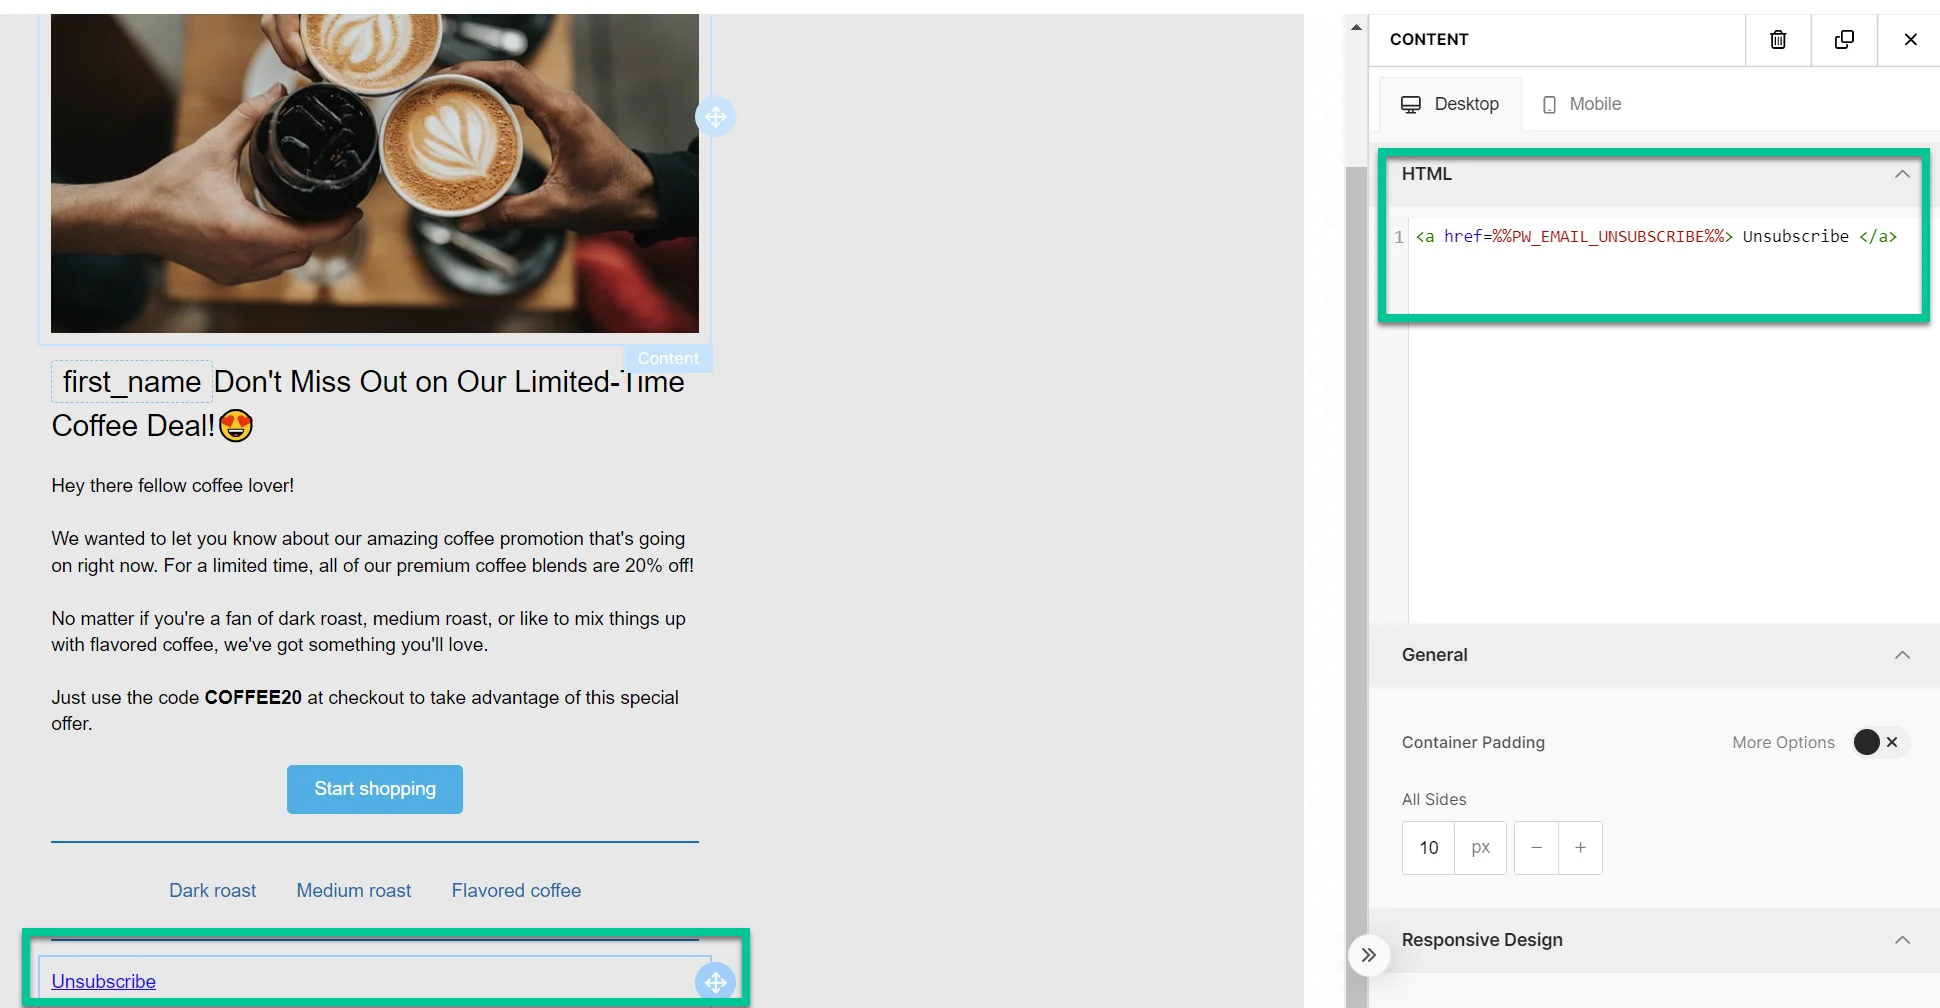
Also, you can add the link directly in the HTML block:
<a href=%%PW_EMAIL_UNSUBSCRIBE%%> Unsubscribe </a>The %%PW_EMAIL_UNSUBSCRIBE%% placeholder is replaced with the Pushwoosh unsubscribe URL when the email is sent.
What happens when the recipient clicks the link
Anchor link toWhen the subscription preference center is enabled, the user is unsubscribed only from the category assigned to that email (e.g., Newsletter). A confirmation screen appears with Resubscribe and Manage preferences. Learn more.
When the subscription preference center is not enabled, the user is opted out of all marketing emails.
Clicks are counted in the unsubscribe rate in Message History.
Web version link
Anchor link toSelect this option to give recipients access to a web version of your email, which can be useful if recipients experience difficulties viewing the email in their inbox.
To enable this feature, please contact our support team.
No track statistics
Anchor link toUse this option if you do not want the system to track clicks or interactions with the link. No tracking data will be recorded when recipients interact with this link.
Add a preheader
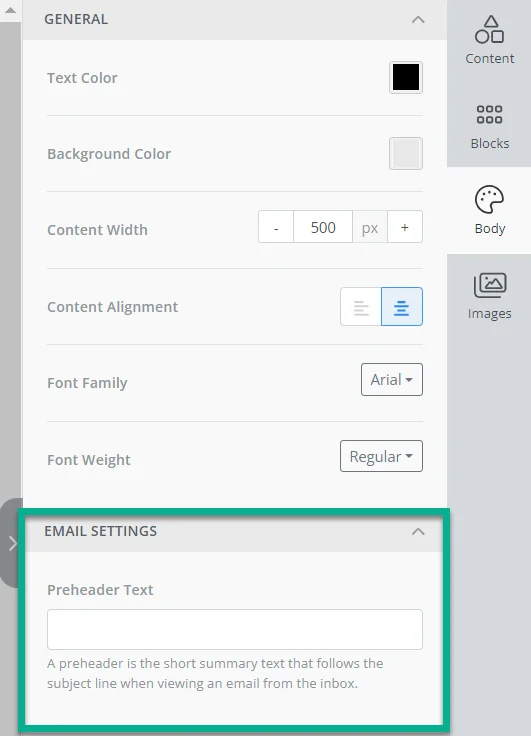
Anchor link toFrom the Body tab you have the option to include a preheader, which is a concise summary text that appears after the subject line when recipients view the email in their inbox.
Save content blocks for future use
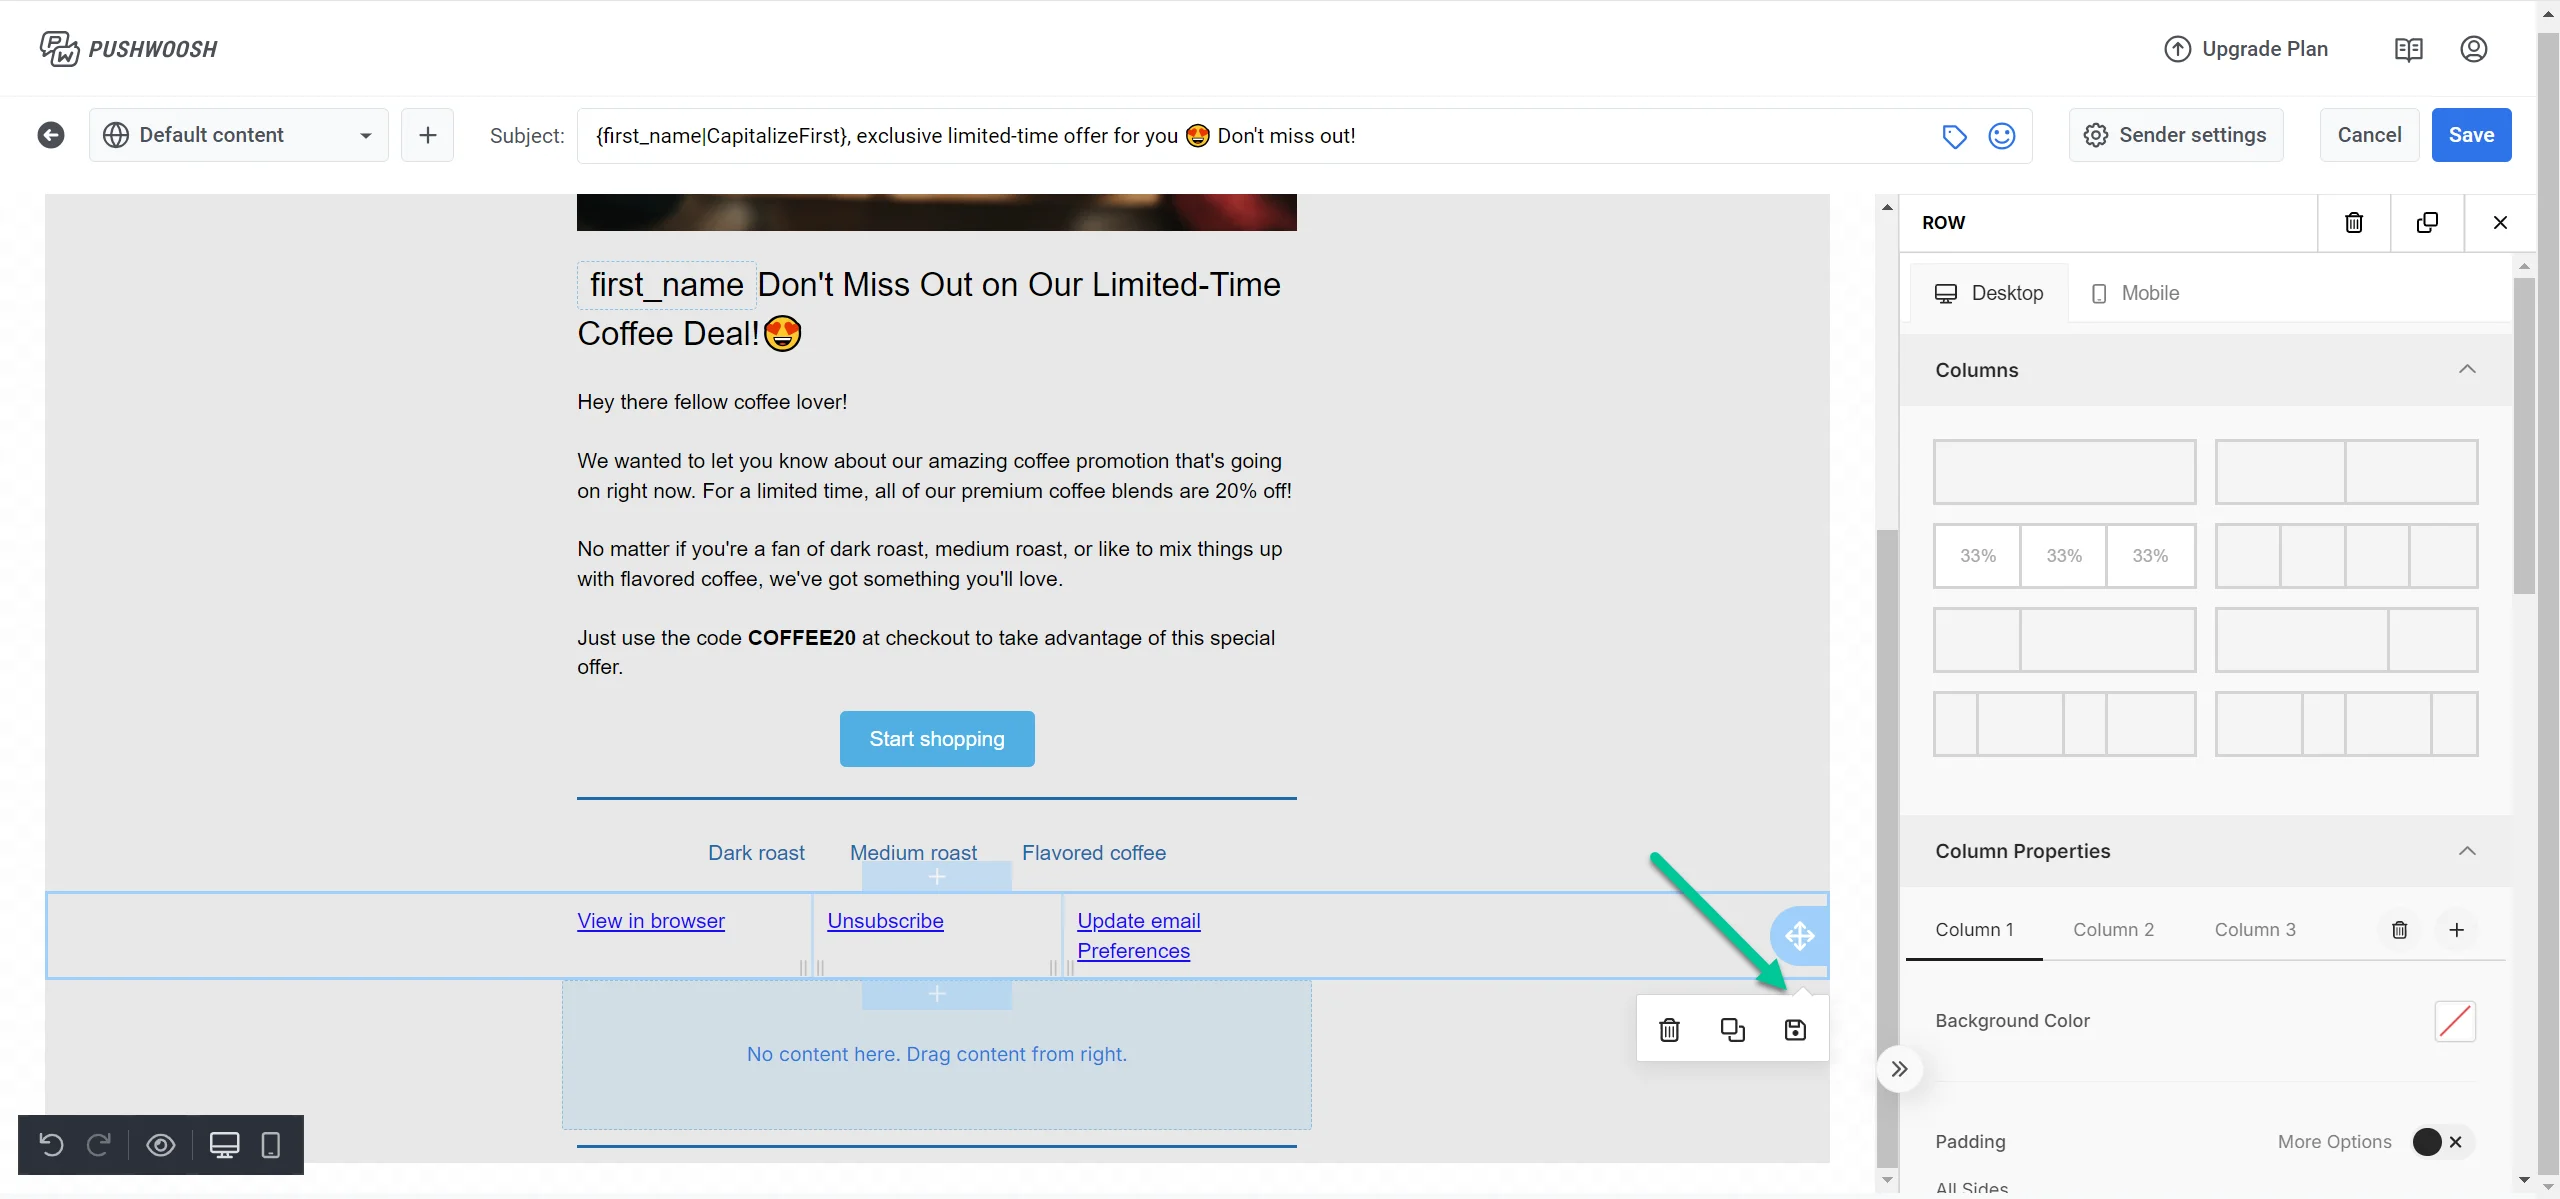
Anchor link toWhen designing your email content, you can save specific content blocks for future use.
- Once you’ve finalized the block, click the Save Block option.
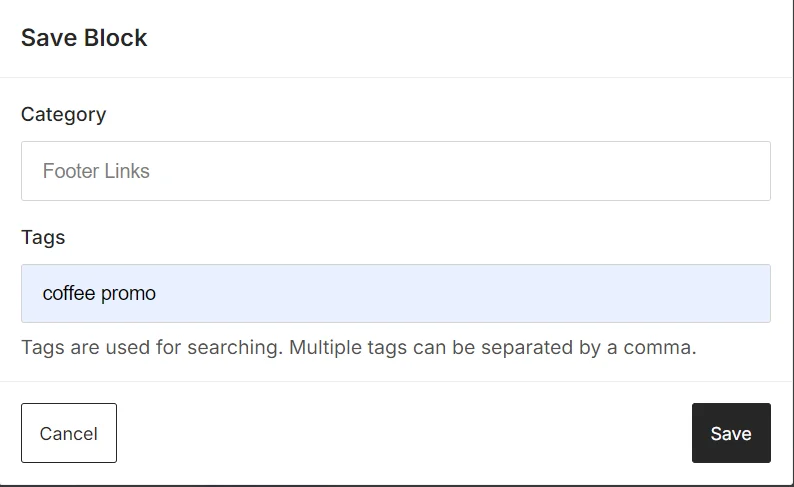
- In the pop-up window, enter a category name to organize your blocks (e.g., “Promotions,” “Newsletters”). Add relevant Tags, separated by commas (e.g., “sale, discount, summer”), to help categorize and search for your blocks.
After entering the category and tags, click the Save button to store the block for future use.
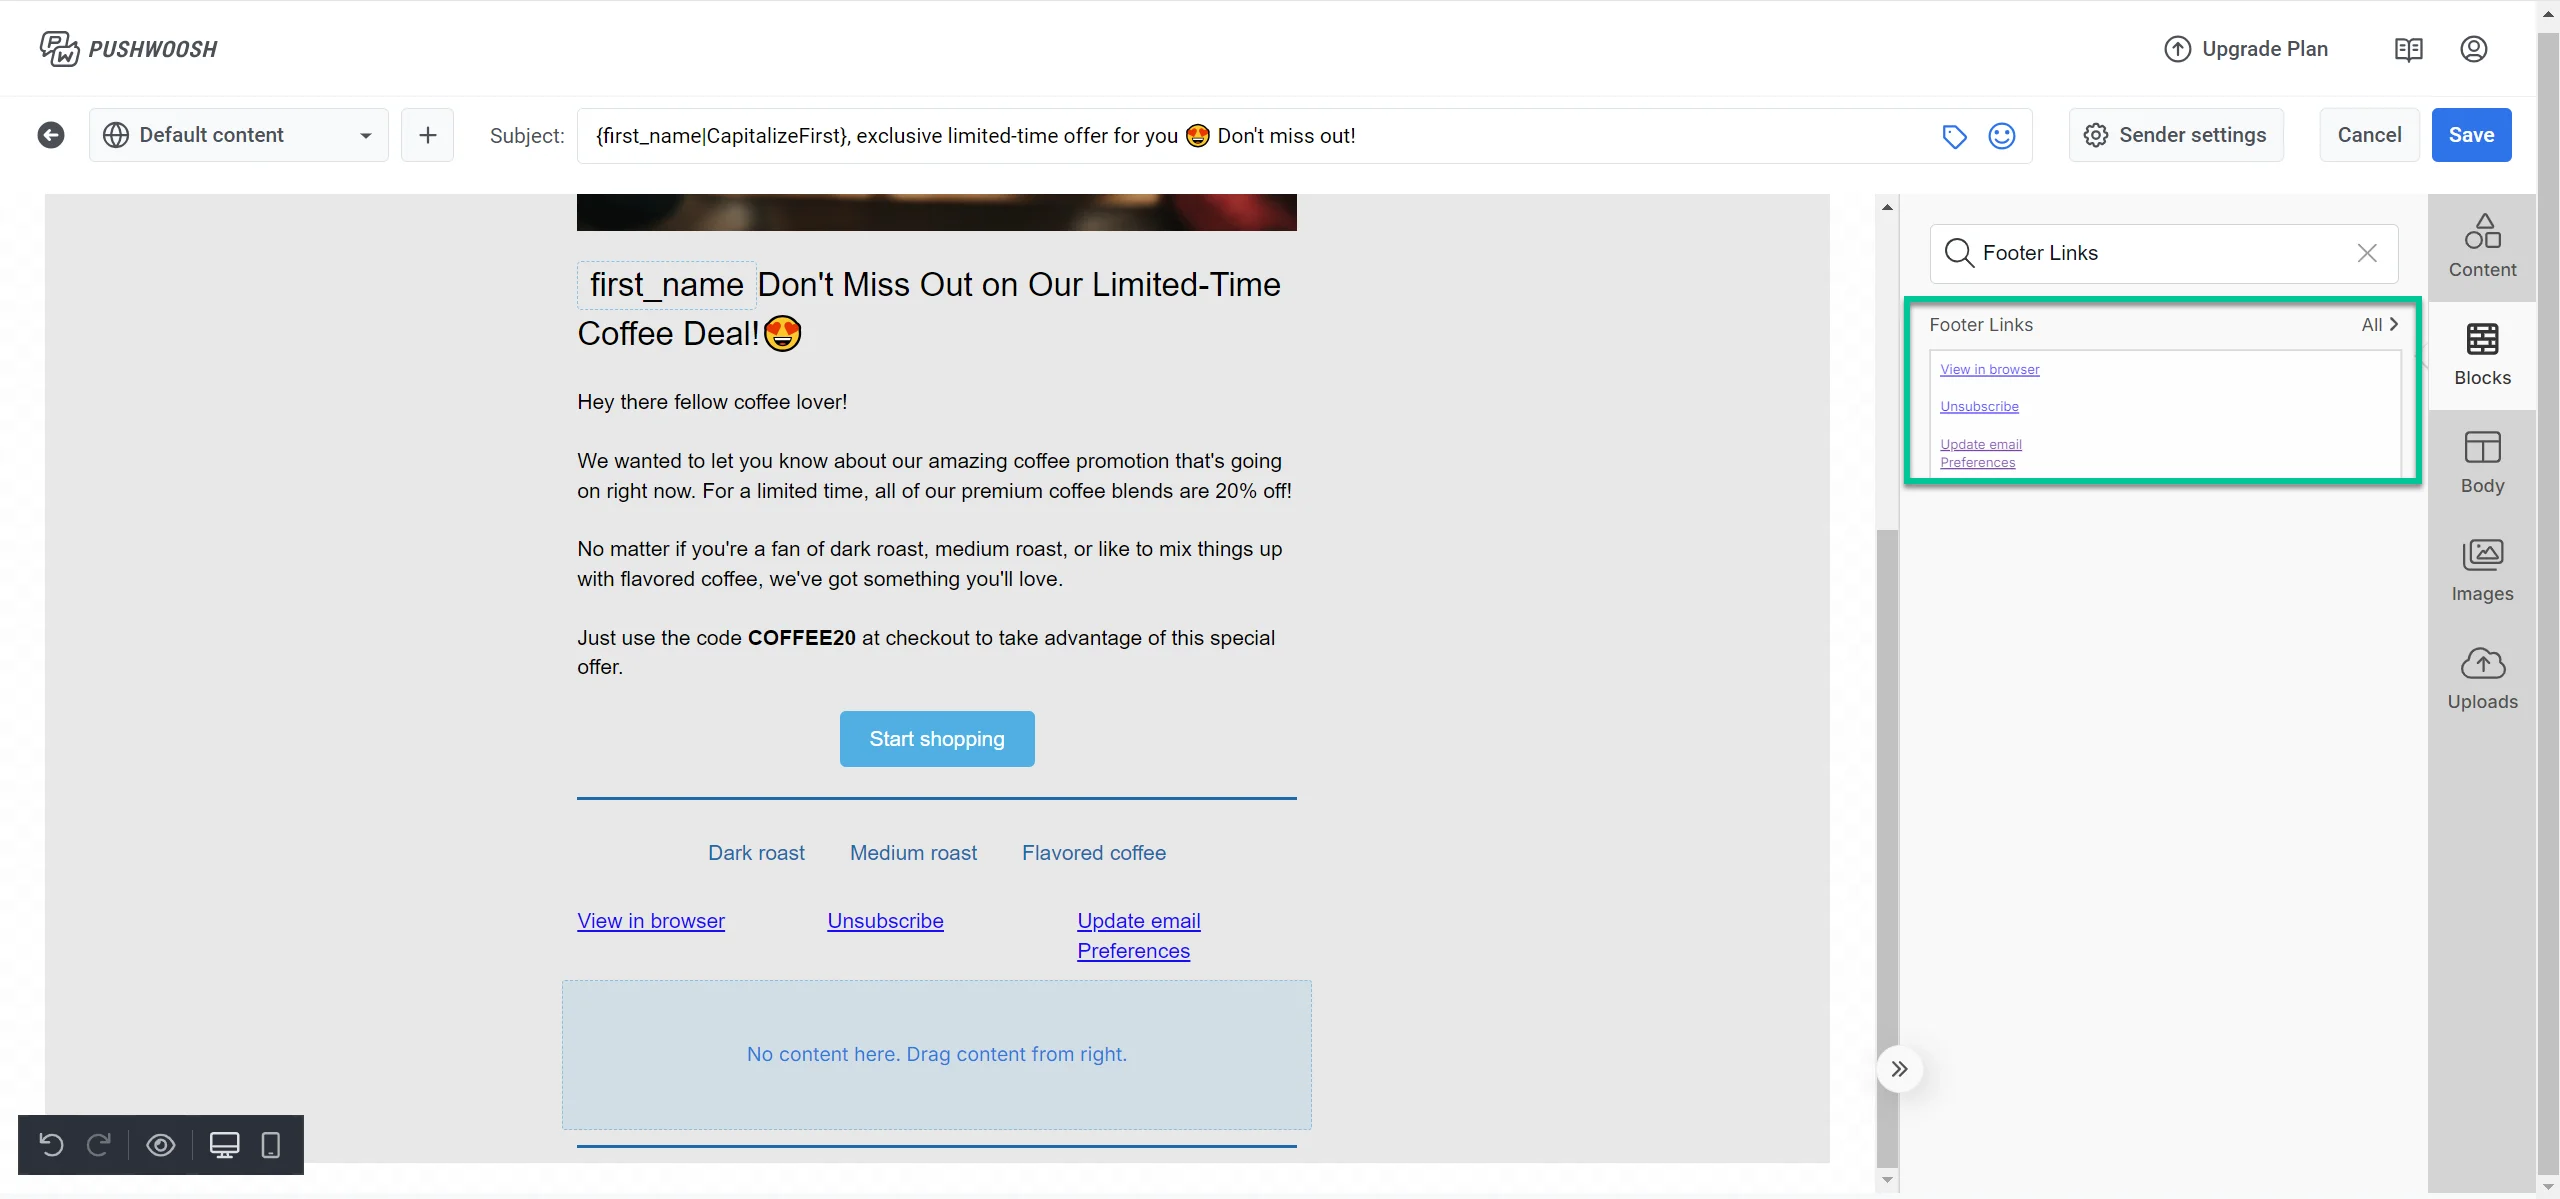
You can now access your saved blocks in the Blocks section of the email editor. This allows you to reuse content across different email campaigns easily.
Configure overall content settings
Anchor link toAdditionally, within the Body tab, you can configure the overall settings for your email, including elements like text color, background color, content width, alignment, font family and weight, etc.
Access a vast library of images
Anchor link toIn the Images tab, you have access to a vast library of images from Unsplash, Pexels, and Pixabay, all of which are licensed under Creative Commons Zero. You can also generate custom images using the Magic Images tool.
To incorporate an image into your email, just drag it to the desired location on the right.
Preview and save your email
Anchor link toWhen your email content is ready, you can see how it will look by clicking on the Preview icon located at the bottom of the editor. Here, you can see previews for desktop, tablet, and mobile devices, as well as check how your email will look in both Dark and Light modes.
After you have finished creating your email, click on the Save button located at the top of the editor.
In the pop-up window, give your email a clear name, which could be the same as your Subject line. Also, create a label to help you easily find your email in the list of email content. If you haven’t set up the sender details yet, make sure to do that as well. Then, click Save.
Now that your email content is ready, it can be used in email campaigns. Learn more about how to use it
Send a test email
Anchor link toBefore sending your email campaign, you can send a test email to preview how the content will appear in recipients’ inboxes. This allows you to review the layout, content, and any personalized elements to ensure accuracy before finalizing the campaign. If needed, adjust the content based on the test results.
To send a test email, click Test email in the email editor.

In the window that opens:
- In the Email address field, enter the email address where you want to receive the test email.
If KYC has not been completed, you will need to select a verified email address from the list of test addresses instead of entering an email.
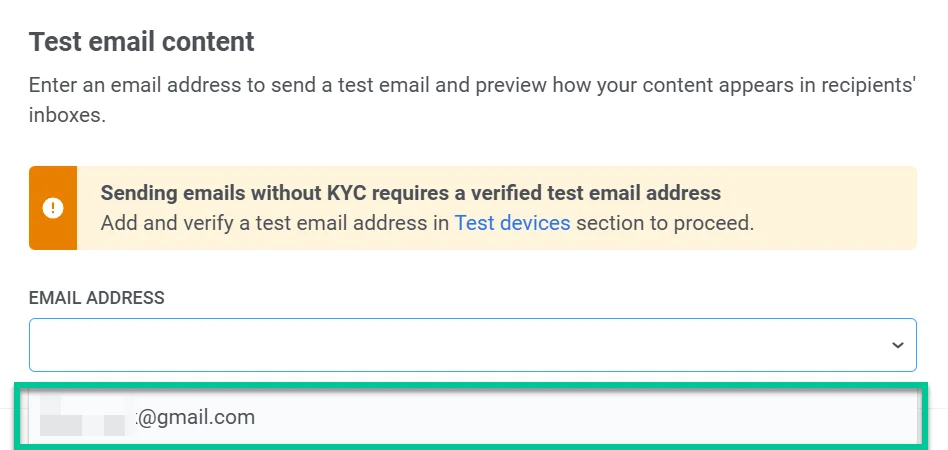
- If your email includes dynamic content fields (like
first name,city, orfavourite_category), you can preview how personalization will appear by entering manual test values. Toggle on the fields you want to test, then enter sample values.
For example:
- City (string): New York
- Favourite_category (string): Sushi
- First name (string): John
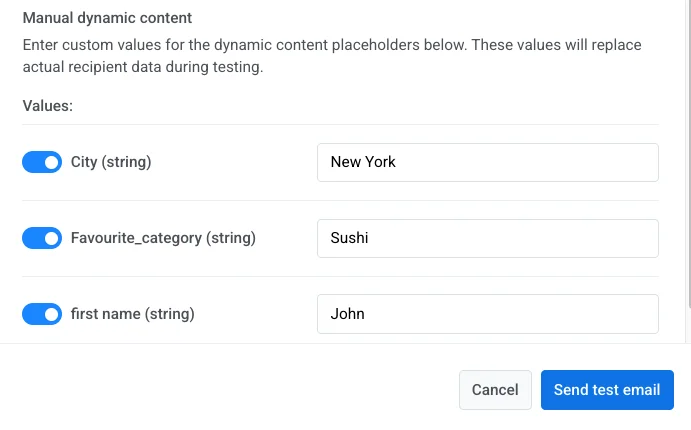
- Once you’ve filled in the necessary details, click Send test email to send the test message to the provided email address.