iOS image carousel push notifications
The UNNotificationContentExtension protocol provides the entry point for a notification content app extension, which displays a custom interface for your app’s notifications.
1. Add Notification Content Extension
Anchor link toIn Xcode, select File > New > Target…
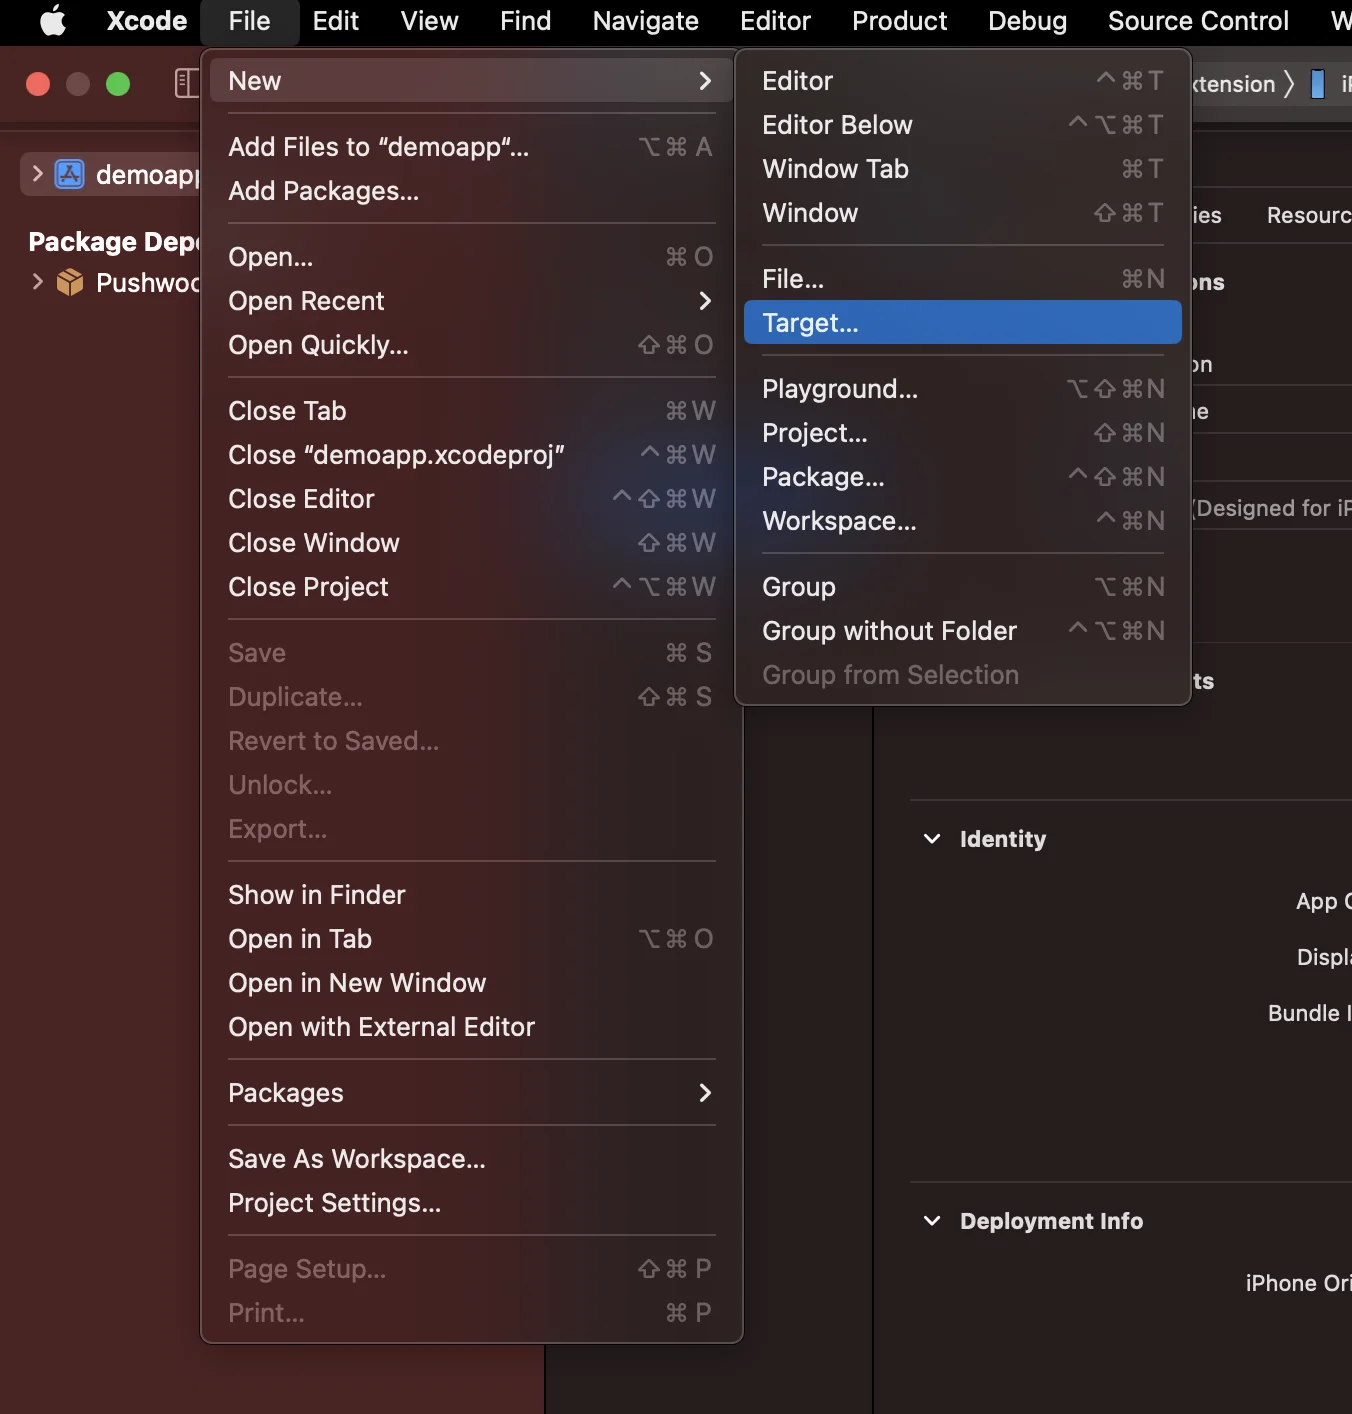
Choose the Notification Content Extension
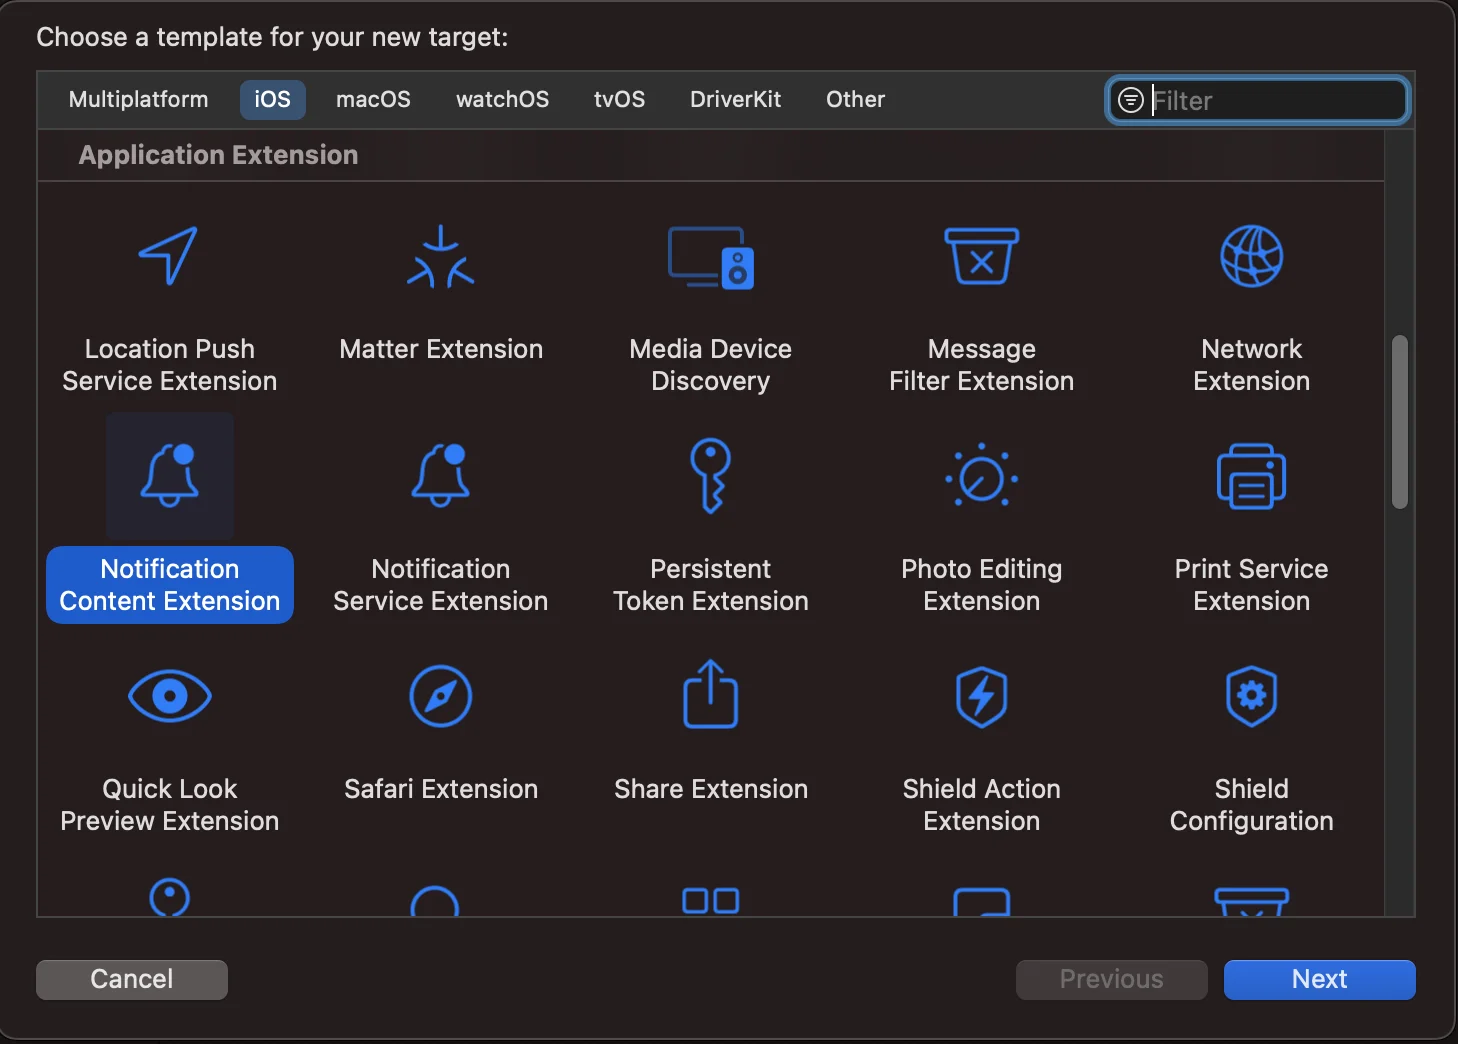
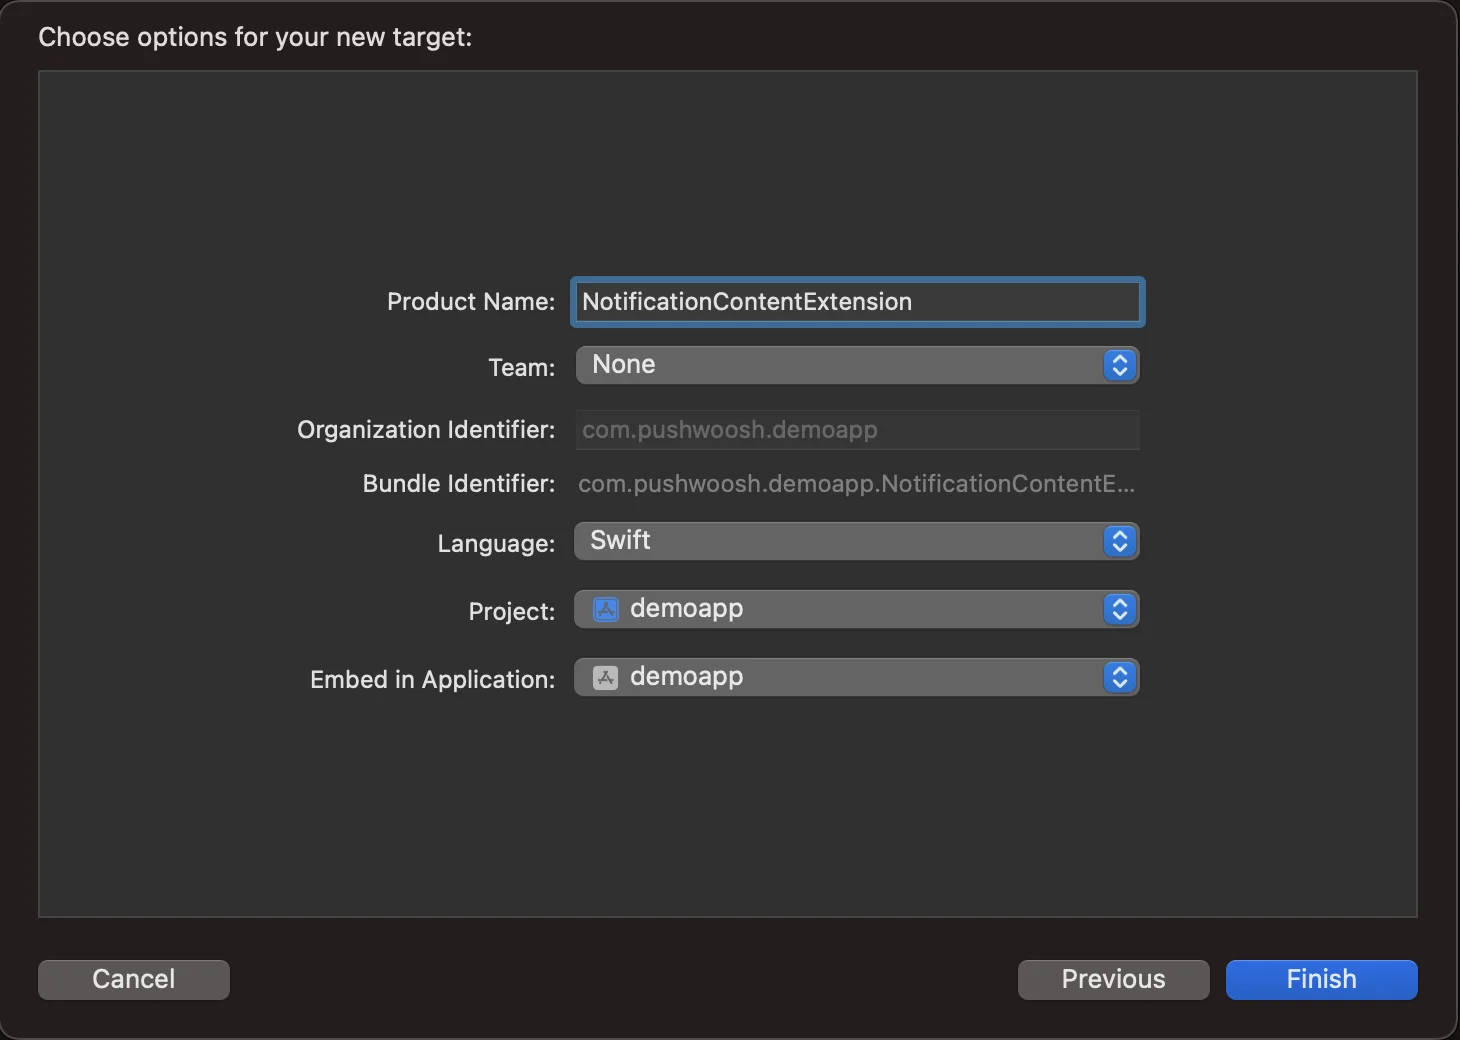
Name it NotificationContentExtension
2. Add code to your app
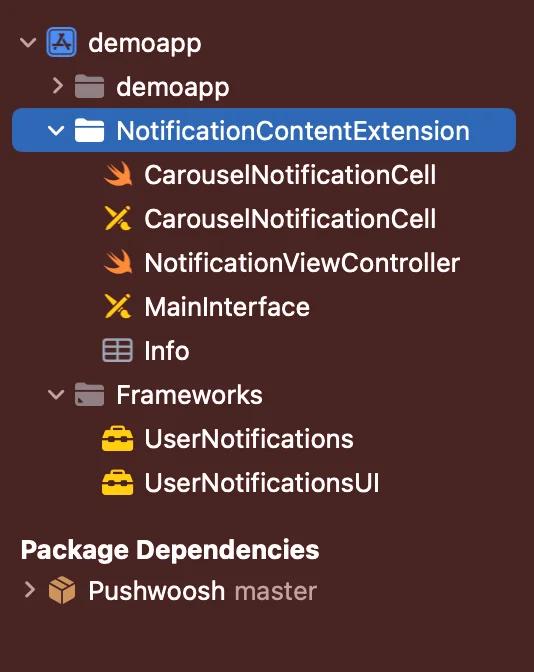
Anchor link toDownload PWNotificationExtension from Github and replace the PWNotificationContentExtension in your Xcode Project with the same file from Github.
3. Notification category
Anchor link toAdd the code bellow to your AppDelegate.swift file
    func application(_ application: UIApplication, didFinishLaunchingWithOptions launchOptions: [UIApplication.LaunchOptionsKey: Any]?) -> Bool {
        if #available(iOS 10.0, *) {            let options: UNAuthorizationOptions = [.alert]            UNUserNotificationCenter.current().requestAuthorization(options: options) { (authorized, error) in                if authorized {                    let categoryIdentifier = "PWNotificationCarousel"                    let carouselNext = UNNotificationAction(identifier: "PWNotificationCarousel.next", title: "➡️ RIGHT", options: [])                    let carouselPrevious = UNNotificationAction(identifier: "PWNotificationCarousel.previous", title: "⬅️ LEFT", options: [])                    let carouselCategory = UNNotificationCategory(identifier: categoryIdentifier, actions: [carouselNext, carouselPrevious], intentIdentifiers: [], options: [])                    UNUserNotificationCenter.current().setNotificationCategories([carouselCategory])                }            }        }
        return true    }
4. Send a push notification
Anchor link toiOS Category:
Send a push notification with APS json:
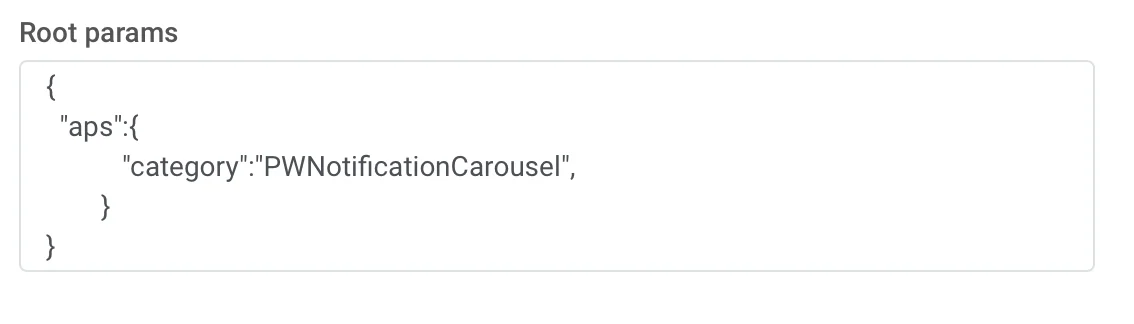
{ "aps":{ "category":"PWNotificationCarousel" }}Custom Data
You must list the Image URLs separated by a comma ,
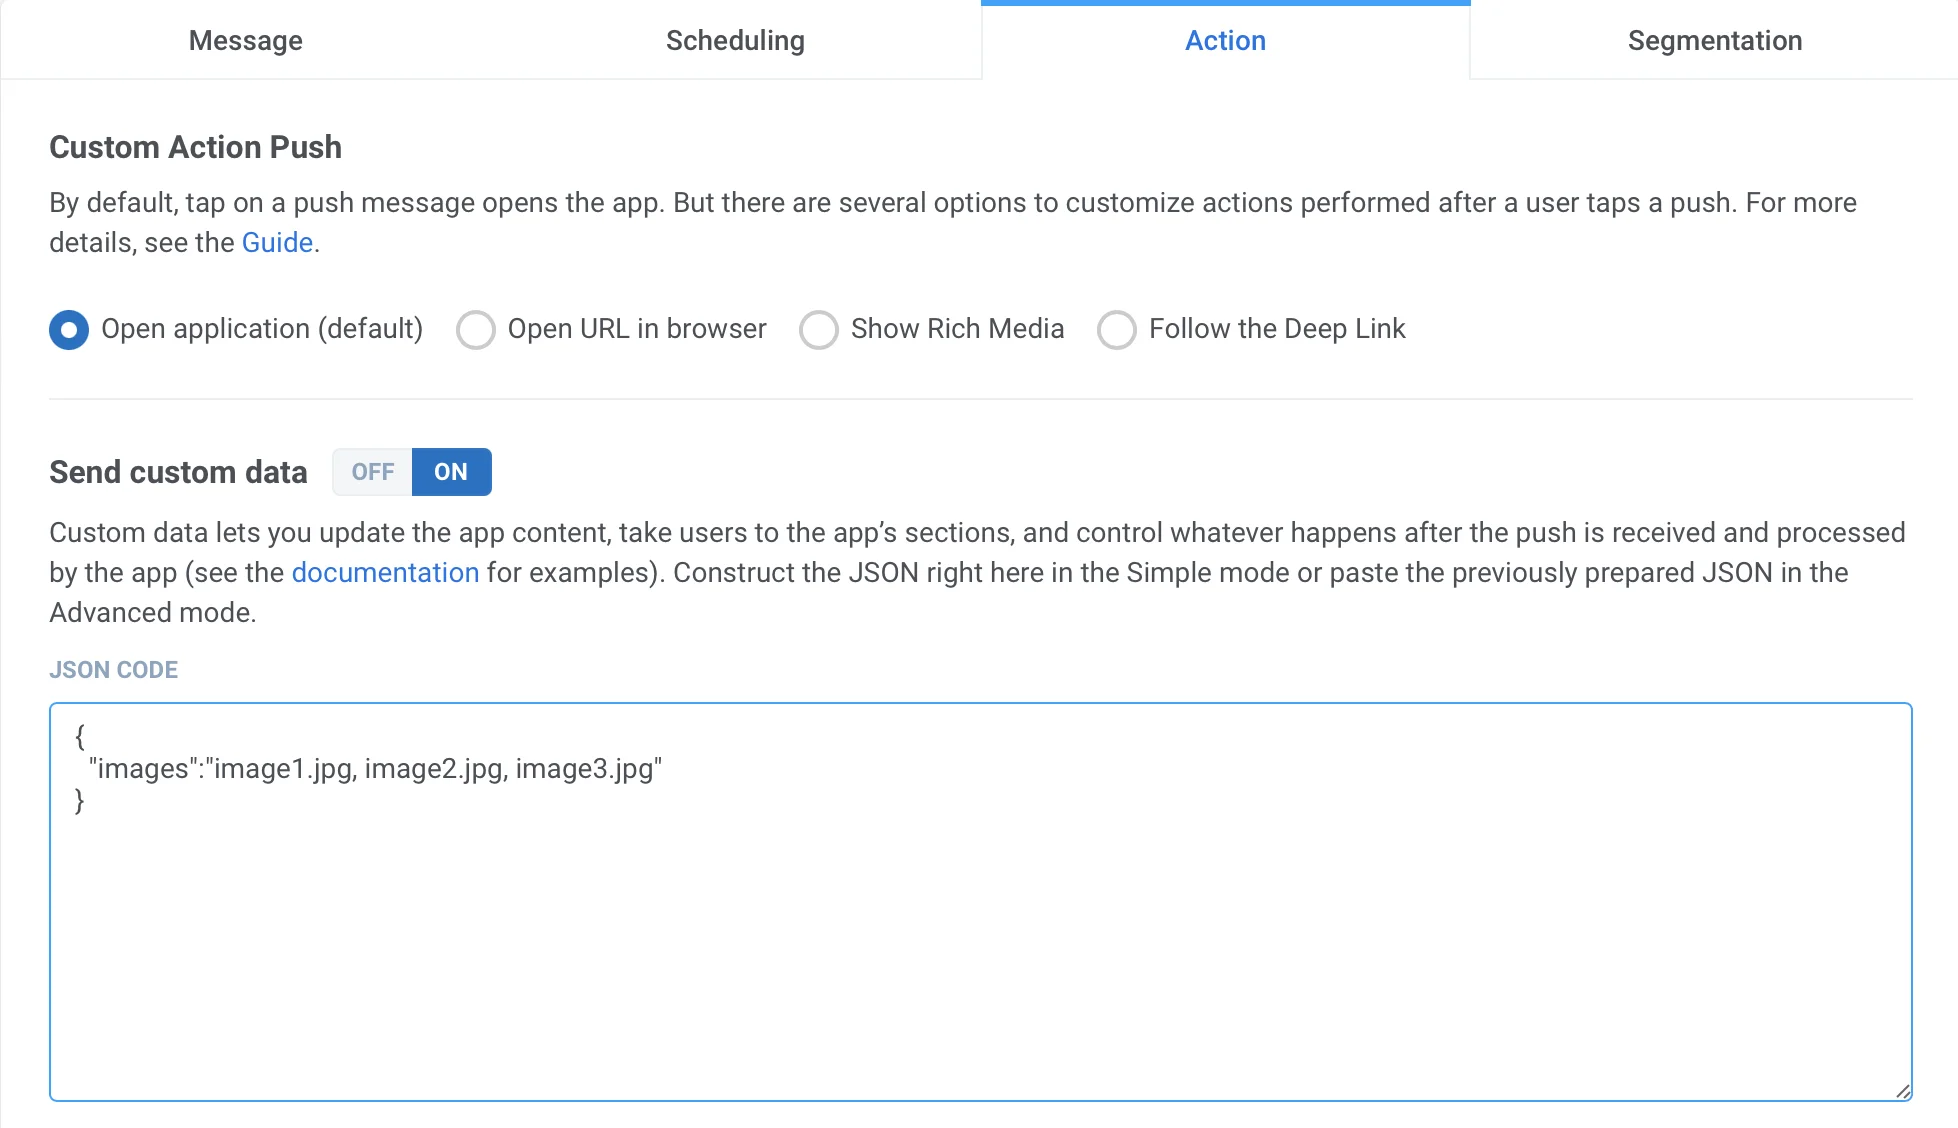
{ "images":"image1.jpg, image2.jpg, image3.jpg"}Once you receive the push, you will need to long press or swipe left and click “View” to expand the notification depending on the iOS version.