How to create a re-engagement campaign in Pushwoosh
In the highly competitive world of mobile apps, engaging users is only half the battle. Some users may open the app only a few times and then forget about it. Launching a re-engagement campaign will encourage these users to return to the app.
Segment your users
Anchor link toFirst, identify the categories of users at risk of churning. Most often, these are the users who have not opened your app for three to seven days. When starting a campaign in Pushwoosh, you can select the automatically created segments called Didn’t open the app for 3 days and Didn’t open the app for 7 days as the audience source.
You can also segment users based on the preferences they shared in their profiles or during onboarding. Then, based on the preferences, you can run dedicated campaigns using personalized content and relevant communications.
Prepare content
Anchor link toUse different types of content and various channels to make your campaign more engaging and effective. The following communication channels are most suitable for creating a re-engagement campaign in Pushwoosh Customer Journey Builder.
- Push notifications are a powerful tool for reminding users about your app and establishing a habit of using it.
- In-app messages allow you to demonstrate the app’s key features and benefits, provide helpful tips and ask for feedback.
- Emails are perfect for offering exclusive discounts, showing new features, or presenting engaging content.
For each of these channels, Pushwoosh allows you to personalize communications. For example, you can insert the user’s name or mention their preferences in push notifications, in-app messages, and emails.
Create a Customer Journey
Anchor link toOnce you’ve defined the audience and prepared content for your campaign, it’s time to create a Customer Journey.
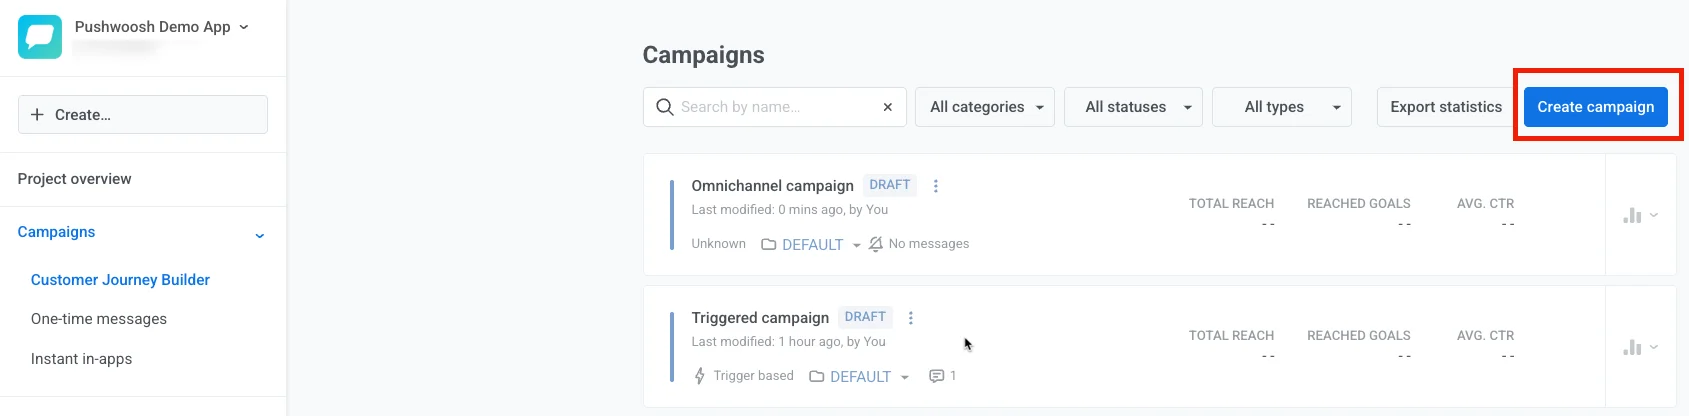
To do this, navigate to Campaigns → Customer Journey Builder → Create Campaign.
Re-engagement campaigns can be very different depending on the type of application, user behavior patterns, and many other factors.
As an example, we will create a re-engagement campaign for a music streaming app:
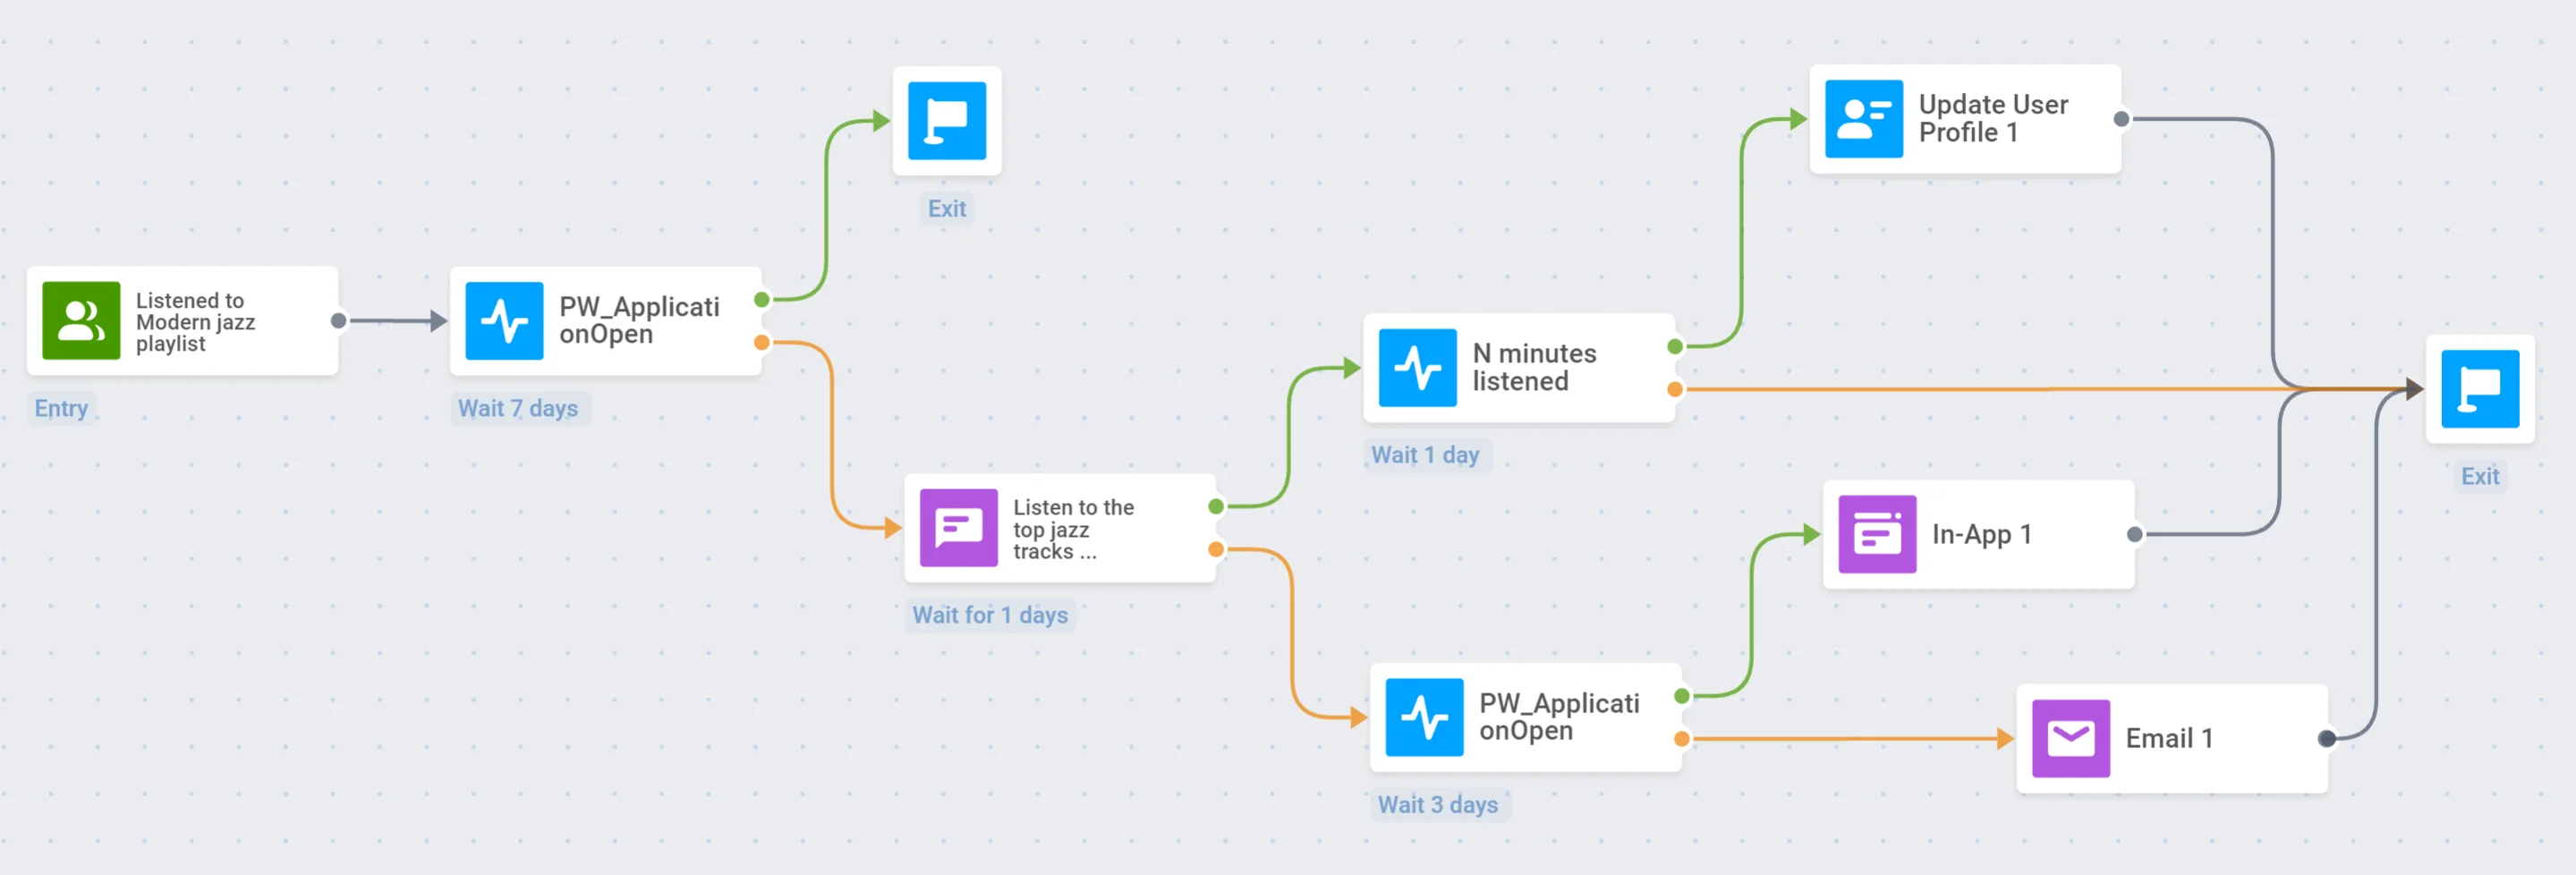
We have already created an example engagement campaign for this app and will use some of the data obtained at that stage in our new journey.
1. Entry point
Anchor link toWe want to launch a targeted re-engagement campaign for those who have previously listened to our Modern jazz playlist. Therefore, we will add an Audience-based entry point and select the Listened to Modern jazz playlist Segment as the audience source:
2. Waiting for users to open the app
Anchor link toWe will wait seven days for the Entry point audience to open the app. To do this, we will add the Wait for Trigger element and select the predefined PW_ApplicationOpen Event with a seven-day waiting period:
If a user opens the app within seven days, they will exit the Journey:
3. Push notification
Anchor link toLet’s send a push notification to those who have not opened the app for seven days. We will offer them to listen to the top jazz tracks they haven’t heard yet:
We will also configure Silent Hours so that push notifications are not sent to users at inappropriate times of the day:
4. Listening time trigger and profile update
Anchor link tofor those who opened the push notification
Now we want to split the users who opened the push into two groups: those who listened to the playlist for a specific amount of time and those who closed the playlist quickly.
First, we need to configure the N minutes listened Event in the app and the Pushwoosh project.
Now, let’s add the Wait for Trigger element and specify the N minutes listened Event:
If a user has listened to the playlist for a sufficient time, we tag them as Listened to the new jazz playlist. To do this, we will use the Update User Profile element:
If a user does not trigger the N minutes listened Event, they exit the journey:
5. Waiting for users to open the app
Anchor link tofor those who did not open the push notification
If a user ignores our push notification, we will wait for them to open the app for three days:
6. In-app message
Anchor link tofor those who opened the app within three days
If a user has opened the app within three days, we will show them the In-App offering to collect feedback on our app. This will help us understand why users abandon the app.
After showing the in-app, we will finish the Journey:
7. Email
Anchor link tofor those who have not opened the app within three days
Let’s email users who have not opened our app within three days. The email will contain brief information about the best jazz musicians of the 21st century and links to playlists with tracks performed by them.
After sending the email, we will finish the Journey: