How to send a segmented campaign
Pushwoosh allows you to send messages and campaigns to a user segment. This helps you to personalize your campaigns. Use cases:
- Send a message to a language segment: email in Hindi or mobile push in Portuguese.
- Send a retention email with a country-specific or time-limited offer.
In Pushwoosh, you can create two types of user segments:
- Segments based on user attributes, e.g., the user’s country or language.
- Segments based on user behavior, e.g., last login or previous purchases.
Once you’ve added a user base to Pushwoosh, you can use default tags and events right away. Additionally, you can create your own custom tags and events.
How to create a segmented campaign
Anchor link toThis process consists of three steps:
Step 1: Create a user segment. Follow this guide to create your user segment.
Step 2: Craft a message. Mobile or web push, email, in-app message, SMS, or WhatsApp.
Step 3: Build the segment and the message into a campaign.
How to build a campaign targeted at a user segment
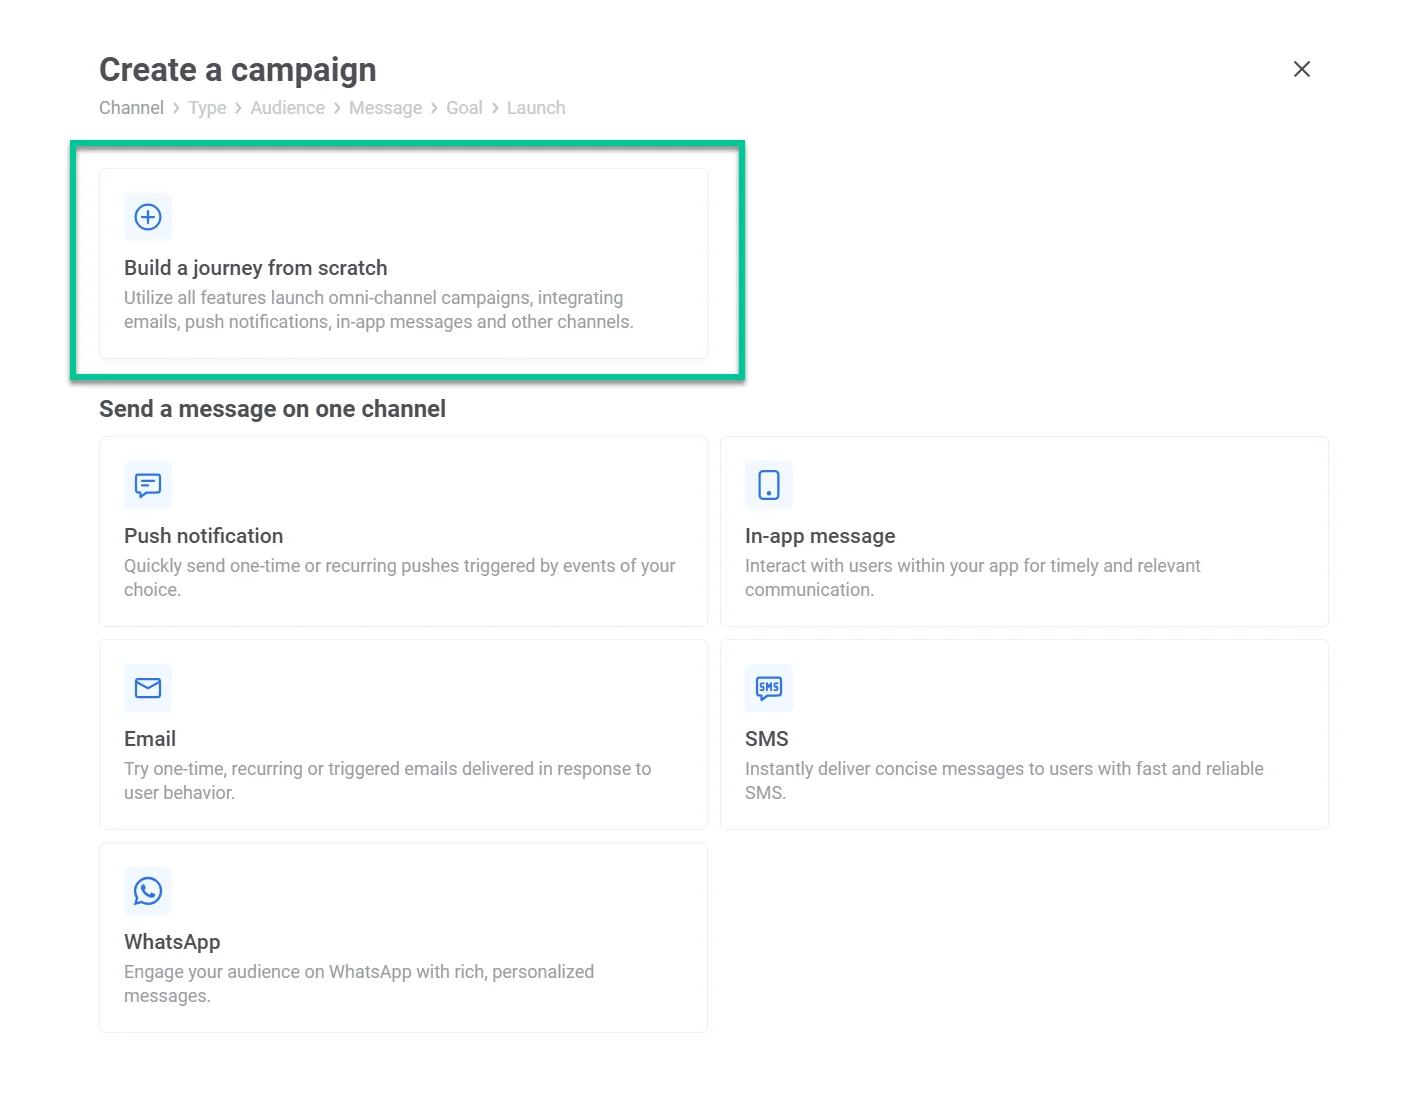
Anchor link toOnce your segment and message(s) are ready, go to Campaigns > Customer Journey Builder > Create campaign and click Build a journey from scratch.

Drag the Audience-based Entry into the canvas, as we are using it to send a message to a user segment.
Double-click the Audience icon, then click the Audience Source. From the dropdown, choose the segment you want to use. Click Apply.
Click Connect this to add a messaging channel. In this example, we are using an email to reach out to users who didn’t open our app in 7 days.
Double-click your message and choose a preset — the message copy you have prepared for the campaign.
You can stop here and don’t send anything else. To do so, click the connecting dot icon on your message and choose Exit.
To launch your campaign, give it a name by clicking the three dots icon in the left upper corner > Rename. Once ready, click Launch.
How to send a follow-up message to a user segment
Anchor link toYou can automatically follow up with users who didn’t open your previous email or push notification. To do so, double-click the message icon (the email icon in our case) and toggle on Split to opened/ignored.
Choose how many days to wait to check the opens. For the email, we chose five days, but depending on the case, you can choose to wait for 30 minutes. For example, to follow up with a user about their flight changes or another urgent update. Then click Apply.
Now you see two options to automate: opened/not opened. If a user opened your email > then exit the campaign. To do so, click the connecting dot next to opened and choose Exit.
If a user didn’t open your email, send them another email. To do so, click the connecting dot next to not opened and choose any messaging channel. In our case, we are following up with another email.
Double-click your message and choose a preset—the message copy you have prepared for the campaign.
To stop the automation here, click the connecting dot icon on your message and choose Exit.
To launch your campaign, give it a name by clicking the three dots icon in the left upper corner > Rename. Once ready, click Launch.
Popular combinations of follow-ups
Anchor link to- Mobile push + email
- Email + email
- Mobile push + SMS
- Email + SMS
- Mobile push + WhatsApp
- Email + SMS + WhatsApp
How to schedule a segmented campaign
Anchor link toYou can launch your campaign once at a specific time (e.g., December 10 sale start). Or launch it periodically (e.g., every Friday at 5pm for game reminders).