Test devices
Test Devices enable you to preview how push notifications, emails, or SMS messages will appear on a device before sending them to your audience. This feature helps ensure that your messages are accurate and display correctly before launching campaigns to a larger audience.
To use this feature, you must first register your device (push device, email, or phone number) as a Test Device.
Note: Test devices are application-specific, meaning you’ll need to configure them separately for each application.
To add a test device:
- Navigate to the Test devices section in your Pushwoosh account.
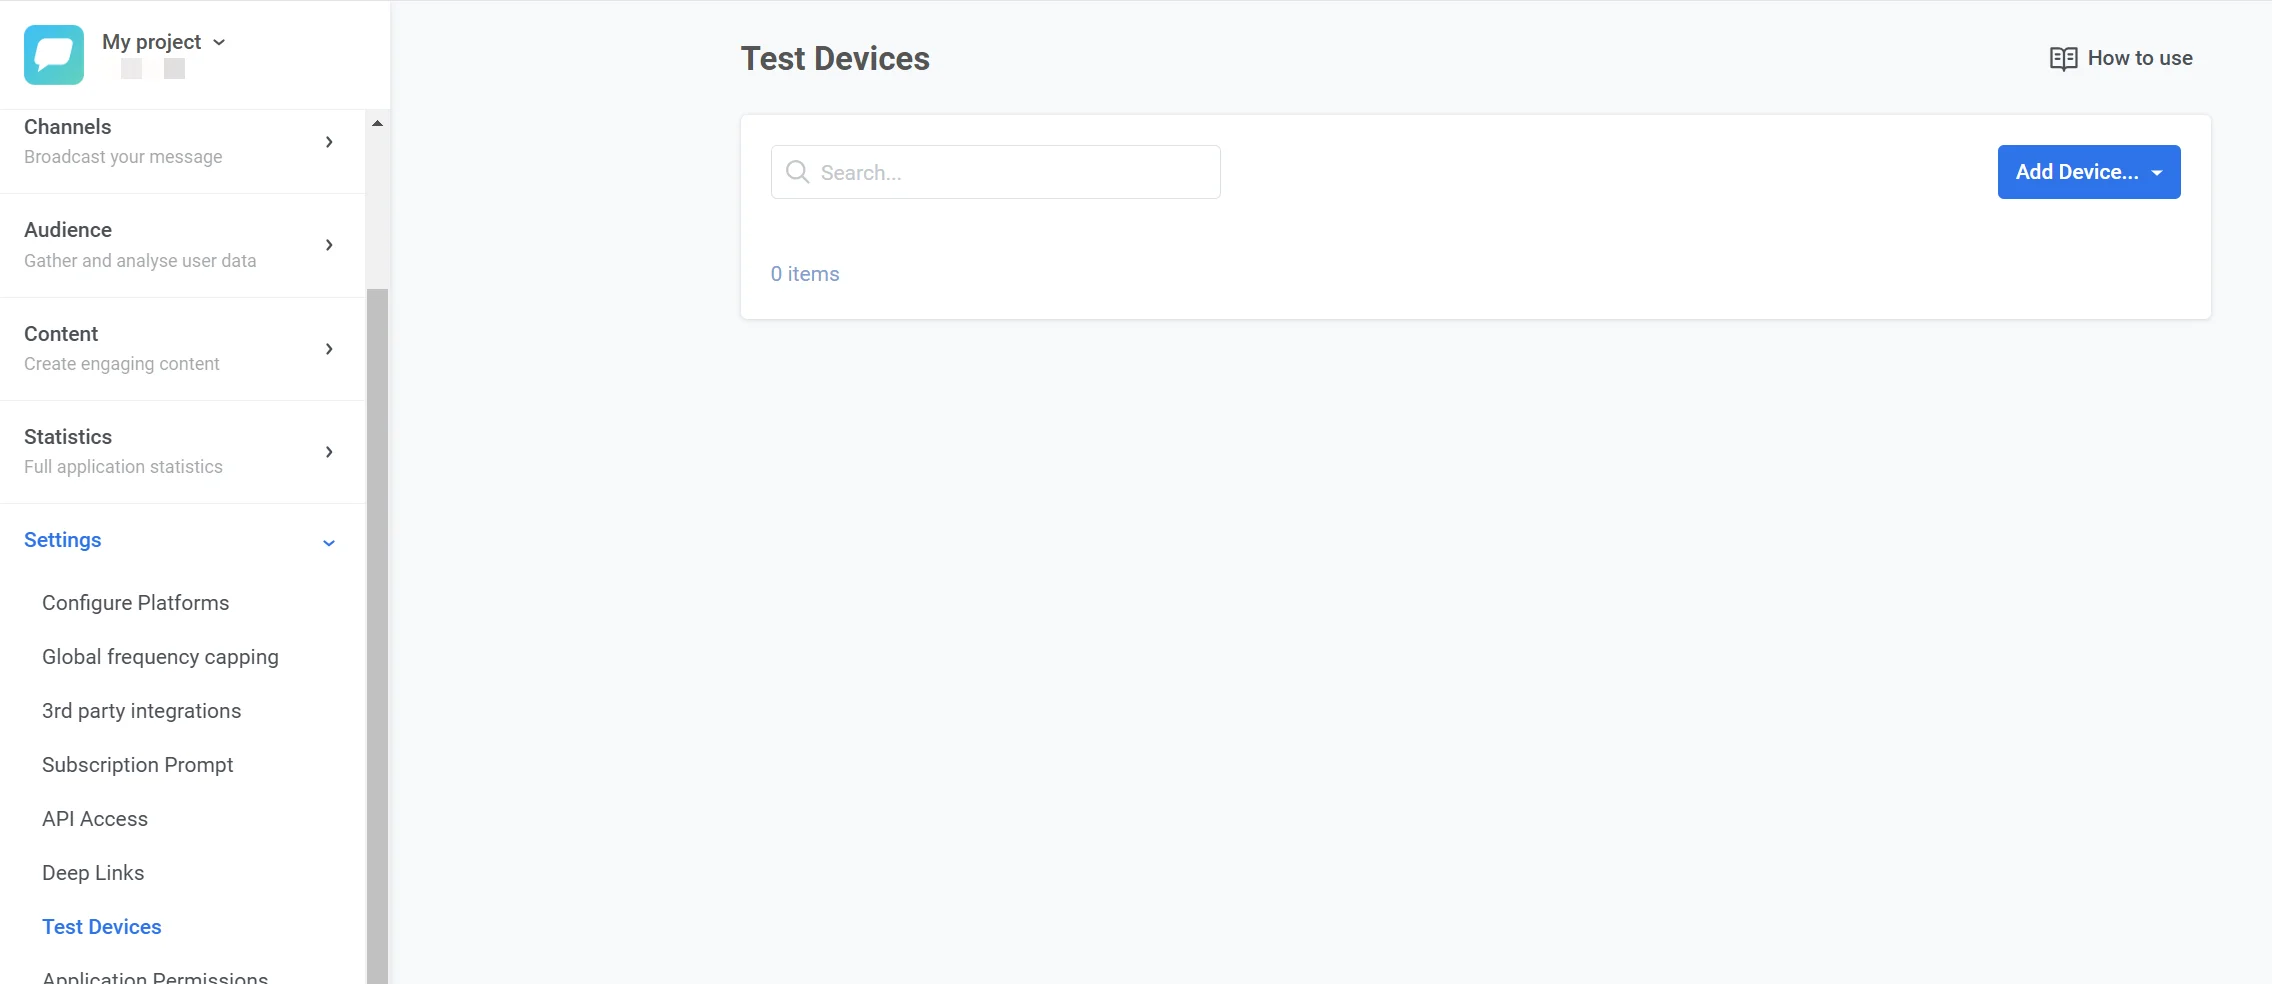
-
Click the Add Device dropdown button in the top-right corner.
-
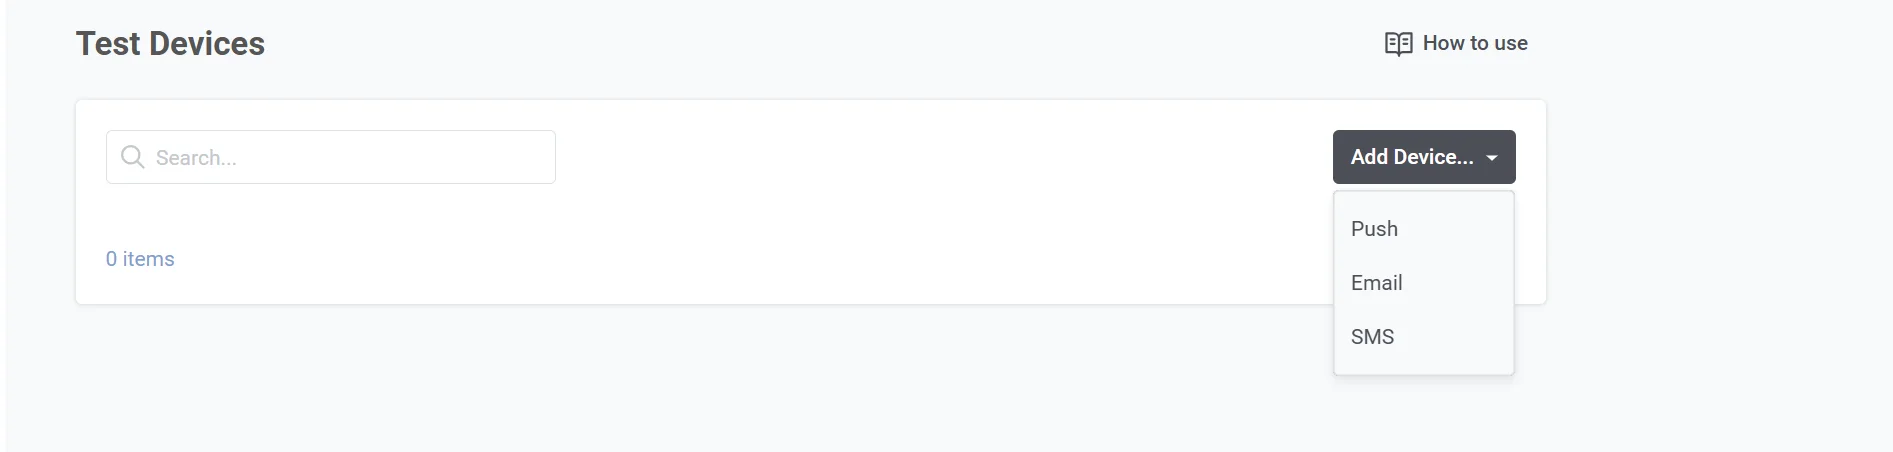
Select the type of device you want to add:
- Push: Add a mobile or web push device.
- Email: Add an email address for testing email notifications.
- SMS: Add a phone number for testing SMS messages.
Test push device
Anchor link toLearn how to send a test push notification
Test email device
Anchor link toYou can also register an email address as a test device to test your email campaigns before launch.
To add a test email device:
- Go to Settings → Test Devices and click Add Devices → Email
- In the popup, fill in the required fields:
- Device Name: Enter a descriptive name for the test device (e.g., “Test Email - Marketing”).
- Email: Enter the email address where test messages will be sent.
- Description (Optional): Add any additional notes or details about the test device for reference.
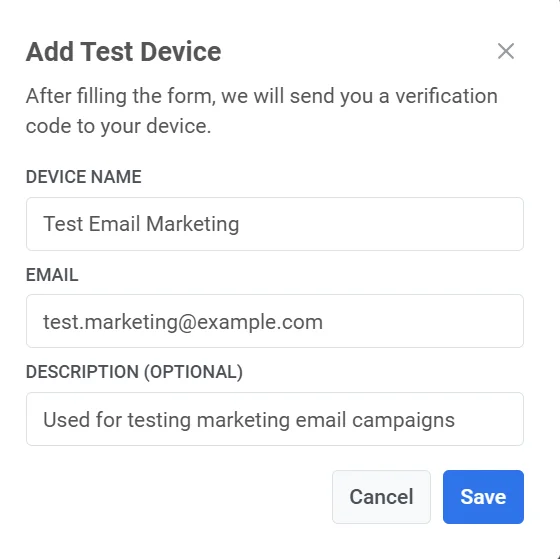
- Click Save.
- After submitting the form, a verification code will be sent to the specified email address.
- Enter the verification code you received into the Verification Code field shown in the dialog. Click Verify to confirm the device.
Learn how to send a test email
Test SMS device
Anchor link toYou can register a test phone number to send and test SMS messages for formatting, delivery, and timing.
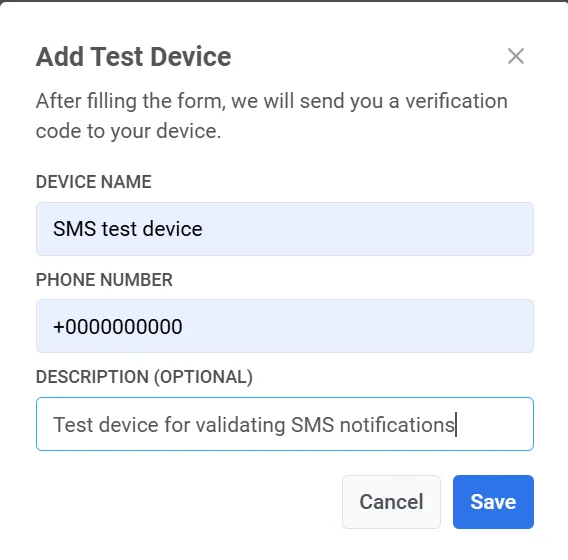
- Go to Settings → Test Devices and click Add Devices → SMS
- Fill in the form:
- Device Name: Enter a name to identify the test device (e.g., “Test SMS - QA Team”).
- Phone Number: Enter the phone number where SMS test messages will be sent. Ensure the phone number is in the E.164 format (e.g.,
+1234567890). - Description (Optional): Provide additional information about the device, such as its purpose or assigned user (e.g., “For testing transactional SMS messages”).
- Click Save to submit the information.
- A verification code will be sent to the phone number you entered.
- Enter the code in the next step to confirm the device registration.
Once the device is verified, it will appear in the Test Devices list, ready for testing SMS campaigns.