Android Firebase configuration
Get the Firebase API key
Anchor link to-
Create a Firebase project.
-
Open your Firebase Console and choose the project you created.
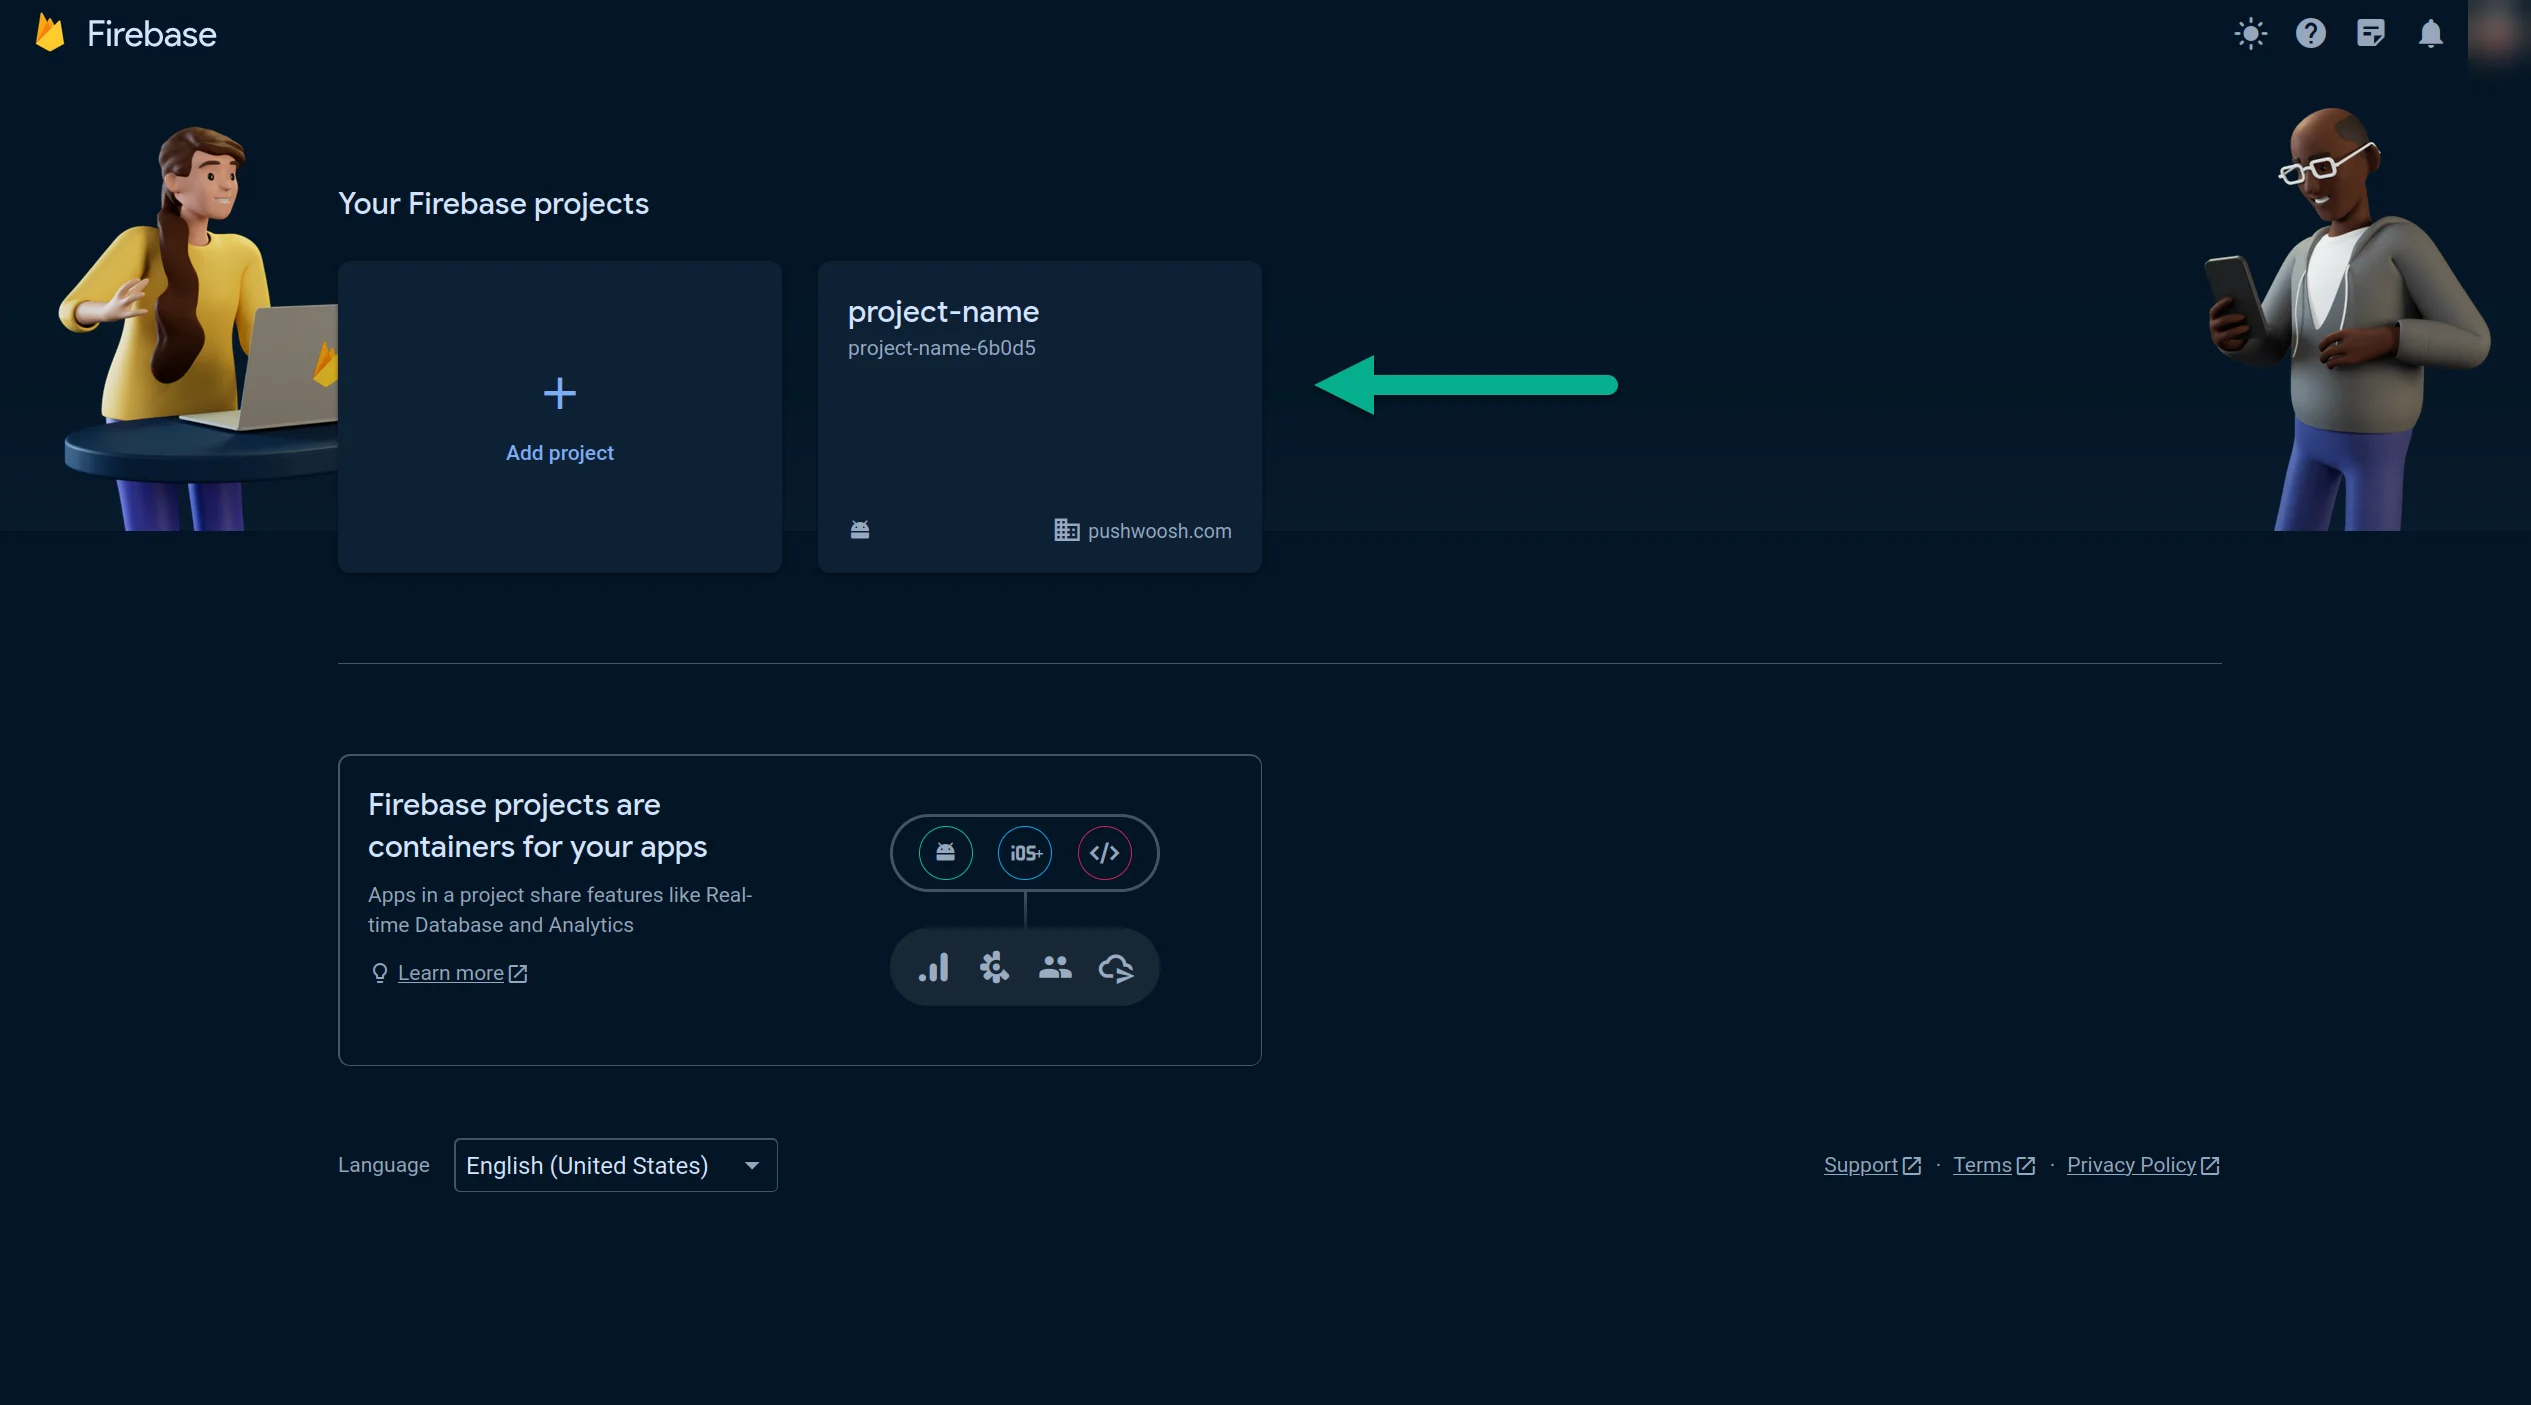
- Go to Your Project > Project settings.

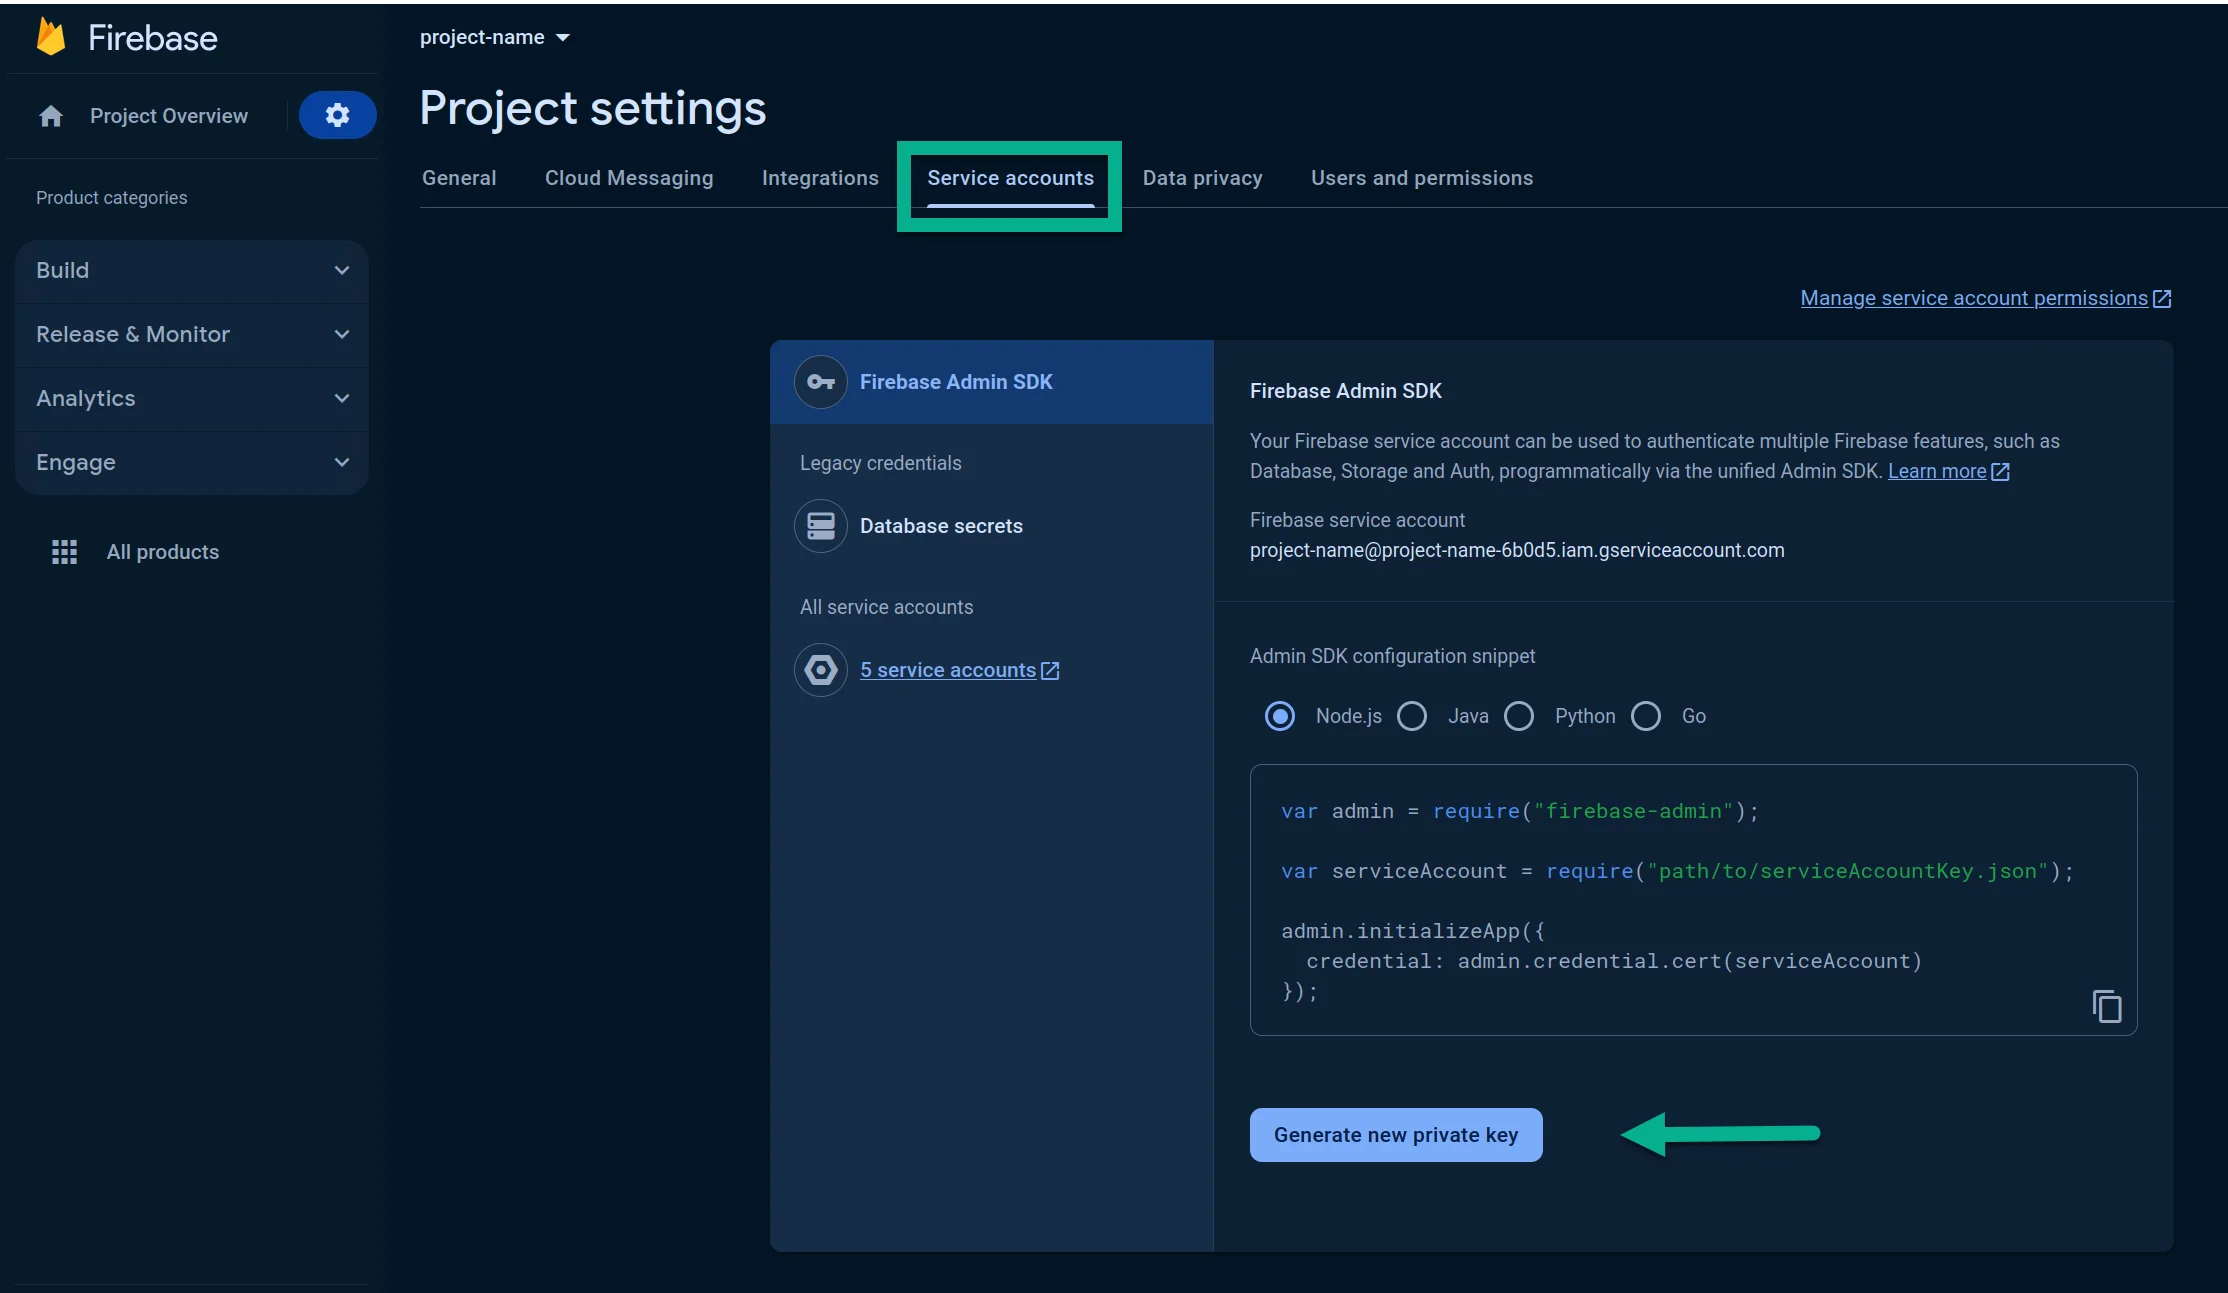
- In Service accounts tab, press Generate new private key:
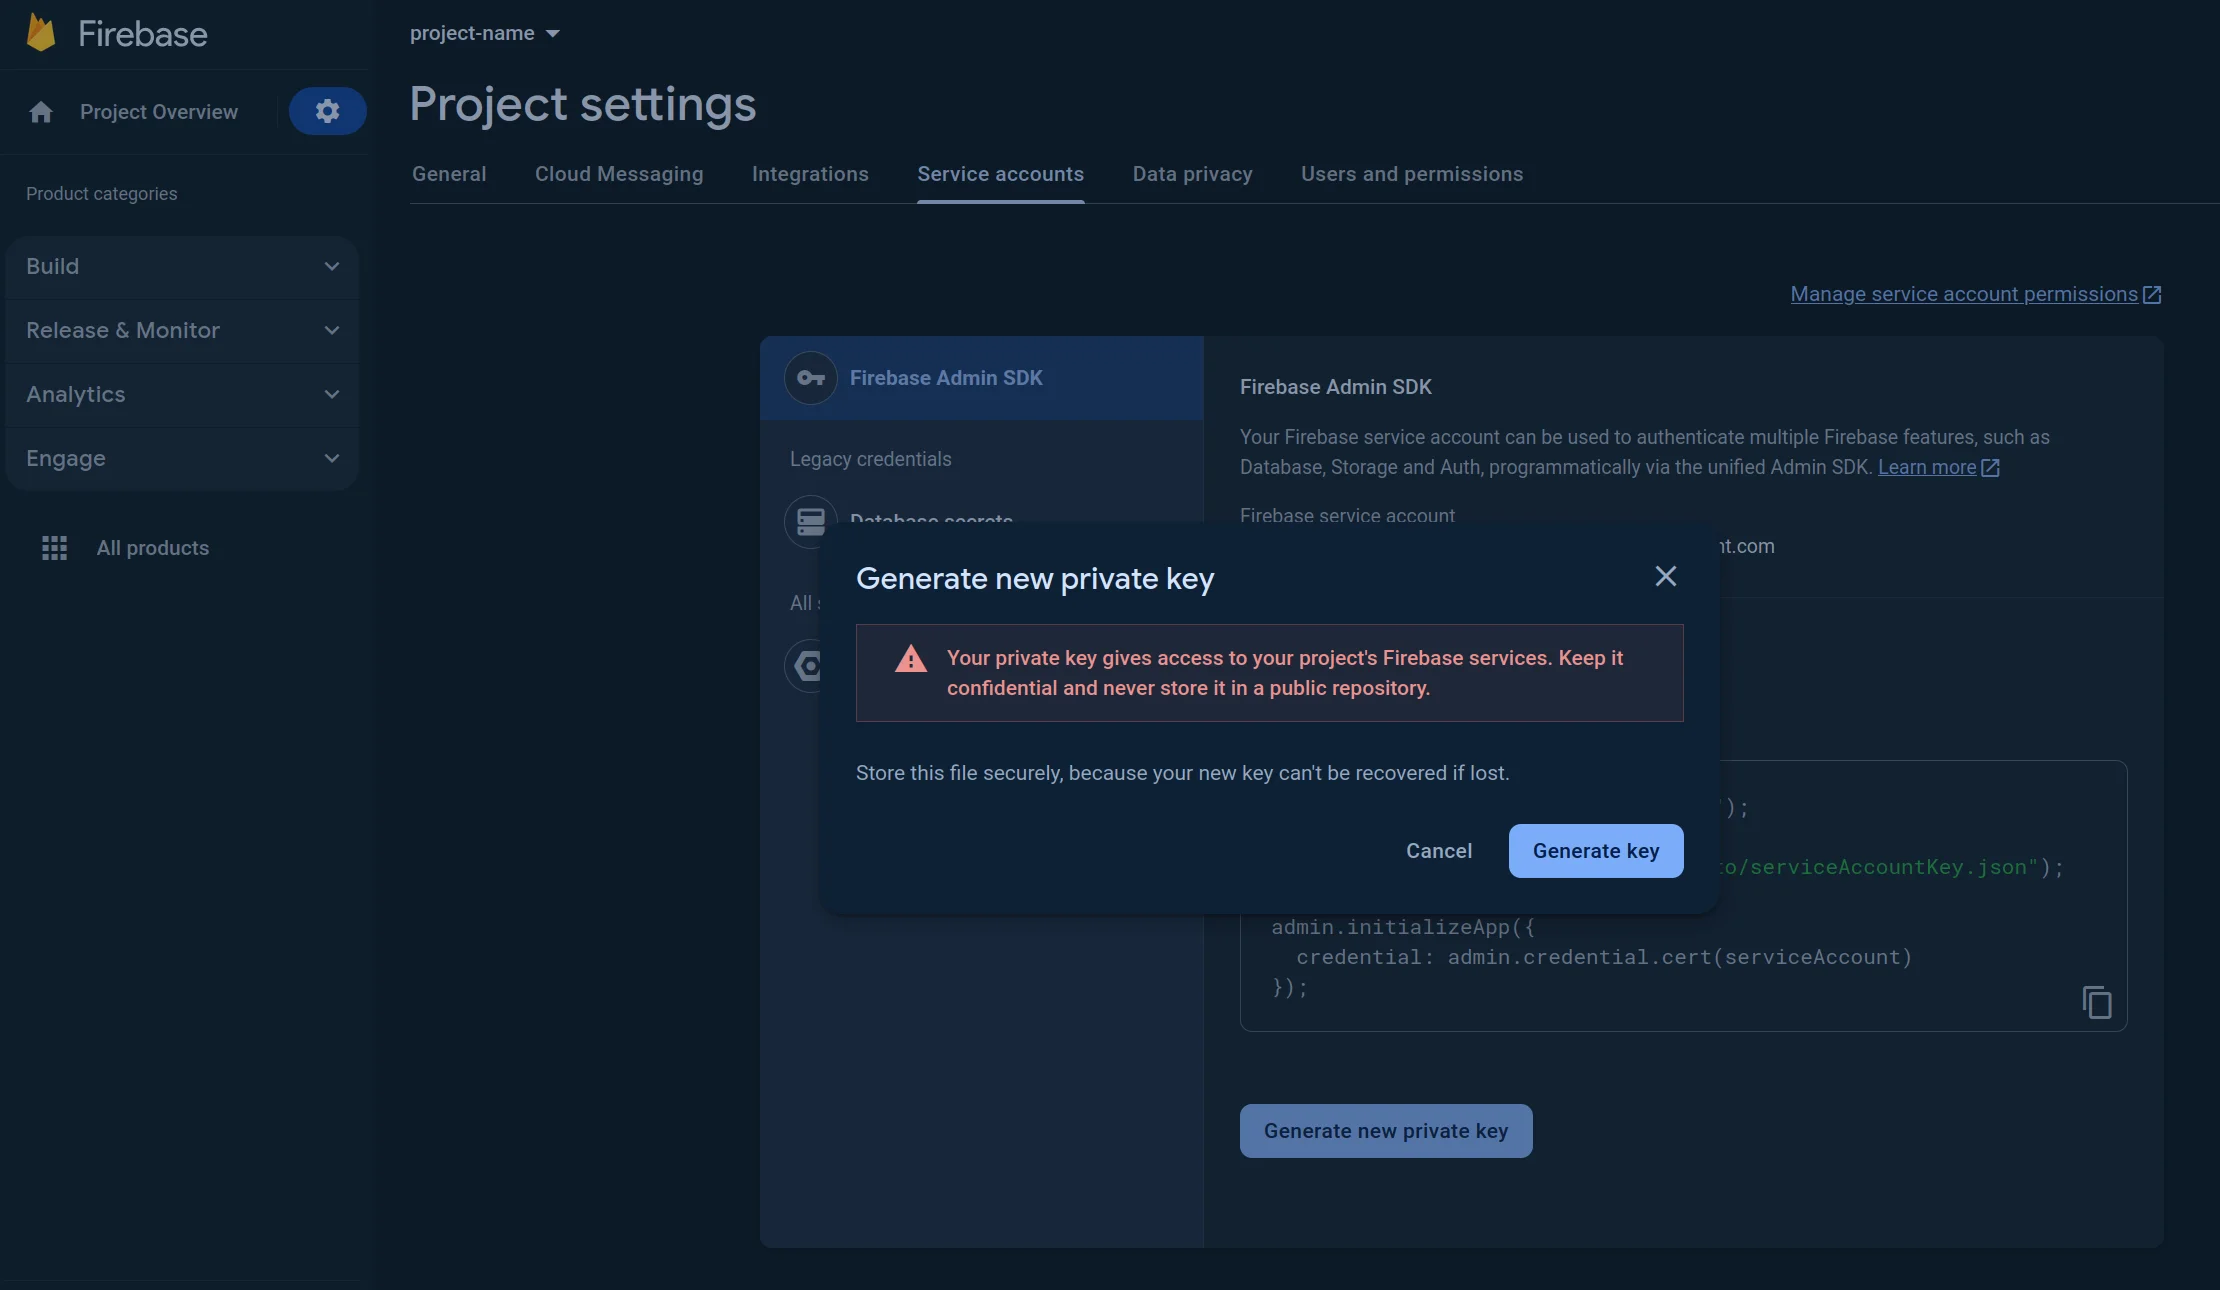
- In the window opened, press Generate key. The JSON file will be downloaded.
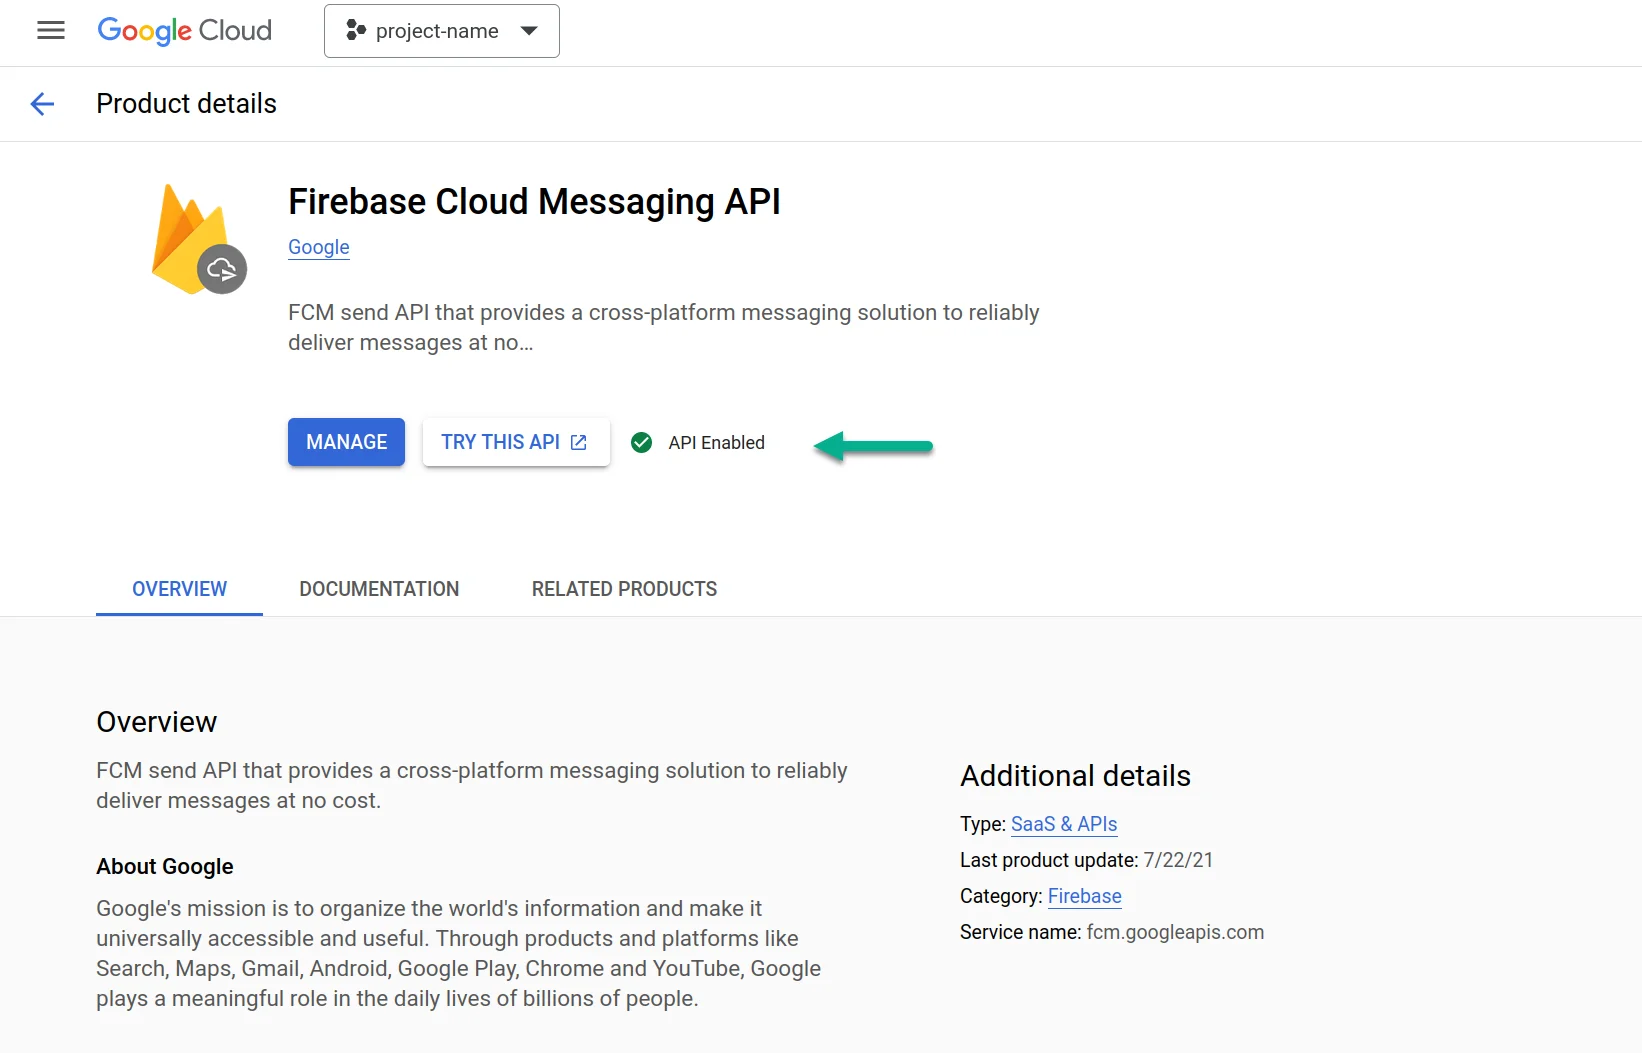
- Please verify that the API is enabled. If not, please enable it.
- Visit https://console.cloud.google.com/apis/library/fcm.googleapis.com
- Select your project.
- Press Enable.
Configure Android in your Pushwoosh project
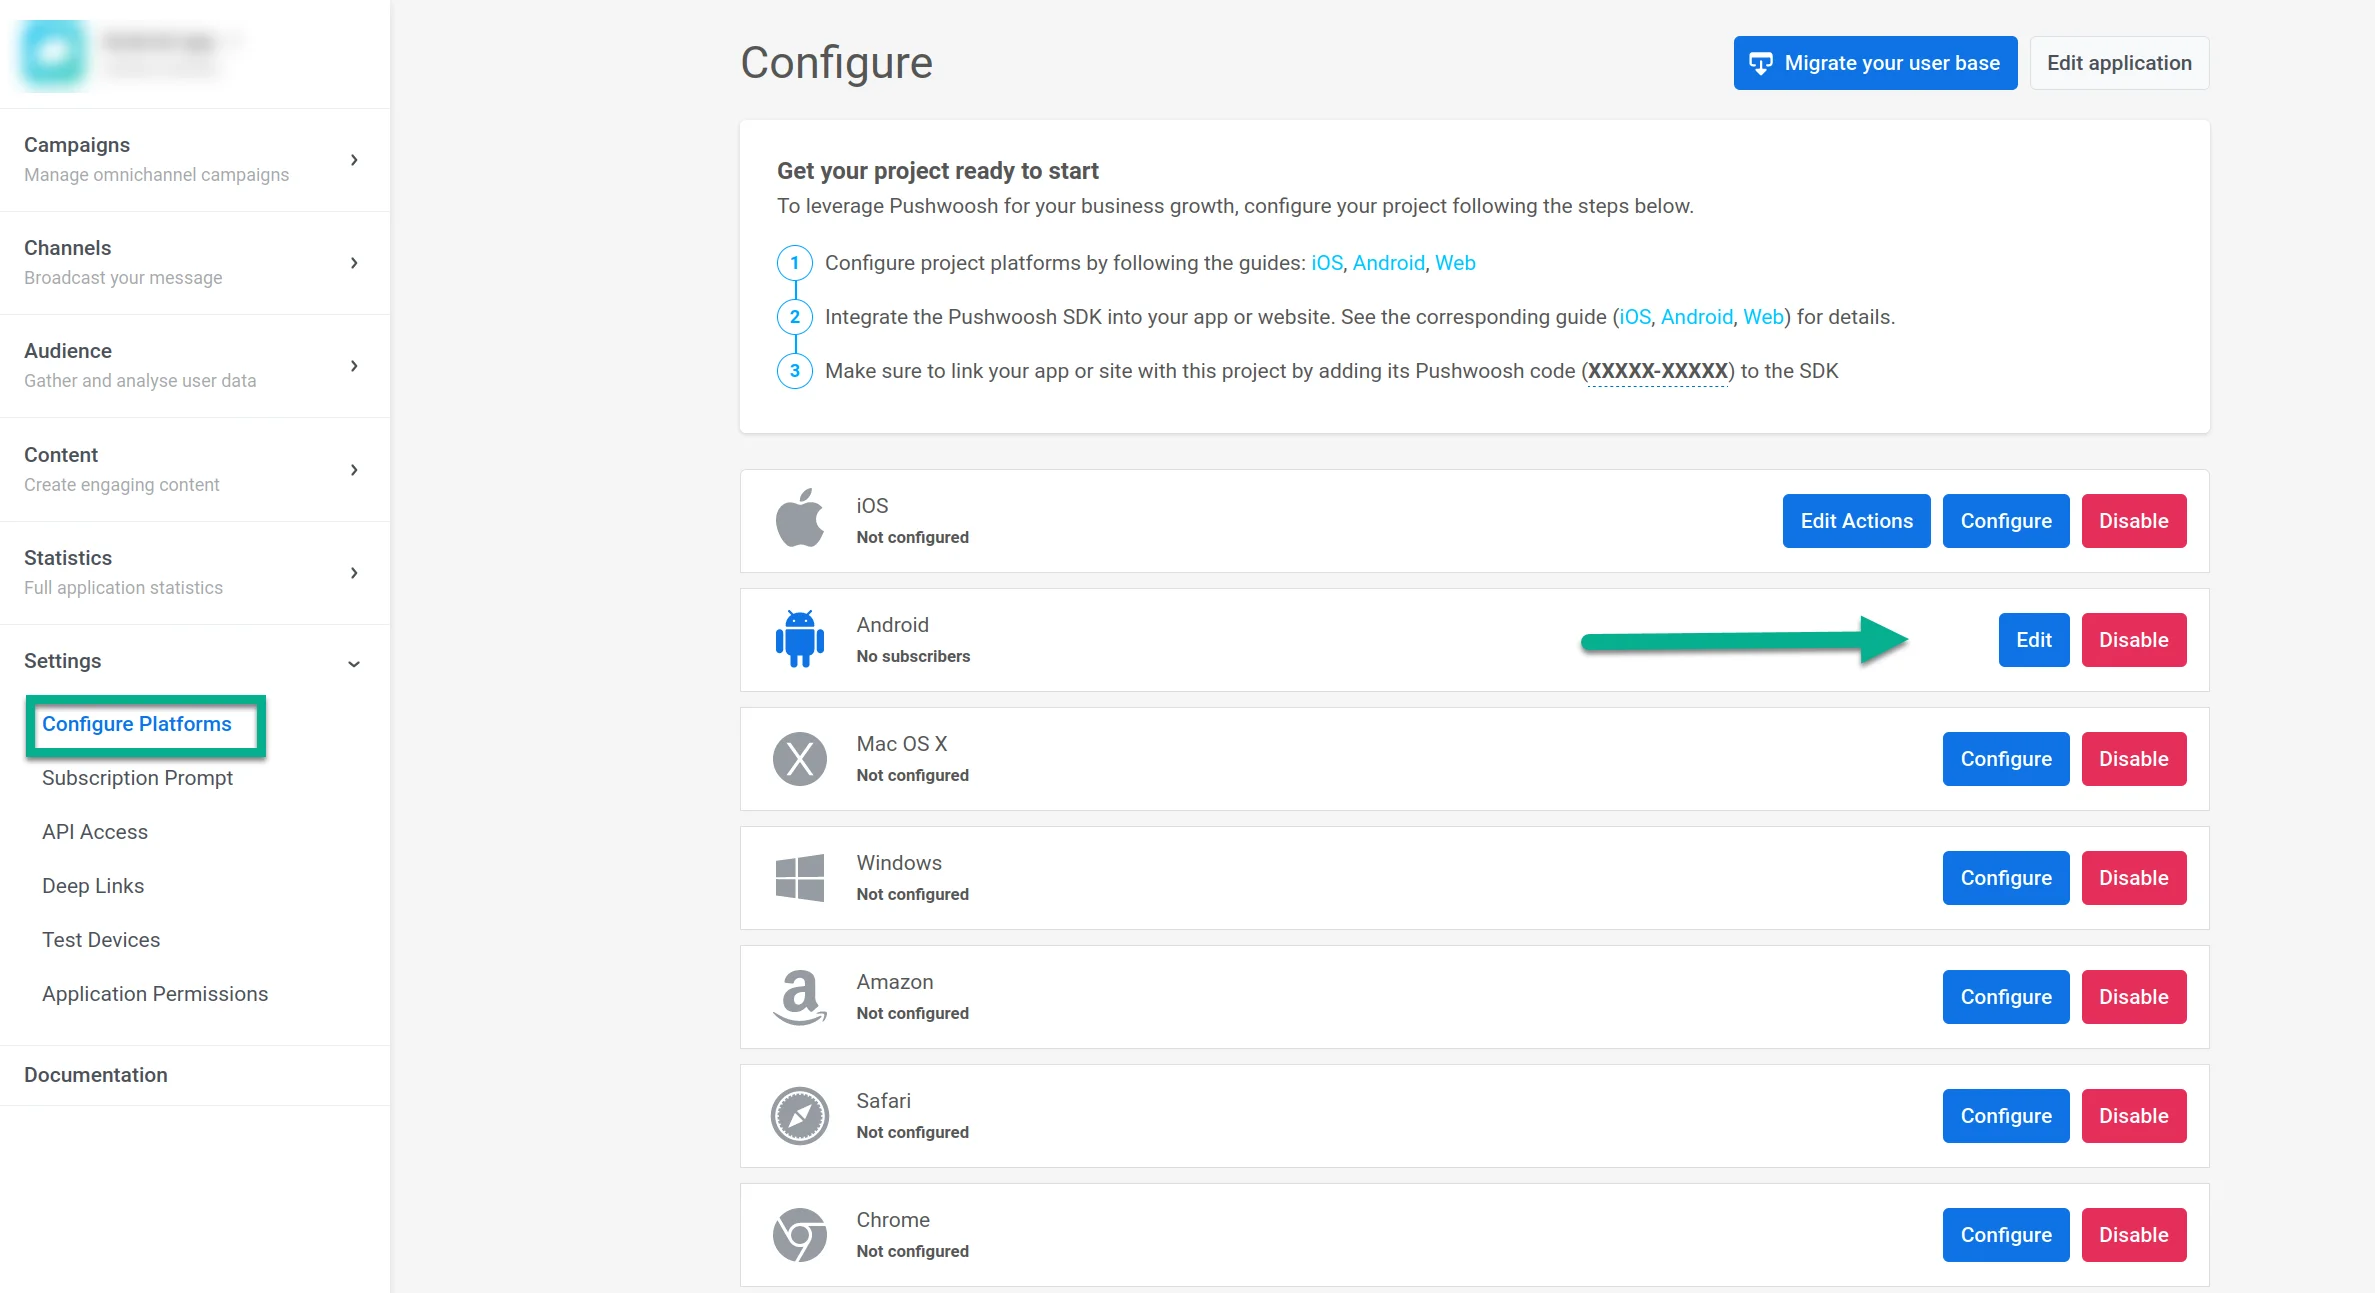
Anchor link to- Go to your Pushwoosh project. Open Settings → Configure platforms and click Connect in the Android row.
- In IMPORT FCM SERVICE ACCOUNT KEY, upload the JSON private key you downloaded from your Firebase project settings.
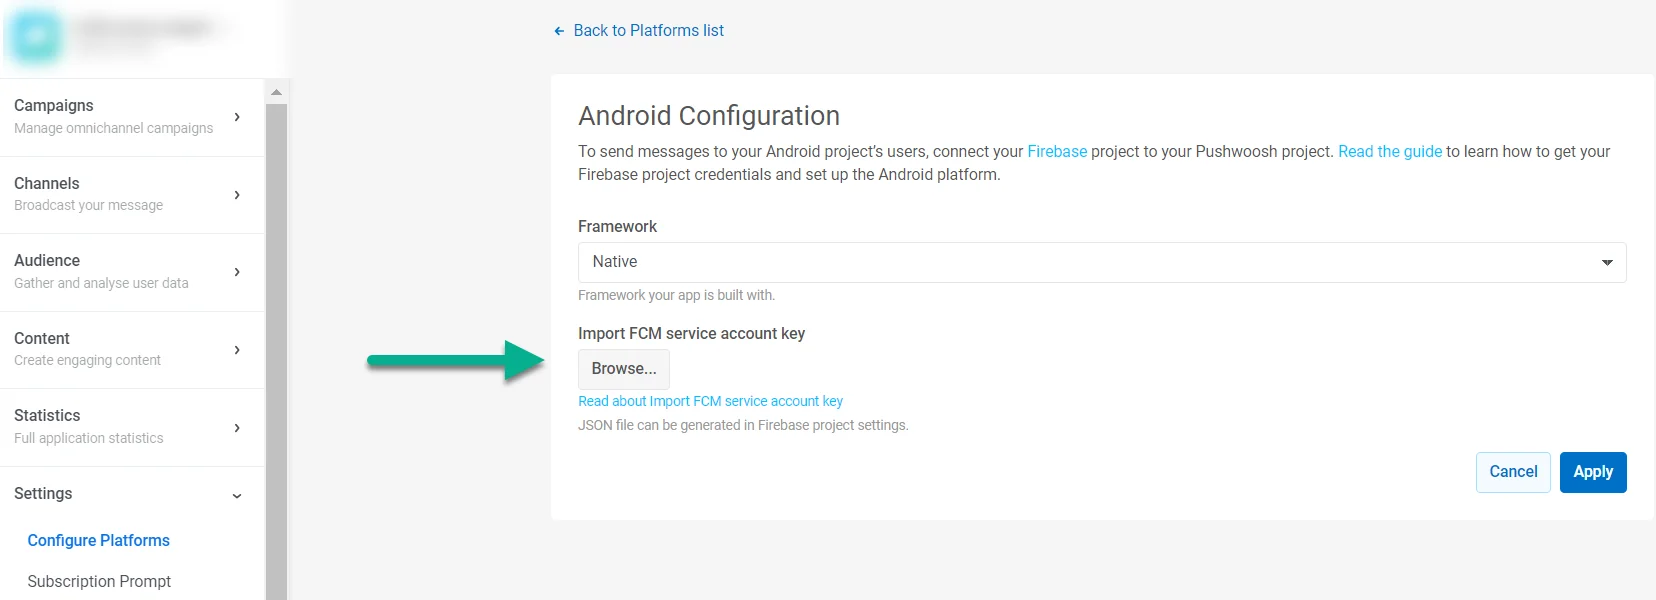
-
Click Apply.
-
Now you can move on to integrating the Pushwoosh SDK