How to create and manage in-app content
Pushwoosh provides several flexible options for creating in-app (Rich media) templates, so you can choose the method that best fits your skills and needs:
Built-in in-app editor
Anchor link toA no-code, visual builder that lets you create in-app messages using content blocks, images, buttons, and forms. Perfect for marketers and non-technical users.
Pre-built in-app templates
Anchor link toChoose from ready-made templates for common use cases, then customize text, colors, and images.
Upload custom template (ZIP)
Anchor link toIncorporate pre-designed in-app pages by uploading them as ZIP files. Your development team must create them using the correct syntax.
You can access all these options from Content → In-apps (Rich media) or when adding an in-app element to a campaign.
Guides: popular formats and popups
Anchor link toStep-by-step guides for specific in-app use cases:
- Design popular formats: create full-screen and part-screen in-apps for promotions, opt-ins, paywalls, and announcements. Design popular in-app formats
- Opt-in and opt-out recovery popups: build popups for push permission and re-engagement without coding. Create opt-in and opt-out popups
View and manage your in-app content
Anchor link toPushwoosh keeps your in-app templates in one place, making it easy to edit, reuse, or clone them for future campaigns.
To view your in-app content, navigate to Content → In-apps (Rich media). Here, you’ll find all the in-app templates you’ve created, organized for easy access.
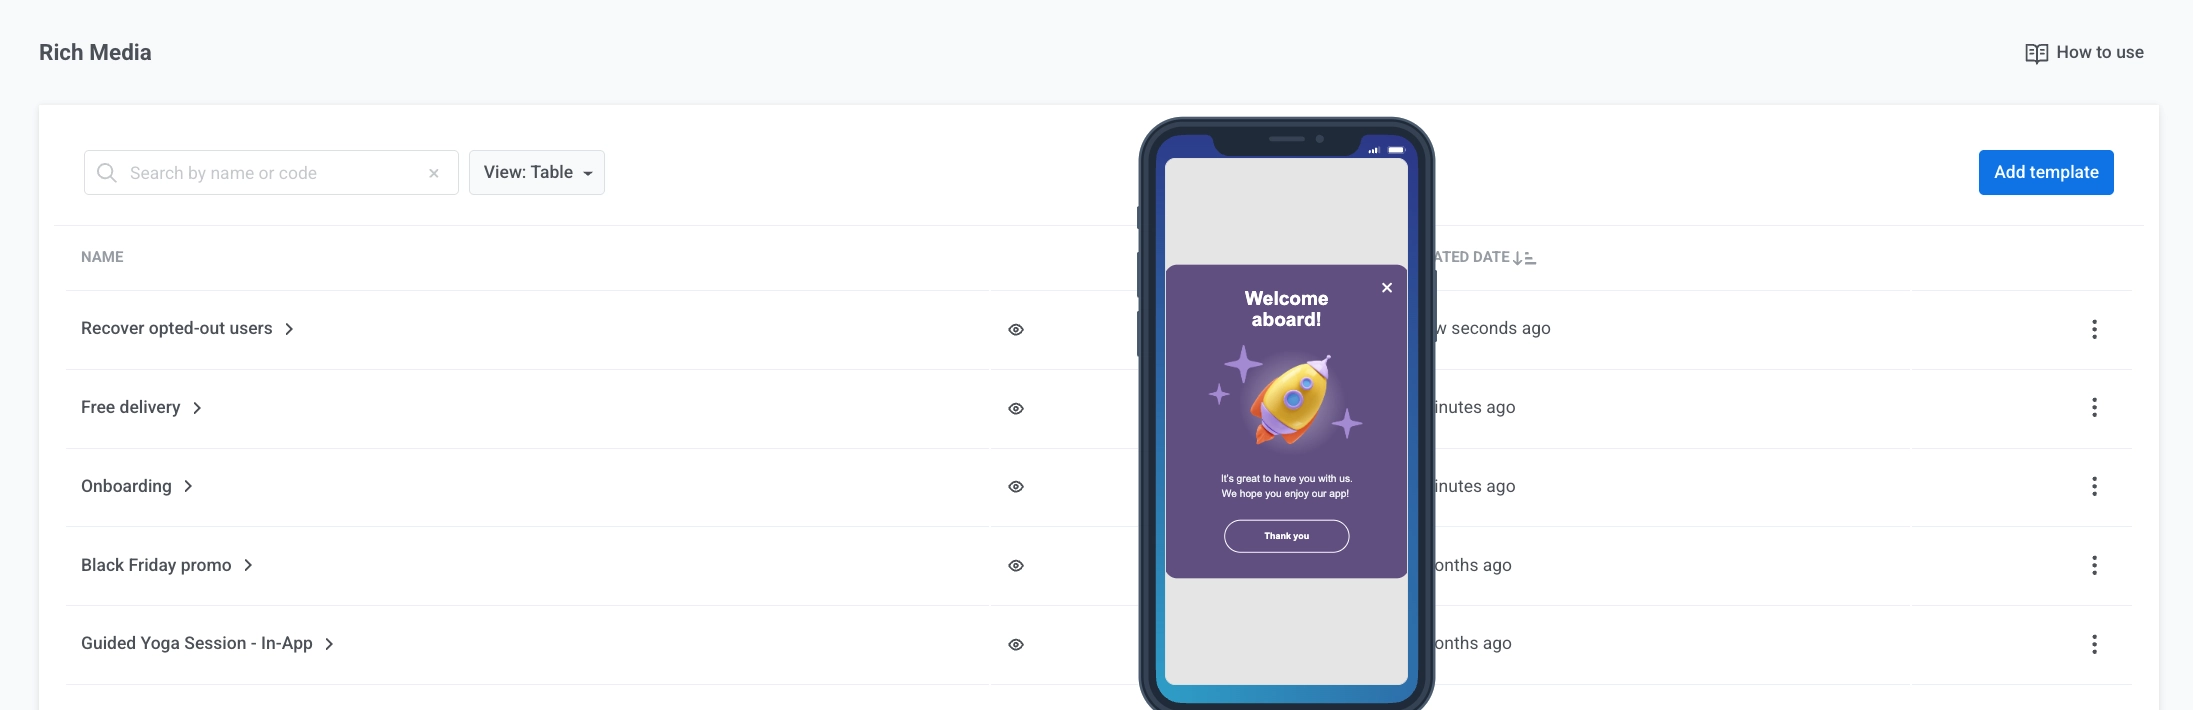
Here you can:
- Preview: hover over the eye icon to preview a template.
- Edit: click the template name to open it in the editor.
- View statistics: click the template name to open per-template stats (impressions, interactions, audience). Learn more about in-app statistics
Use your in-app templates in campaigns
Anchor link toTo use your existing in-app templates in campaigns:
- Customer Journey: add an In-app element and choose your template. Learn more
- One-time in-app: send a single in-app to your audience. Learn more
- Push that opens an in-app: send a push that opens an in-app when the user taps. Learn more