# AMP 웹 푸시

<Aside type="caution">
**AMP 페이지는 Android 기기에서만 모바일 웹 푸시를 지원합니다.**
</Aside>


AMP는 거의 즉시 로드되는 사용자 우선 웹 페이지를 개발하기 위한 오픈 소스 Google 프레임워크입니다.

AMP 웹 푸시 구성 요소를 AMP 웹 페이지에 통합하면 고객이 모바일 브라우저에서 웹 서핑을 할 때 고객에게 다가갈 수 있습니다.

## 웹사이트에 AMP 통합하기

**다음 파일을 웹사이트의** **루트 디렉터리에 추가하세요**:

1. [helper-iframe.html](https://cdn.pushwoosh.com/amp-web-push/helper-iframe.html)
2. [service-worker.js](https://cdn.pushwoosh.com/amp-web-push/service-worker.js)
3. [permission-dialog.html](https://cdn.pushwoosh.com/amp-web-push/permission-dialog.html)

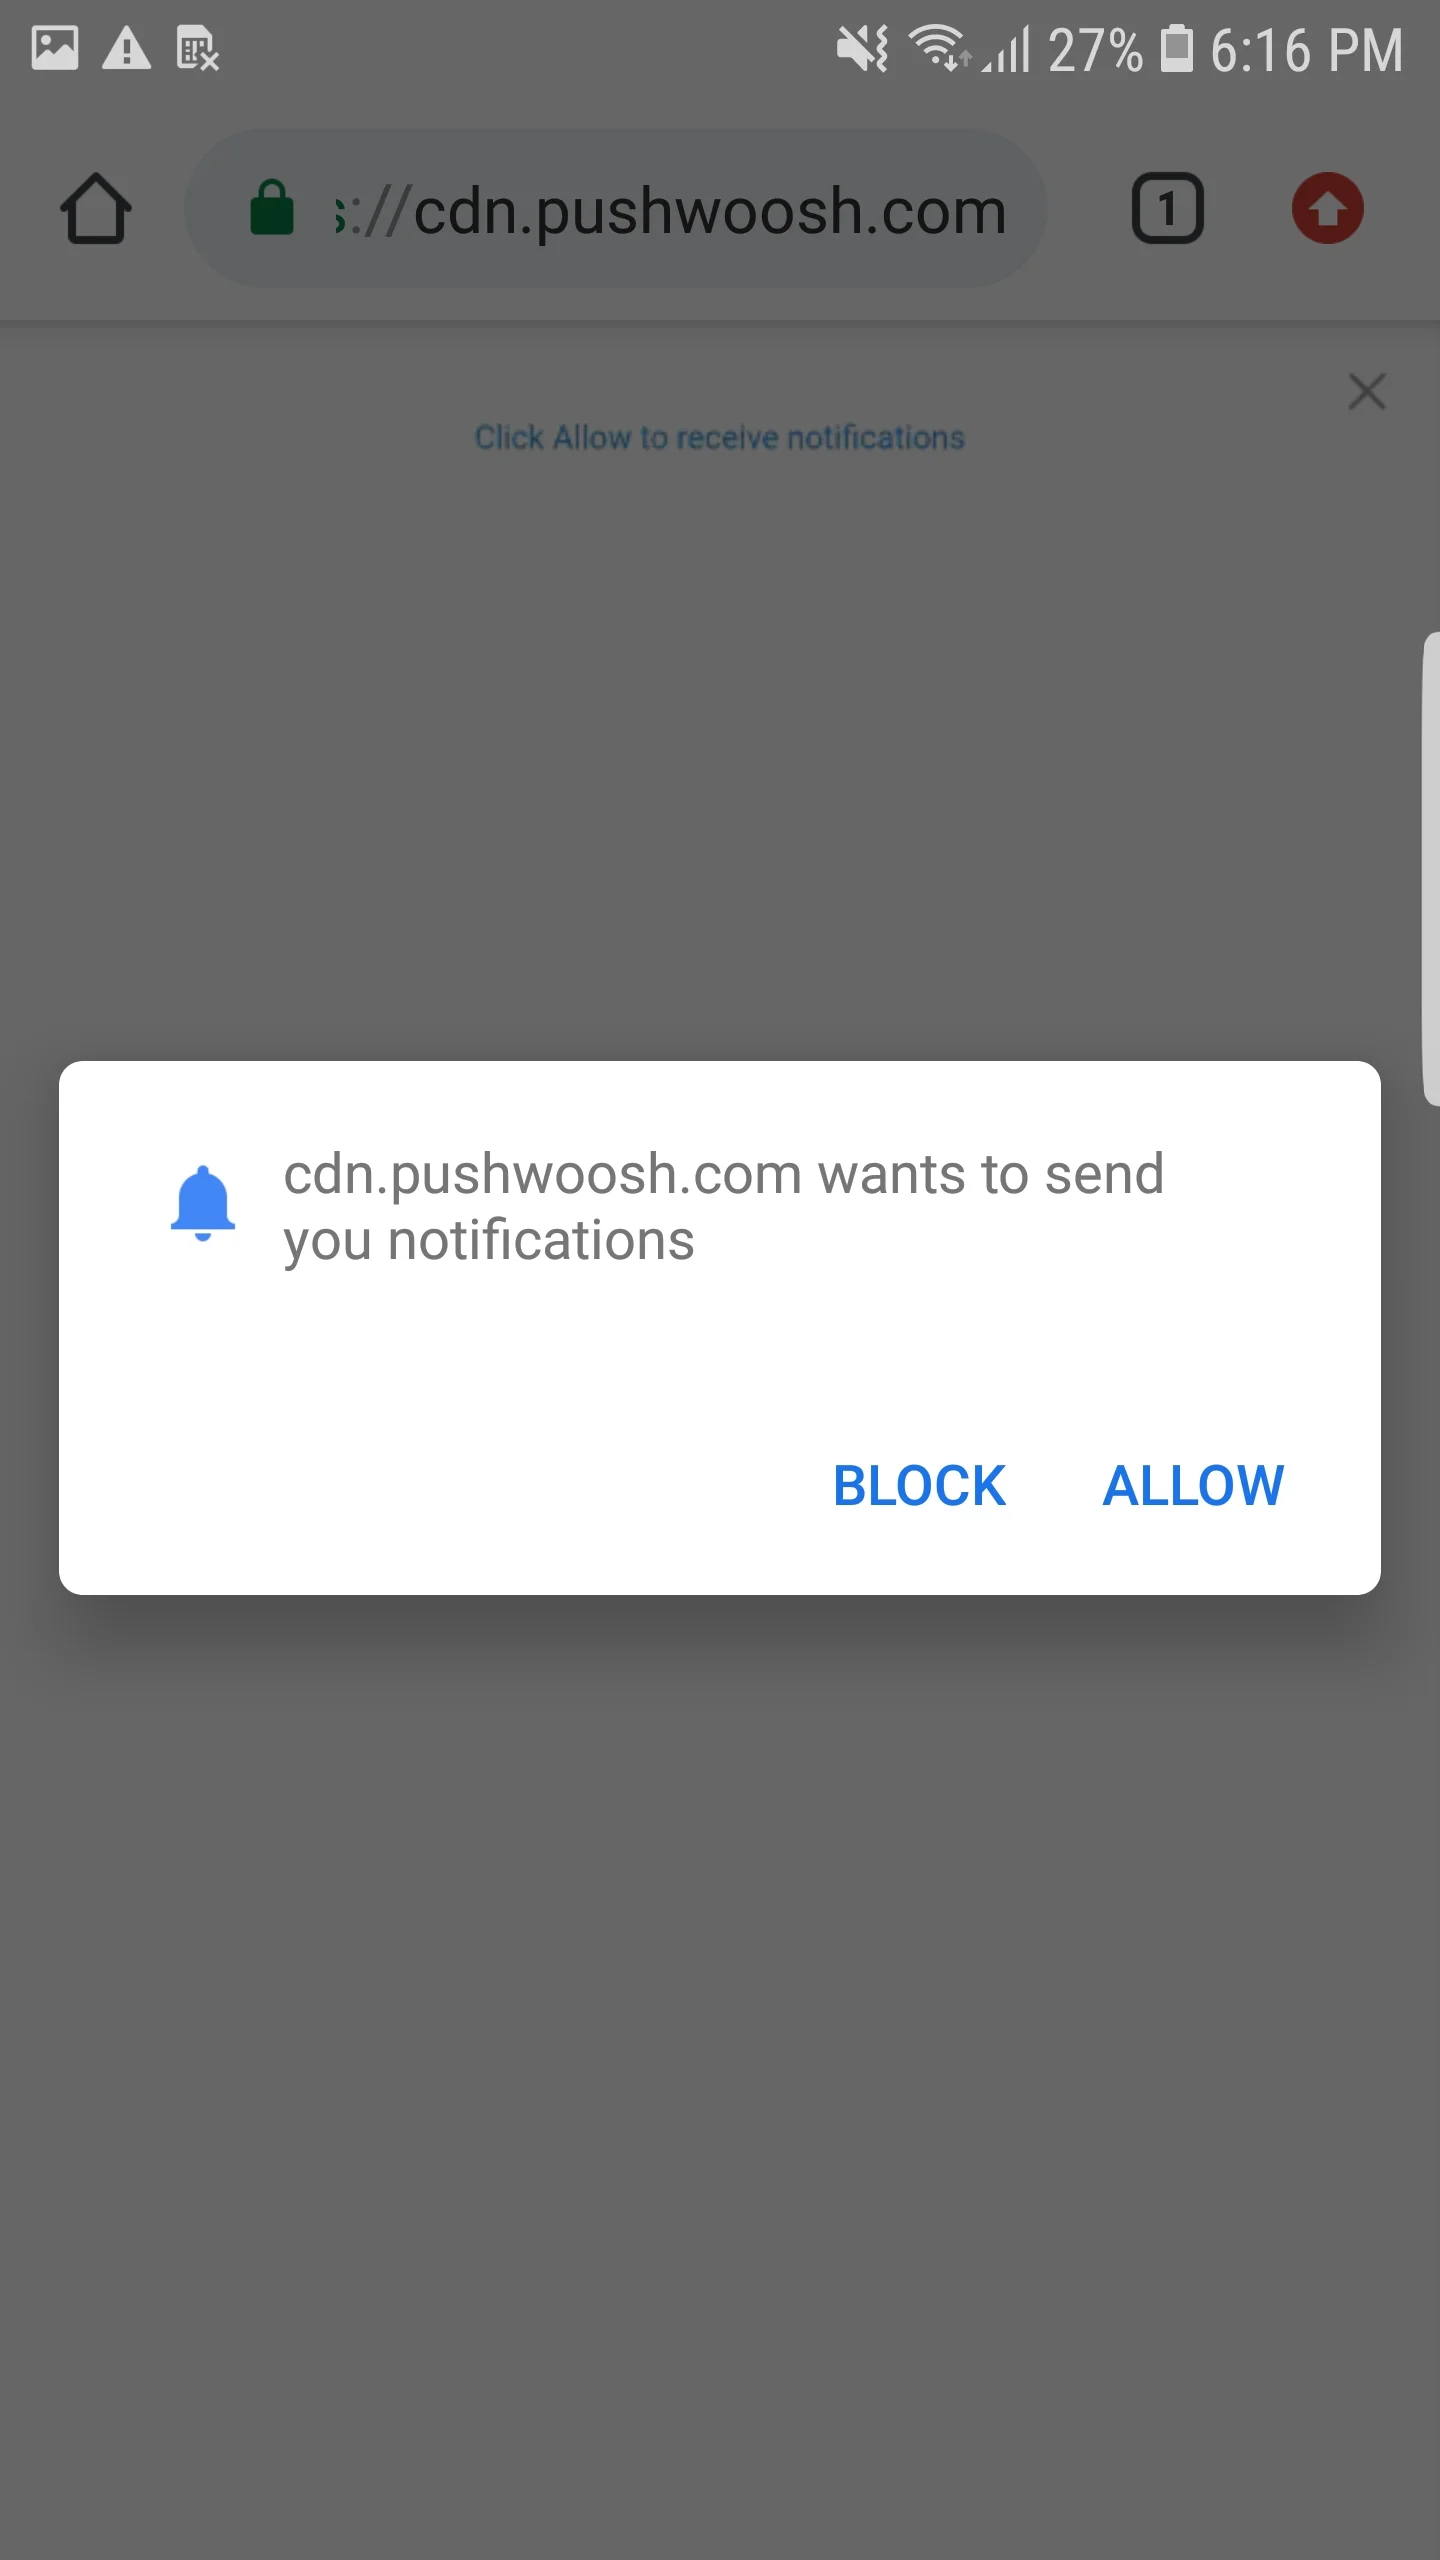
`permission-dialog.html` 파일에는 사용자 정의할 수 있는 두 개의 블록이 있습니다:

```txt title="푸시 알림 구독하기"
<div class="subscribe" permission="default">
    <p class="message">
    {푸시 알림 구독하기}
    </p>
</div>
```

```txt title="푸시 알림 차단 해제하기"
<div class="blocked" permission="denied">
    <p class="message">
    {브라우저 설정에서 푸시 알림 차단 해제하기}
    </p>
</div>
```

여기서:

* `{푸시 알림 구독하기}` — 사용자에게 푸시 알림을 허용하도록 요청하는 CTA 메시지입니다.
* `{브라우저 설정에서 푸시 알림 차단 해제하기}` — 사용자가 푸시 알림을 차단 해제하도록 유도하는 CTA 메시지입니다 (사용자가 푸시 알림을 명시적으로 차단한 경우).

권한 대화 상자의 모양을 사용자 정의하려면 다음 코드를 `<head>` 태그에 추가하세요:

```
 <style amp-custom>
    .subscribe {
        /* your css here */
    }

    .blocked {
        /* your css here */
    }
</style>
```

<img src="/web-push-notifications-amp-web-push-1.webp" alt="권한 대화 상자"/>

## AMP 웹 푸시 통합하기

AMP 페이지에 웹 푸시 알림을 구현하려면 각 AMP 페이지에 [amp-web-push](https://amp.dev/documentation/components/amp-web-push?format=websites) 구성 요소를 추가하세요.

이를 위해 다음 두 단계를 따르세요:

**1. 다음 스크립트를 `<head>` 태그에 추가하세요**:

```txt title="amp-web-push"
<head>
    ...
    <script async custom-element="amp-web-push" src="https://cdn.ampproject.org/v0/amp-web-push-0.1.js"></script>
    ...
</head>
```

**2. 다음 코드를 `<body>` 태그에 추가하세요**:

```txt title="amp-web-push"
<body>
    <amp-web-push
    id="amp-web-push"
    layout="nodisplay"
    helper-iframe-url="https://{domain}/helper-iframe.html"
                 permission-dialog-url="https://{domain}/permission-dialog.html"
service-worker-url="https://{domain}/service-worker.js?applicationCode={applicationCode}&senderId={senderId}&applicationServerKey={applicationServerKey}"
    ></amp-web-push>
    ...
    <!-- Start Subscribe to notifications button -->
    <amp-web-push-widget visibility="unsubscribed" layout="fixed" width="250" height="80">
    <button class="subscribe" on="tap:amp-web-push.subscribe">
        {구독 버튼의 텍스트}
    </button>
    </amp-web-push-widget>
    <!-- End the Subscribe to notifications button -->
    <!-- Start Unsubscribe from notifications button -->
    <amp-web-push-widget visibility="subscribed" layout="fixed" width="250" height="80">
    <button class="unsubscribe" on="tap:amp-web-push.unsubscribe">
        {구독 취소 버튼의 텍스트}
    </button>
    </amp-web-push-widget>
    <!-- End Unsubscribe from notifications button -->
    <!-- Start Fallback if a user blocks notifications -->
    <amp-web-push-widget visibility="blocked" layout="fixed" width="250" height="80">
    <div class="fallback">
            {사용자가 알림을 차단할 경우의 대체 문구}
        </div>
    </amp-web-push-widget>
    <!-- End Fallback if a user blocks notifications -->
...
</body>
```

여기서:

* `{domain}` — 웹사이트 URL,
* `{applicationCode}` — Pushwoosh 앱 코드,
* `{senderId}` — Firebase 콘솔의 발신자 ID,
* `{applicationServerKey}` — Firebase 콘솔의 서버 키,
* `{구독 버튼의 텍스트}` — 푸시 알림을 활성화하는 버튼의 텍스트,
* `{구독 취소 버튼의 텍스트}` — 푸시 알림을 비활성화하는 버튼의 텍스트,
* `{사용자가 알림을 차단할 경우의 대체 문구}` — 사용자가 푸시 알림을 차단할 때 표시되는 대체 블록입니다.

**버튼 스타일을 사용자 정의**하려면 다음 코드를 **&lt;head&gt;** 태그에 추가하세요:

```txt title="css"
<style amp-custom>
    amp-web-push-widget button.subscribe {
        /* your css here */
    }
    amp-web-push-widget button.unsubscribe {
        /* your css here */
    }
    amp-web-push-widget .fallback {
        /* your css here */
    }
</style>
```

모든 작업을 올바르게 수행했는지 확인하려면 [https://search.google.com/test/amp](https://search.google.com/test/amp)를 사용하세요.