# iOS 토큰 기반 구성
APNs와의 더 빠른 통신을 위해 토큰 기반 인증을 사용하여 iOS 프로젝트를 구성할 수 있습니다.
## Apple에서 암호화 키 및 키 ID 얻기
1. Apple 개발자 계정에 로그인하고 왼쪽 메뉴의 **Keys** 섹션으로 이동합니다. **+**를 눌러 새 키를 생성합니다.
2. **Key Description** 필드에 키의 고유한 이름을 입력합니다. 그런 다음 **Key Services** 섹션에서 APNs를 활성화합니다. **Continue**를 클릭합니다.
3. 10자리 문자열인 **Key ID**를 복사하고, .p8 파일 확장자를 가진 텍스트 파일인 **인증 토큰 서명 키**를 다운로드합니다.
## Pushwoosh에서 iOS 플랫폼 구성하기
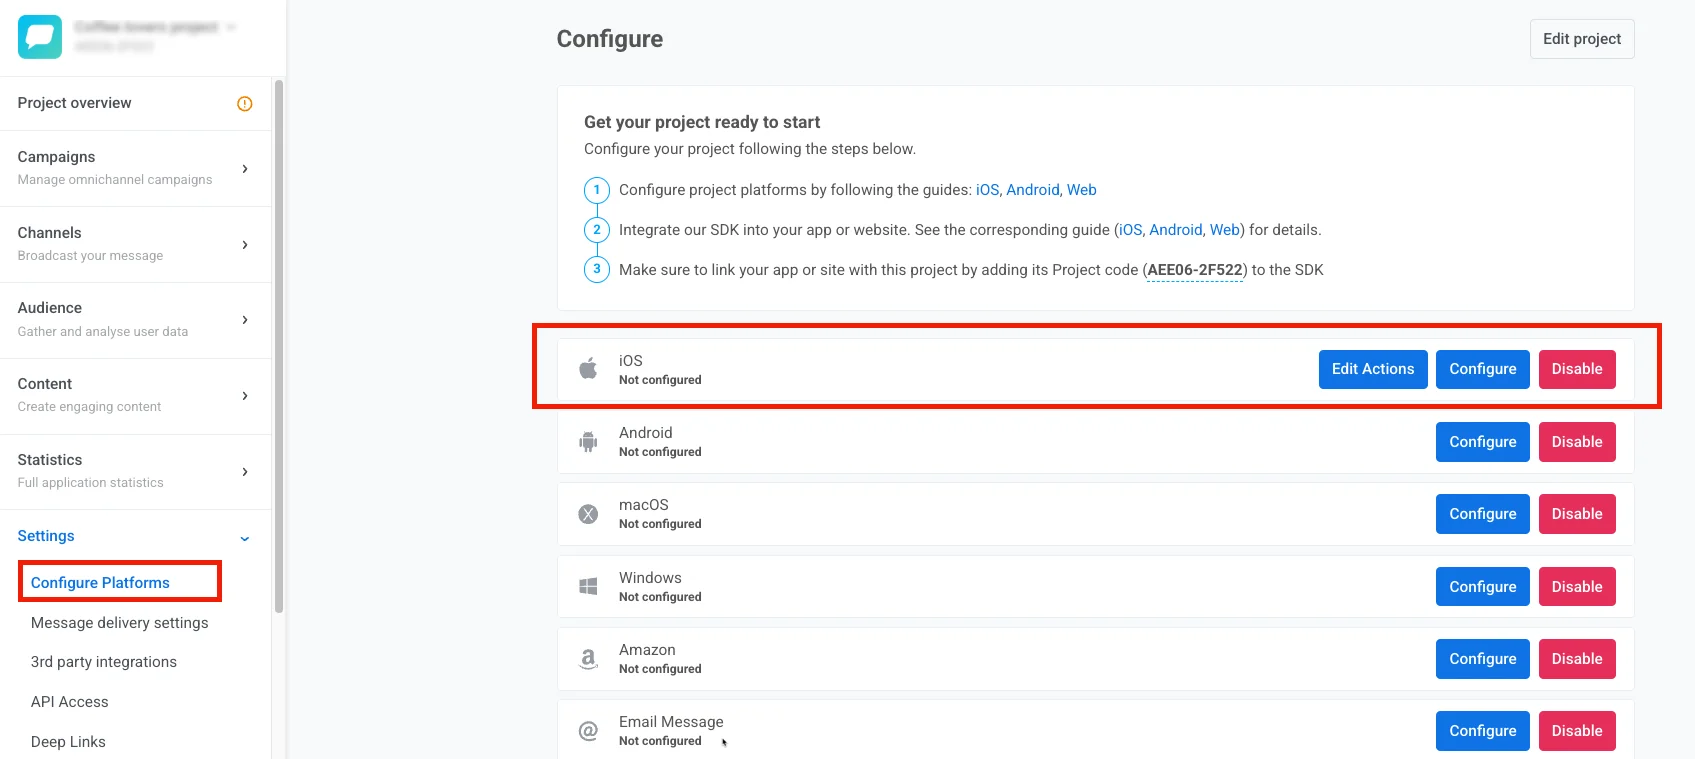
1. Pushwoosh 프로젝트에서 **Configure Platforms** 섹션으로 이동하여 iOS 플랫폼 옆의 **Configure**를 클릭합니다.
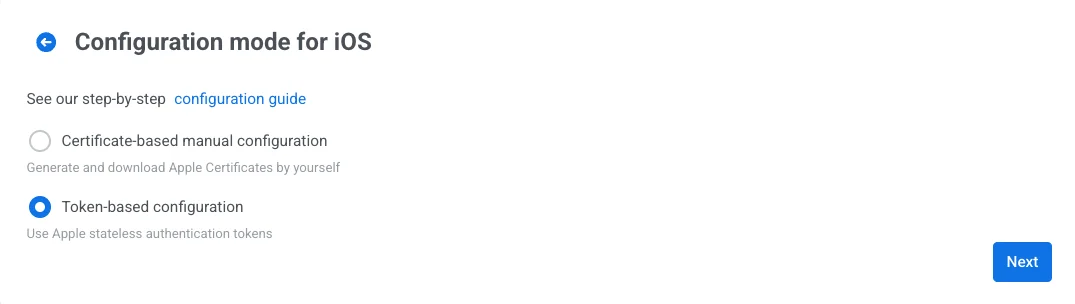
2. 열리는 구성 양식에서 **Token-based manual configuration**을 선택하고 **Next**를 클릭합니다.
3. **Key ID**를 해당 필드에 붙여넣습니다.
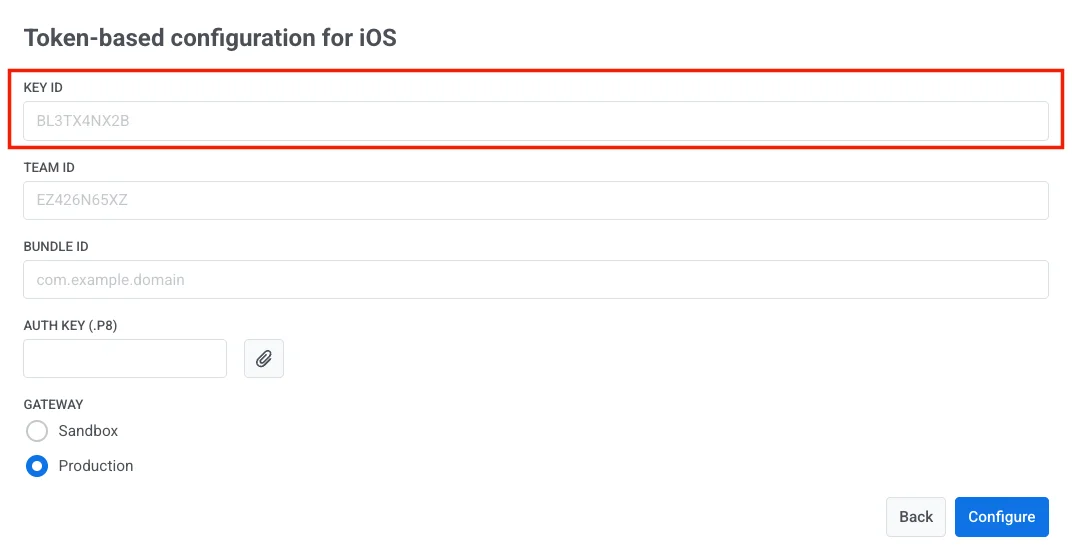
4. Apple에서 다운로드한 **.p8 서명 키 파일**을 **Auth Key** 필드에 업로드합니다.
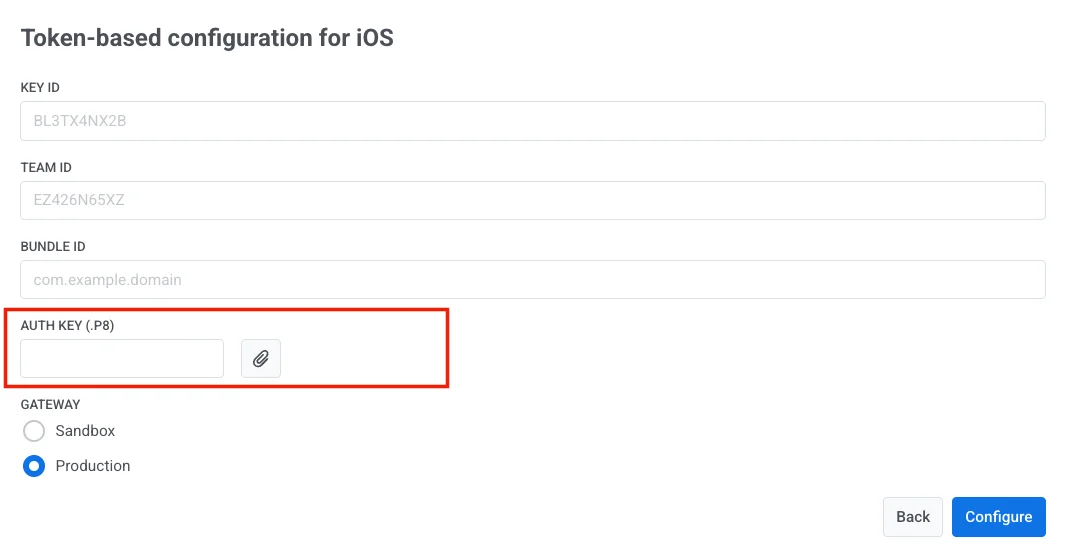
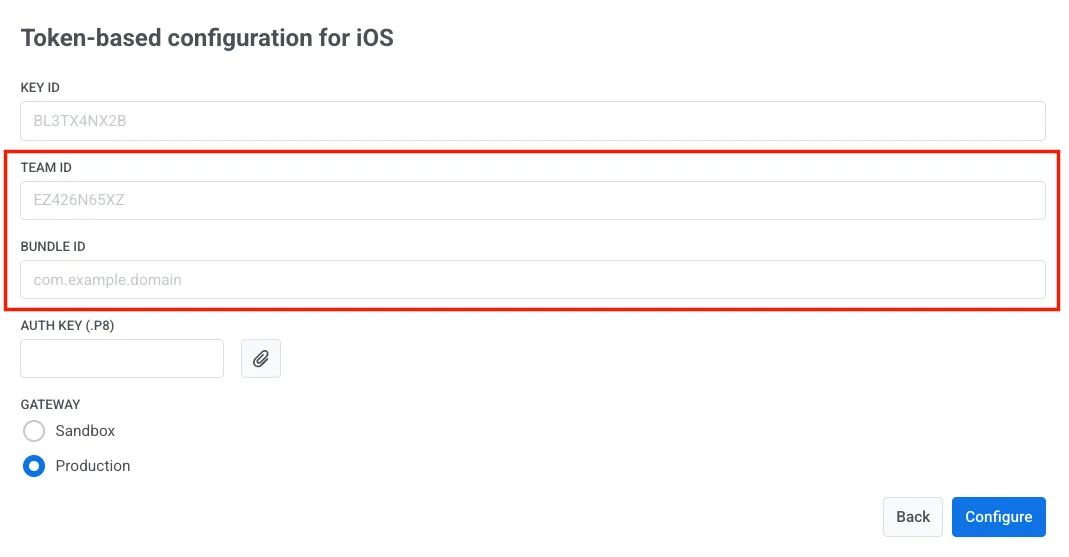
5. Apple 개발자 **Team ID**와 **Bundle ID**를 입력합니다.
> Team ID를 얻으려면 Apple 개발자 계정으로 이동하여 **Membership** 섹션으로 이동하세요.
>
> Bundle ID는 Apple 개발자 콘솔의 **Certificates, Identifiers & Profiles** 섹션에서 찾을 수 있습니다.
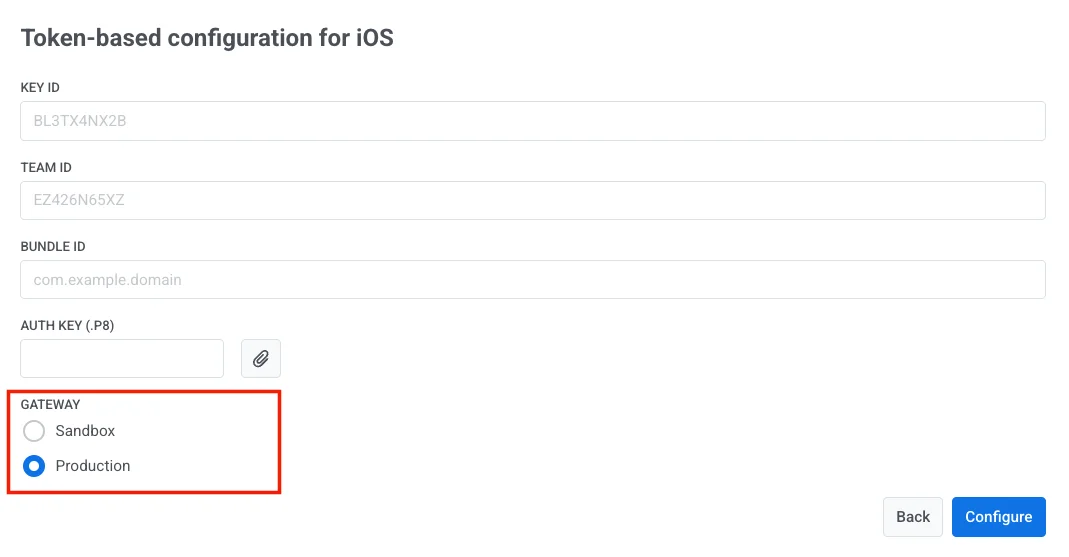
6. 적절한 게이트웨이를 선택합니다: **Sandbox** 또는 **Production**.
7. **Configure**를 클릭하여 설정을 완료합니다.
 2. 열리는 구성 양식에서 **Token-based manual configuration**을 선택하고 **Next**를 클릭합니다.
 3. **Key ID**를 해당 필드에 붙여넣습니다.
 4. Apple에서 다운로드한 **.p8 서명 키 파일**을 **Auth Key** 필드에 업로드합니다.
 5. Apple 개발자 **Team ID**와 **Bundle ID**를 입력합니다.
 > Team ID를 얻으려면 Apple 개발자 계정으로 이동하여 **Membership** 섹션으로 이동하세요.
>
> Bundle ID는 Apple 개발자 콘솔의 **Certificates, Identifiers & Profiles** 섹션에서 찾을 수 있습니다.
6. 적절한 게이트웨이를 선택합니다: **Sandbox** 또는 **Production**.
> Team ID를 얻으려면 Apple 개발자 계정으로 이동하여 **Membership** 섹션으로 이동하세요.
>
> Bundle ID는 Apple 개발자 콘솔의 **Certificates, Identifiers & Profiles** 섹션에서 찾을 수 있습니다.
6. 적절한 게이트웨이를 선택합니다: **Sandbox** 또는 **Production**.
 7. **Configure**를 클릭하여 설정을 완료합니다.