# AMP वेब पुश
AMP लगभग तुरंत लोड होने वाले उपयोगकर्ता-प्रथम वेब पेज विकसित करने के लिए एक ओपन-सोर्स Google फ्रेमवर्क है।
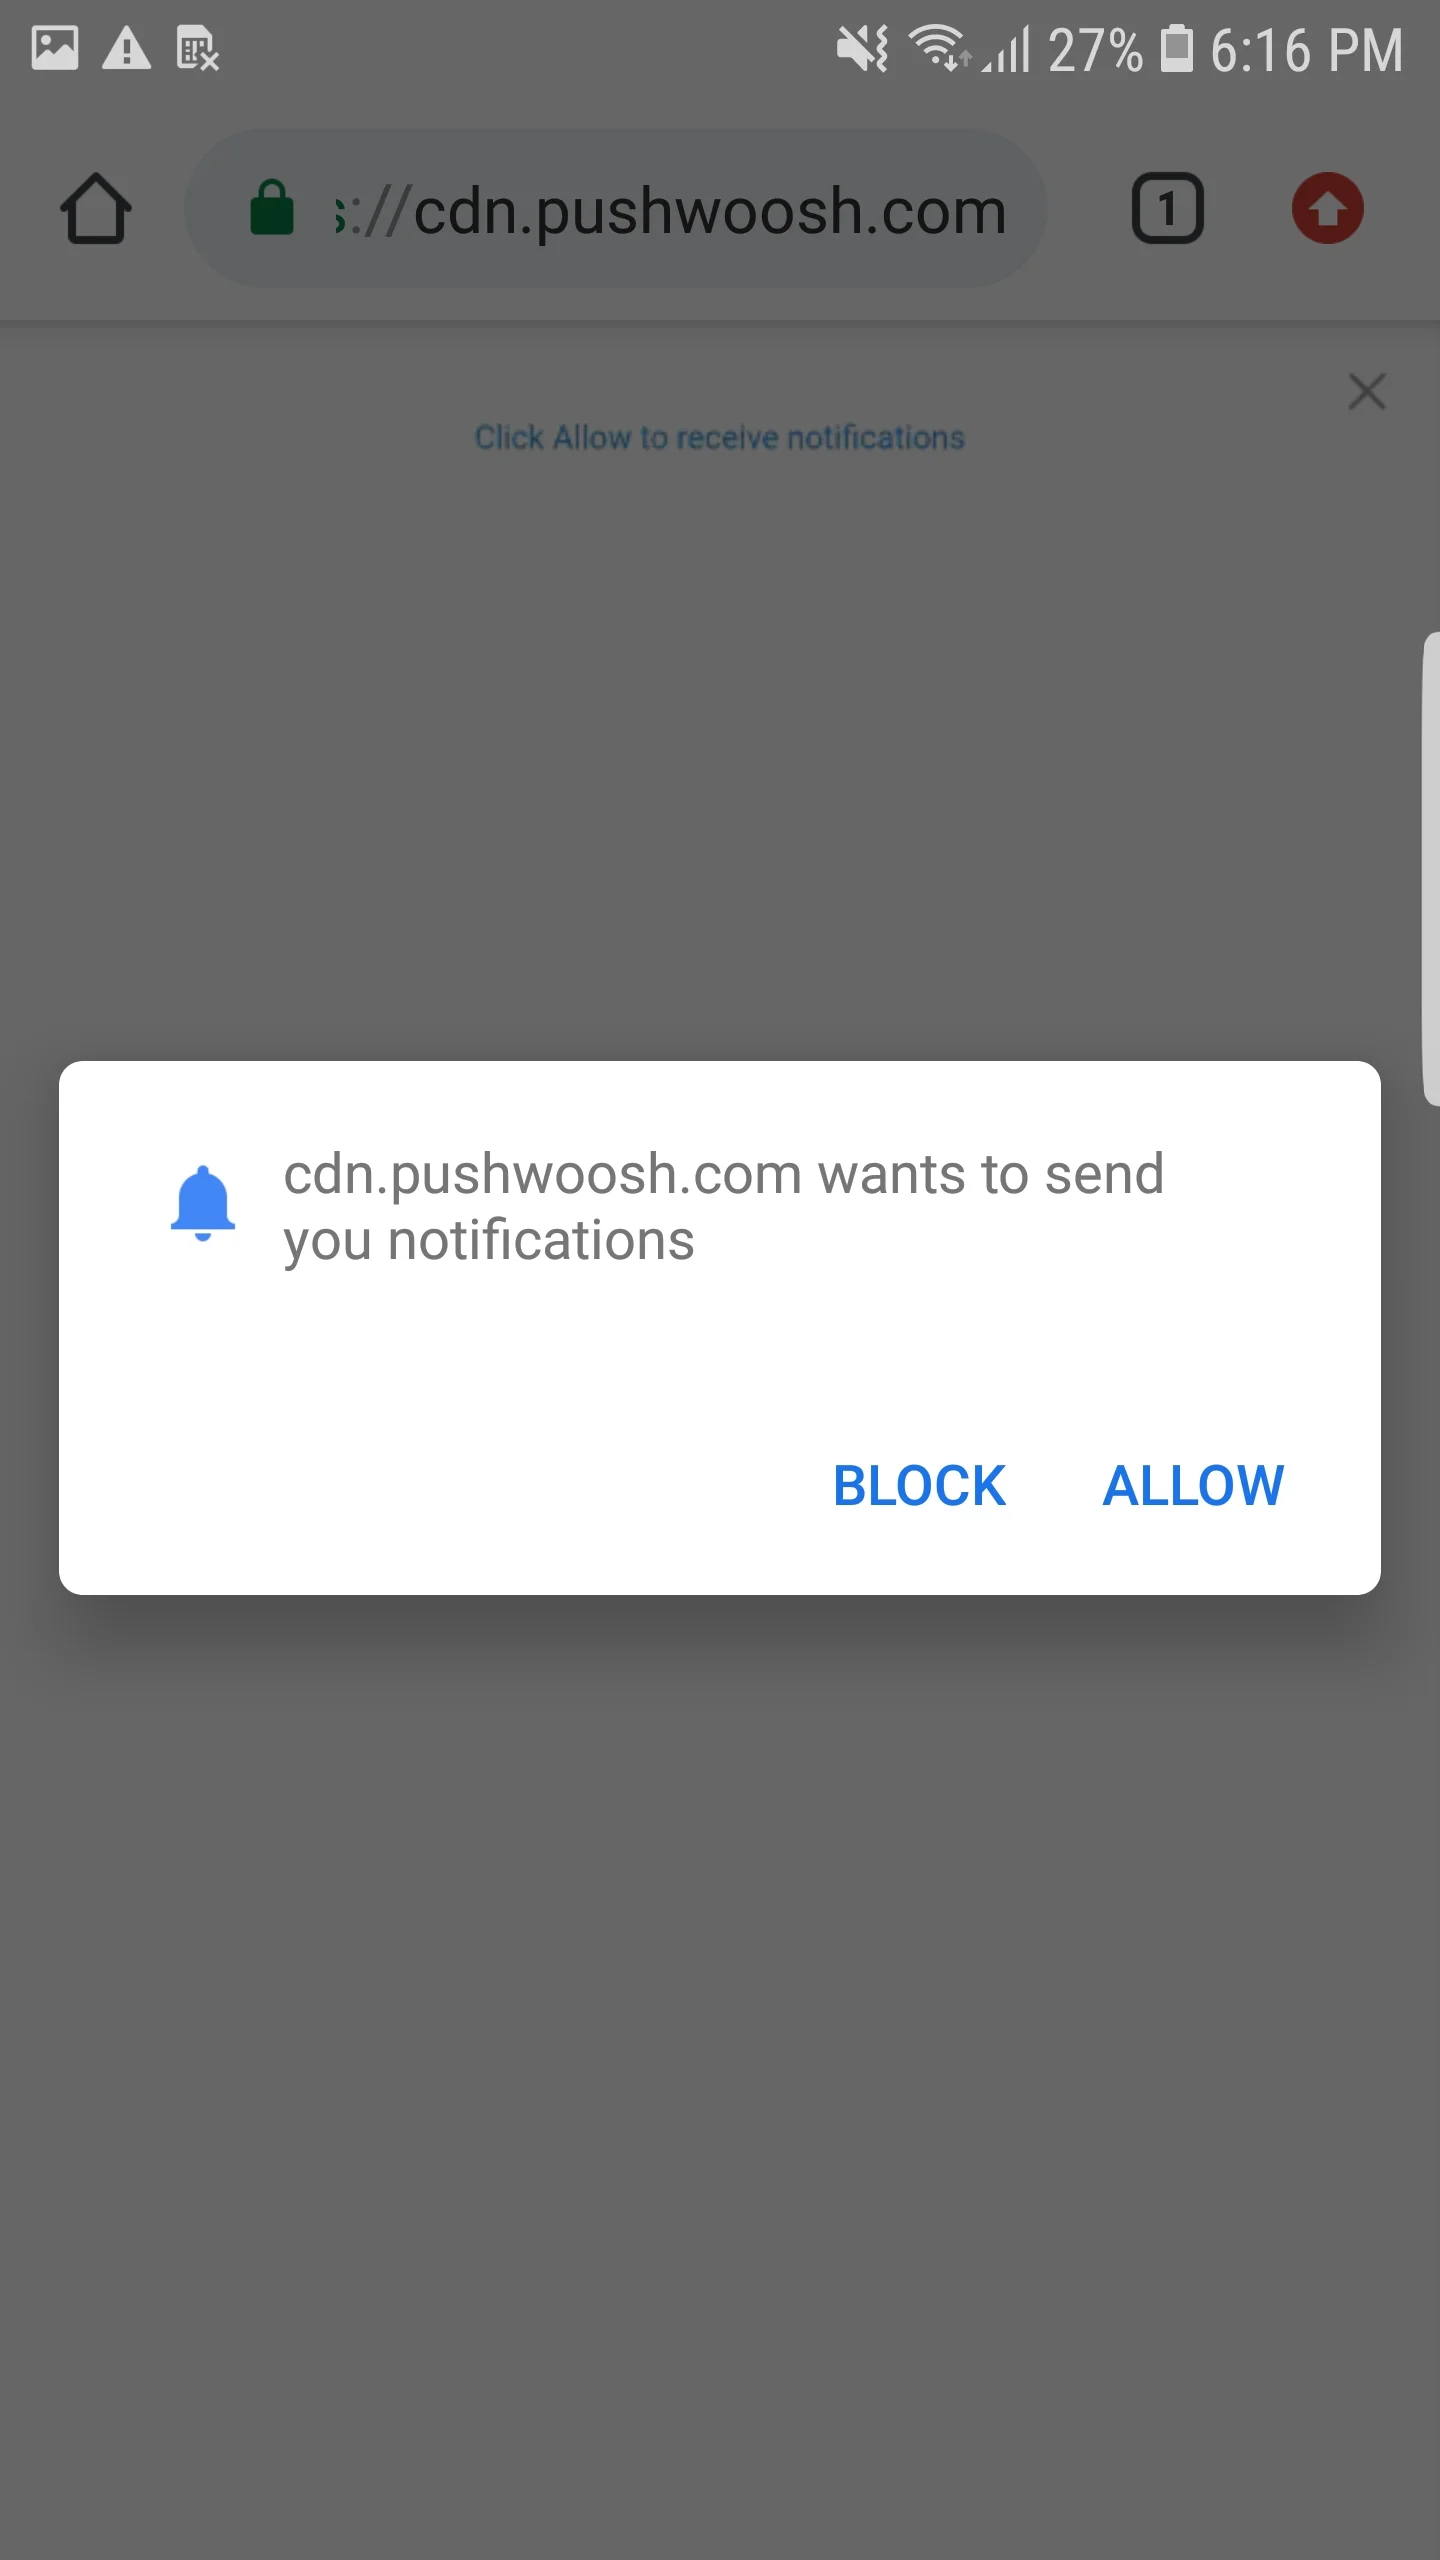
AMP वेब पुश कंपोनेंट को अपने AMP वेब पेजों में एकीकृत करके, आप अपने ग्राहकों तक तब पहुंच सकते हैं जब वे अपने मोबाइल ब्राउज़र पर वेब सर्फ कर रहे हों।
## अपनी वेबसाइट में AMP को एकीकृत करें
**निम्नलिखित फाइलों को अपनी वेबसाइट की** **रूट डायरेक्टरी** **में जोड़ें**:
1. [helper-iframe.html](https://cdn.pushwoosh.com/amp-web-push/helper-iframe.html)
2. [service-worker.js](https://cdn.pushwoosh.com/amp-web-push/service-worker.js)
3. [permission-dialog.html](https://cdn.pushwoosh.com/amp-web-push/permission-dialog.html)
`permission-dialog.html` फ़ाइल में दो अनुकूलन योग्य ब्लॉक हैं:
```txt title="पुश नोटिफिकेशन की सदस्यता लें"
{Subscribe to push notifications}
```
```txt title="पुश नोटिफिकेशन को अनब्लॉक करें"
{Unblock push notifications in your browser settings}
```
जहाँ:
* `{Subscribe to push notifications}` — उपयोगकर्ताओं से पुश नोटिफिकेशन की अनुमति मांगने वाला एक CTA संदेश;
* `{Unblock push notifications in your browser settings}` — उपयोगकर्ताओं को उनके ब्राउज़र सेटिंग्स में पुश नोटिफिकेशन को अनब्लॉक करने के लिए प्रेरित करने वाला एक CTA संदेश (यदि पुश नोटिफिकेशन किसी उपयोगकर्ता द्वारा स्पष्ट रूप से ब्लॉक किए गए हैं)।
अनुमति संवाद की उपस्थिति को अनुकूलित करने के लिए, `` टैग में निम्नलिखित कोड जोड़ें:
```
```
## AMP वेब पुश को एकीकृत करें
AMP पेजों पर वेब पुश नोटिफिकेशन लागू करने के लिए, प्रत्येक AMP पेज में [amp-web-push](https://amp.dev/documentation/components/amp-web-push?format=websites) कंपोनेंट जोड़ें।
ऐसा करने के लिए, इन दो चरणों का पालन करें:
**1. निम्नलिखित स्क्रिप्ट को `` टैग में जोड़ें**:
```txt title="amp-web-push"
...
...
```
**2. निम्नलिखित कोड को `` टैग में जोड़ें**:
```txt title="amp-web-push"
...
{Fallback if a user blocks notifications}
...
```
जहाँ:
* `{domain}` — आपकी वेबसाइट का URL,
* `{applicationCode}` — आपका Pushwoosh ऐप कोड,
* `{senderId}` — आपके Firebase कंसोल से प्रेषक आईडी,
* `{applicationServerKey}` — आपके Firebase कंसोल से सर्वर कुंजी,
* `{Text on Subscribe button}` — पुश नोटिफिकेशन सक्षम करने वाले बटन पर एक टेक्स्ट,
* `{Text on Unsubscribe button}` — पुश नोटिफिकेशन अक्षम करने वाले बटन पर एक टेक्स्ट,
* `{Fallback if a user blocks notifications}` — एक फ़ॉलबैक ब्लॉक जो तब प्रदर्शित होता है जब कोई उपयोगकर्ता पुश नोटिफिकेशन को ब्लॉक करता है।
**बटनों की शैली को अनुकूलित करने के लिए**, निम्नलिखित कोड को **<head>** टैग में जोड़ें:
```txt title="css"
```
यह जांचने के लिए कि आपने सब कुछ सही किया है, कृपया [https://search.google.com/test/amp](https://search.google.com/test/amp) का उपयोग करें।
 ## AMP वेब पुश को एकीकृत करें
AMP पेजों पर वेब पुश नोटिफिकेशन लागू करने के लिए, प्रत्येक AMP पेज में [amp-web-push](https://amp.dev/documentation/components/amp-web-push?format=websites) कंपोनेंट जोड़ें।
ऐसा करने के लिए, इन दो चरणों का पालन करें:
**1. निम्नलिखित स्क्रिप्ट को `` टैग में जोड़ें**:
```txt title="amp-web-push"
...
...
```
**2. निम्नलिखित कोड को `` टैग में जोड़ें**:
```txt title="amp-web-push"
## AMP वेब पुश को एकीकृत करें
AMP पेजों पर वेब पुश नोटिफिकेशन लागू करने के लिए, प्रत्येक AMP पेज में [amp-web-push](https://amp.dev/documentation/components/amp-web-push?format=websites) कंपोनेंट जोड़ें।
ऐसा करने के लिए, इन दो चरणों का पालन करें:
**1. निम्नलिखित स्क्रिप्ट को `` टैग में जोड़ें**:
```txt title="amp-web-push"
...
...
```
**2. निम्नलिखित कोड को `` टैग में जोड़ें**:
```txt title="amp-web-push"