# iOS इमेज कैरोसेल पुश नोटिफिकेशन्स
`UNNotificationContentExtension` प्रोटोकॉल एक नोटिफिकेशन कंटेंट ऐप एक्सटेंशन के लिए एंट्री पॉइंट प्रदान करता है, जो आपके ऐप के नोटिफिकेशन्स के लिए एक कस्टम इंटरफ़ेस प्रदर्शित करता है।
## 1. नोटिफिकेशन कंटेंट एक्सटेंशन जोड़ें
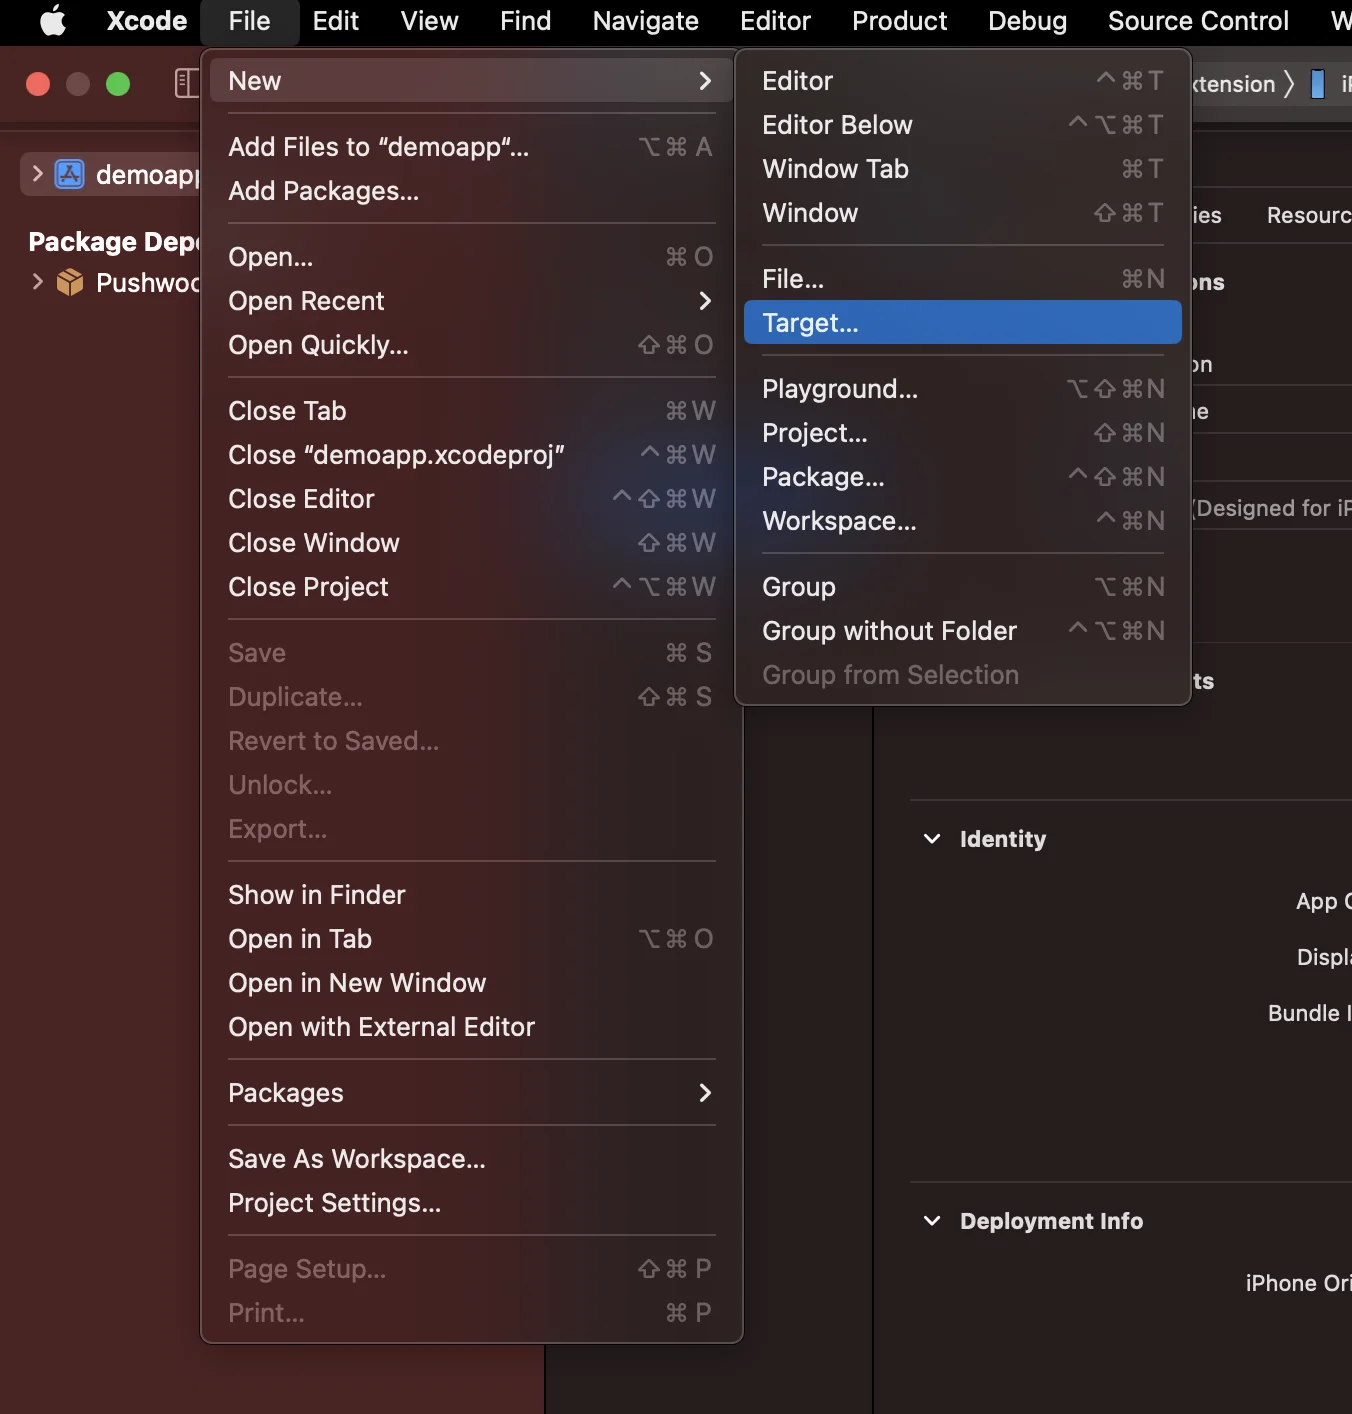
Xcode में, File > New > Target... चुनें।
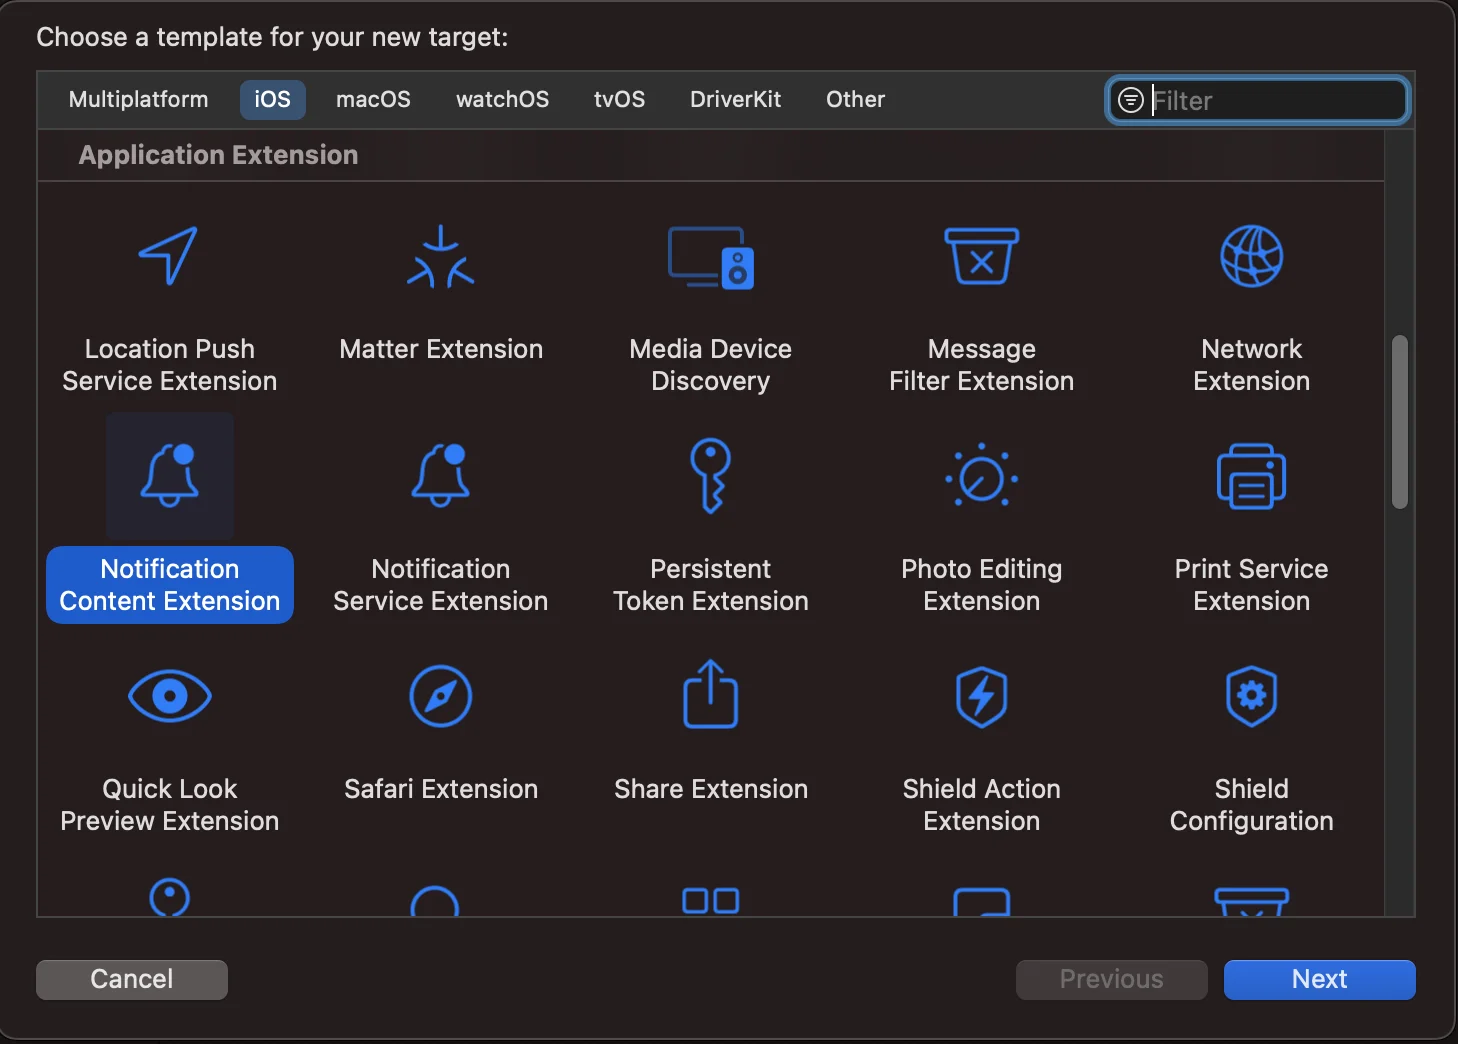
 Notification Content Extension चुनें।
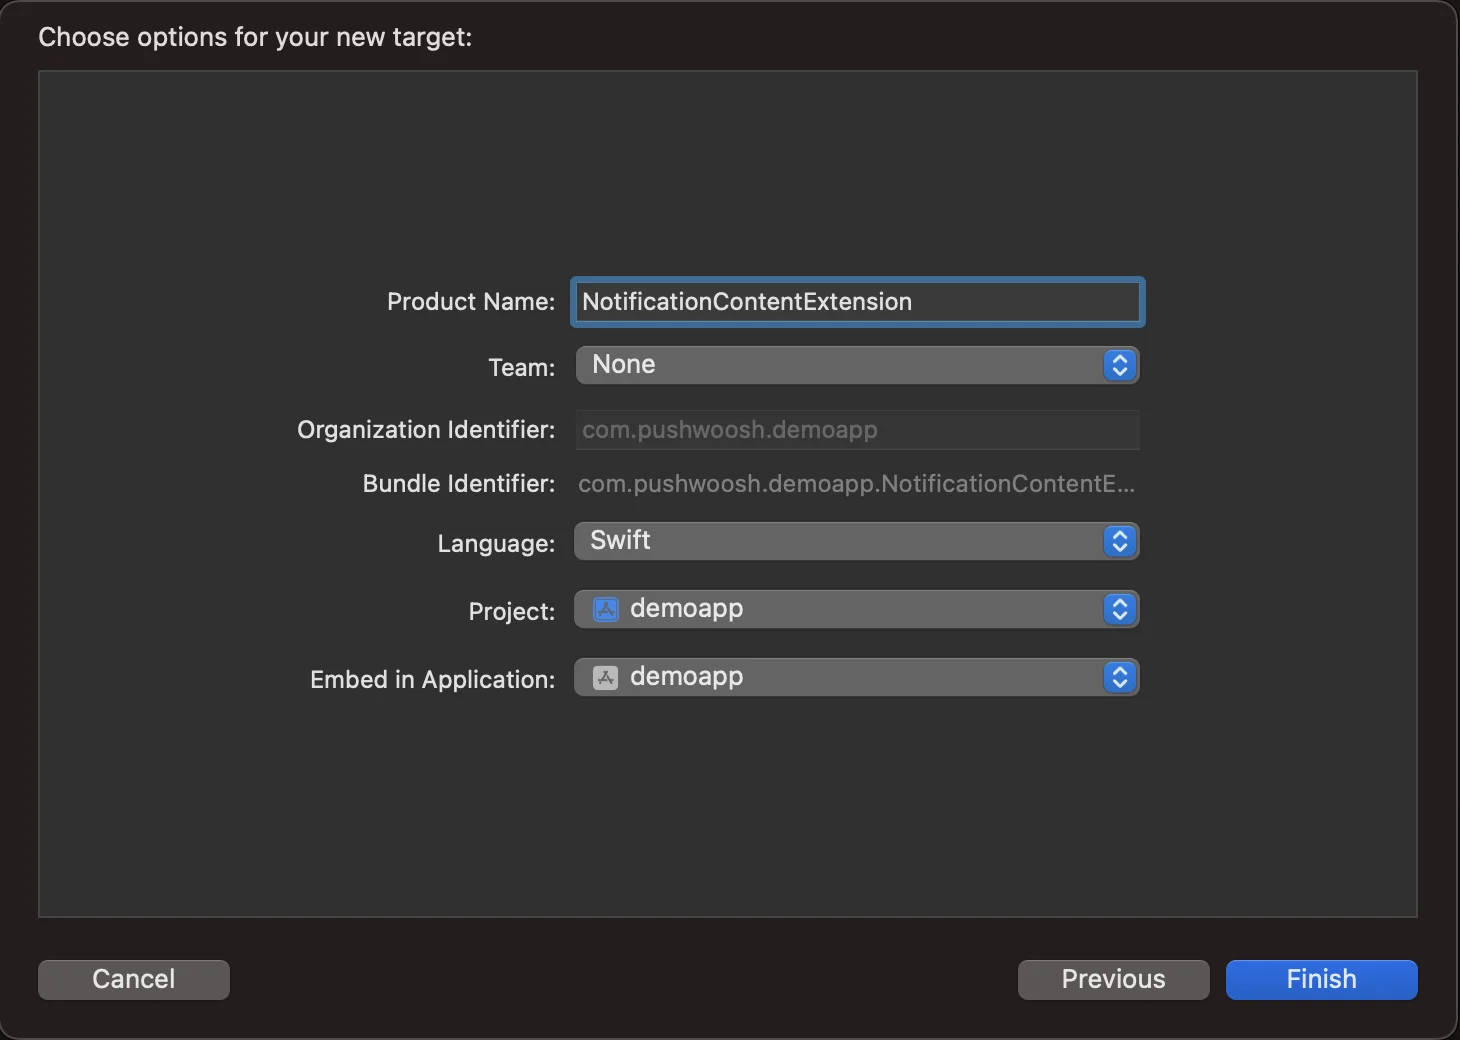
 इसे **NotificationContentExtension** नाम दें।
 ## 2. अपने ऐप में कोड जोड़ें
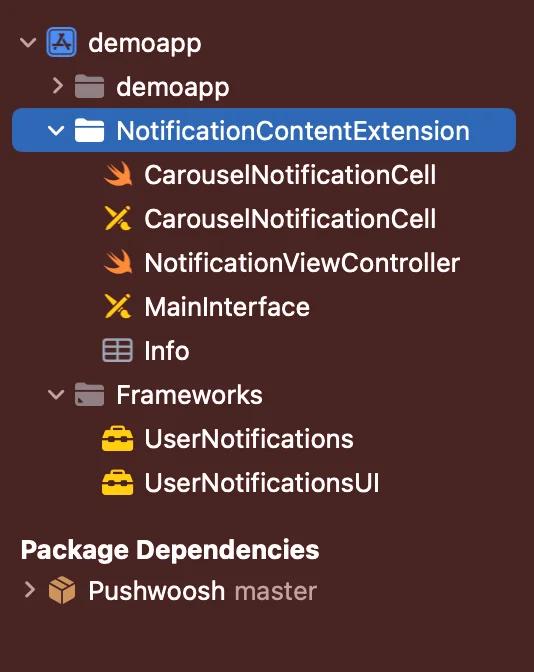
[Github से PWNotificationExtension डाउनलोड करें](https://github.com/Pushwoosh/PWNotificationContentExtension) और अपने Xcode प्रोजेक्ट में **`PWNotificationContentExtension`** को Github से मिली उसी फ़ाइल से बदलें।
## 2. अपने ऐप में कोड जोड़ें
[Github से PWNotificationExtension डाउनलोड करें](https://github.com/Pushwoosh/PWNotificationContentExtension) और अपने Xcode प्रोजेक्ट में **`PWNotificationContentExtension`** को Github से मिली उसी फ़ाइल से बदलें।
 ## 3. नोटिफिकेशन श्रेणी
नीचे दिए गए कोड को अपनी **AppDelegate.swift** फ़ाइल में जोड़ें।
```swift
func application(_ application: UIApplication, didFinishLaunchingWithOptions launchOptions: [UIApplication.LaunchOptionsKey: Any]?) -> Bool {
if #available(iOS 10.0, *) {
let options: UNAuthorizationOptions = [.alert]
UNUserNotificationCenter.current().requestAuthorization(options: options) { (authorized, error) in
if authorized {
let categoryIdentifier = "PWNotificationCarousel"
let carouselNext = UNNotificationAction(identifier: "PWNotificationCarousel.next", title: "➡️ RIGHT", options: [])
let carouselPrevious = UNNotificationAction(identifier: "PWNotificationCarousel.previous", title: "⬅️ LEFT", options: [])
let carouselCategory = UNNotificationCategory(identifier: categoryIdentifier, actions: [carouselNext, carouselPrevious], intentIdentifiers: [], options: [])
UNUserNotificationCenter.current().setNotificationCategories([carouselCategory])
}
}
}
return true
}
```
## 4. एक पुश नोटिफिकेशन भेजें
**iOS श्रेणी:**
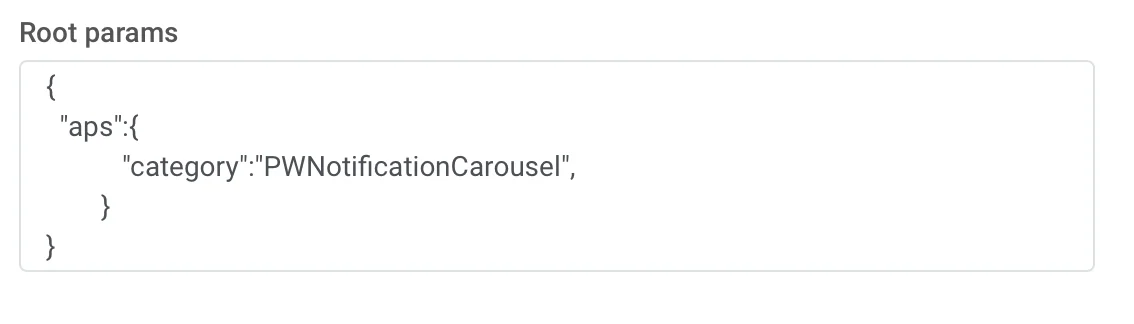
APS json के साथ एक पुश नोटिफिकेशन भेजें:
## 3. नोटिफिकेशन श्रेणी
नीचे दिए गए कोड को अपनी **AppDelegate.swift** फ़ाइल में जोड़ें।
```swift
func application(_ application: UIApplication, didFinishLaunchingWithOptions launchOptions: [UIApplication.LaunchOptionsKey: Any]?) -> Bool {
if #available(iOS 10.0, *) {
let options: UNAuthorizationOptions = [.alert]
UNUserNotificationCenter.current().requestAuthorization(options: options) { (authorized, error) in
if authorized {
let categoryIdentifier = "PWNotificationCarousel"
let carouselNext = UNNotificationAction(identifier: "PWNotificationCarousel.next", title: "➡️ RIGHT", options: [])
let carouselPrevious = UNNotificationAction(identifier: "PWNotificationCarousel.previous", title: "⬅️ LEFT", options: [])
let carouselCategory = UNNotificationCategory(identifier: categoryIdentifier, actions: [carouselNext, carouselPrevious], intentIdentifiers: [], options: [])
UNUserNotificationCenter.current().setNotificationCategories([carouselCategory])
}
}
}
return true
}
```
## 4. एक पुश नोटिफिकेशन भेजें
**iOS श्रेणी:**
APS json के साथ एक पुश नोटिफिकेशन भेजें:
 ```json
{
"aps":{
"category":"PWNotificationCarousel"
}
}
```
**कस्टम डेटा**
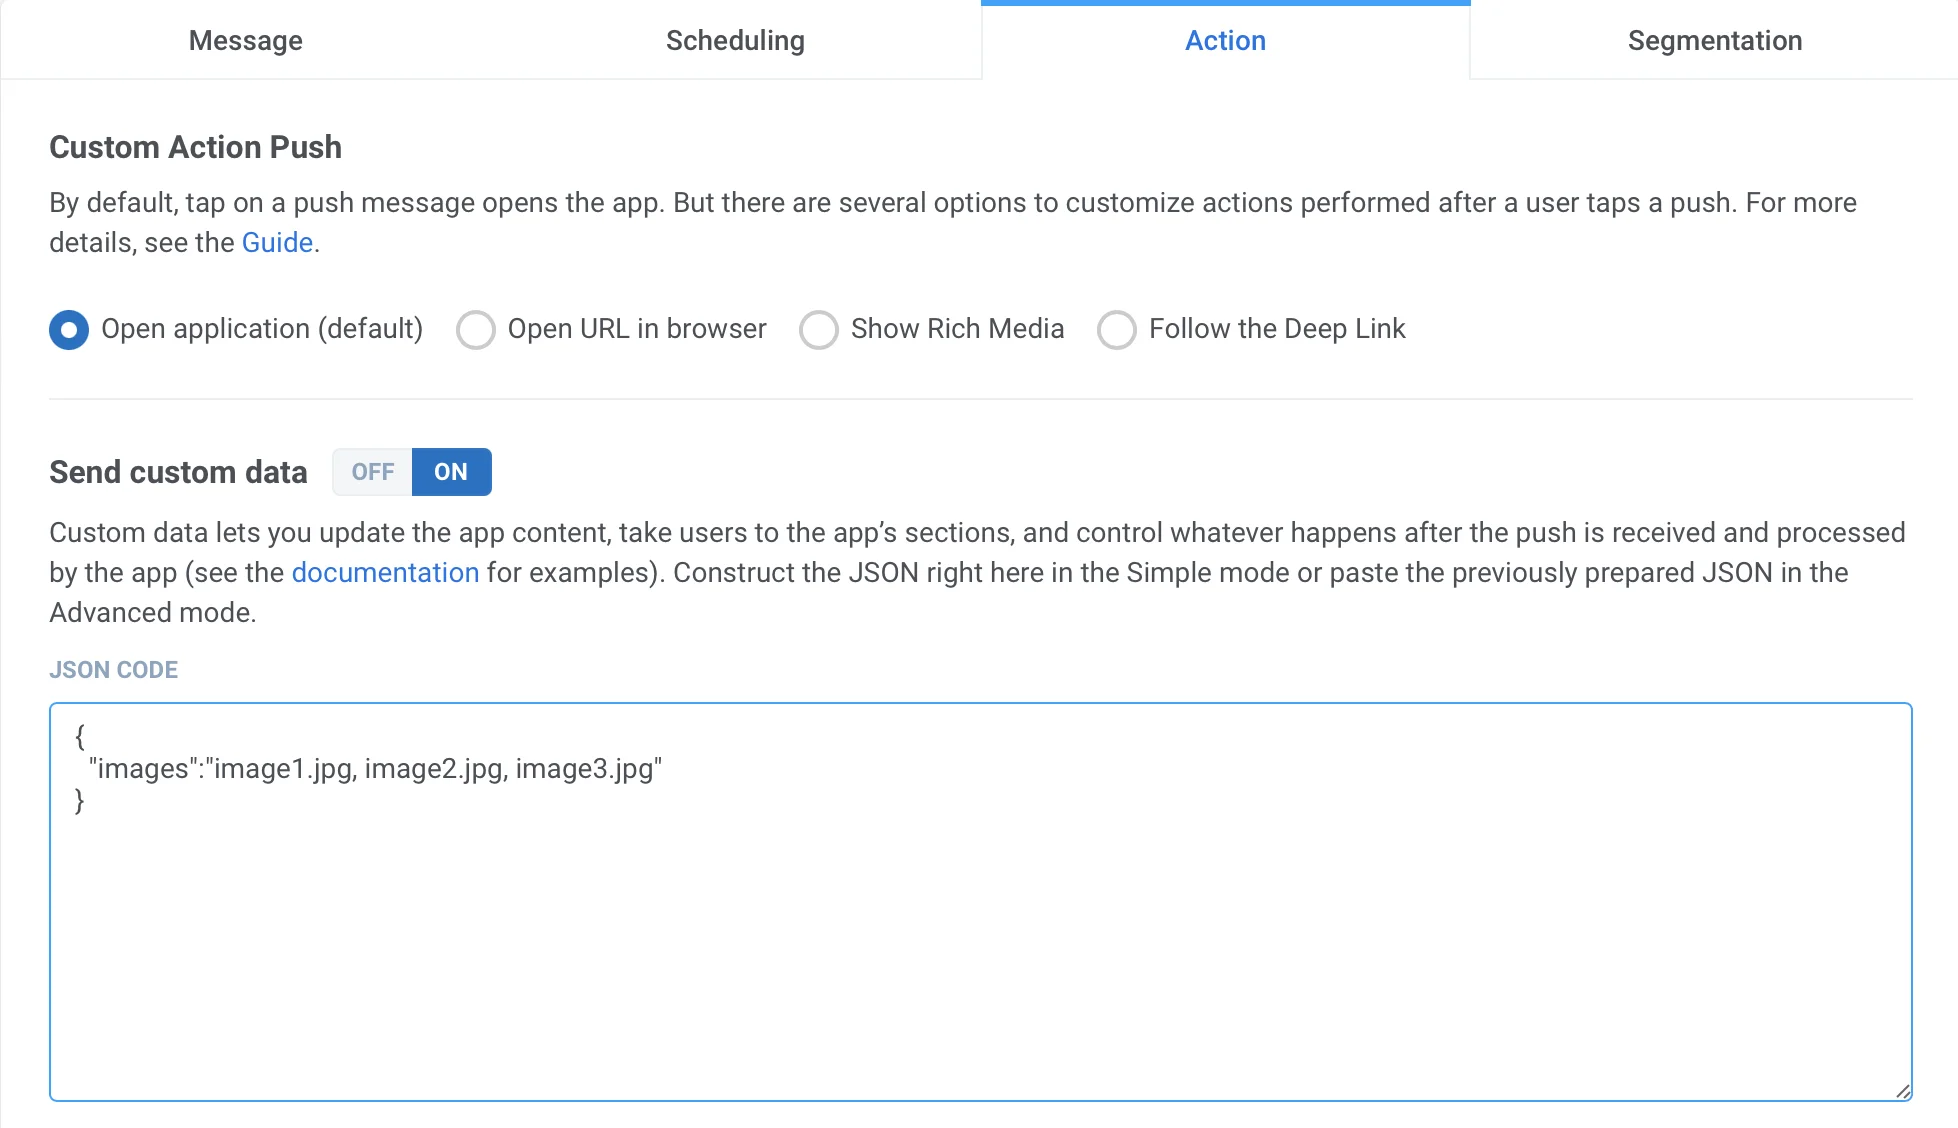
आपको इमेज URLs को कॉमा `,` से अलग करके सूचीबद्ध करना होगा।
```json
{
"aps":{
"category":"PWNotificationCarousel"
}
}
```
**कस्टम डेटा**
आपको इमेज URLs को कॉमा `,` से अलग करके सूचीबद्ध करना होगा।
 ```json
{
"images":"image1.jpg, image2.jpg, image3.jpg"
}
```
एक बार जब आप पुश प्राप्त कर लेते हैं, तो आपको iOS संस्करण के आधार पर नोटिफिकेशन का विस्तार करने के लिए लंबा दबाना होगा या बाईं ओर स्वाइप करना होगा और "View" पर क्लिक करना होगा।
```json
{
"images":"image1.jpg, image2.jpg, image3.jpg"
}
```
एक बार जब आप पुश प्राप्त कर लेते हैं, तो आपको iOS संस्करण के आधार पर नोटिफिकेशन का विस्तार करने के लिए लंबा दबाना होगा या बाईं ओर स्वाइप करना होगा और "View" पर क्लिक करना होगा।