Notifications push web pour les sites HTTP sur Chrome et Firefox
Configuration
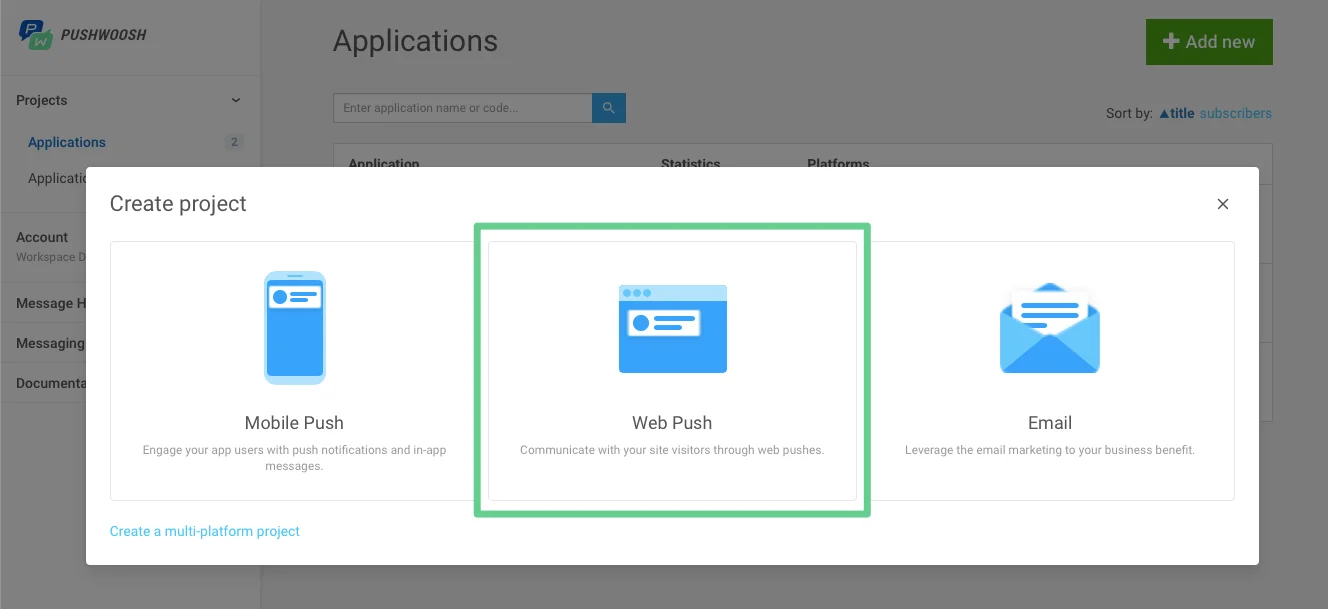
Anchor link to- Sélectionnez l’option Web push lors de la création d’un projet.
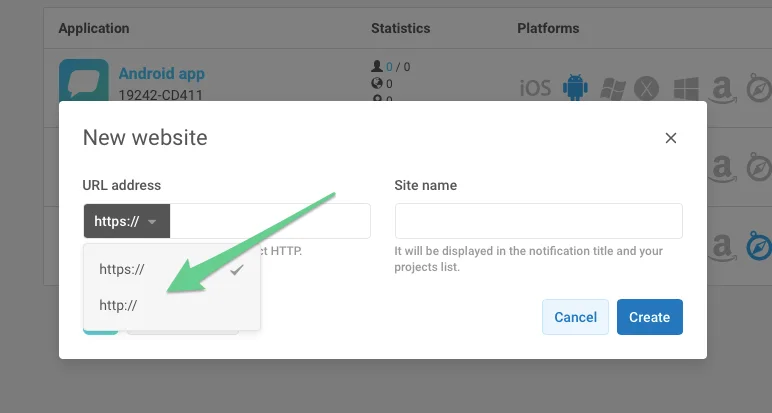
- Choisissez http, saisissez l’URL de votre site et le nom du projet.
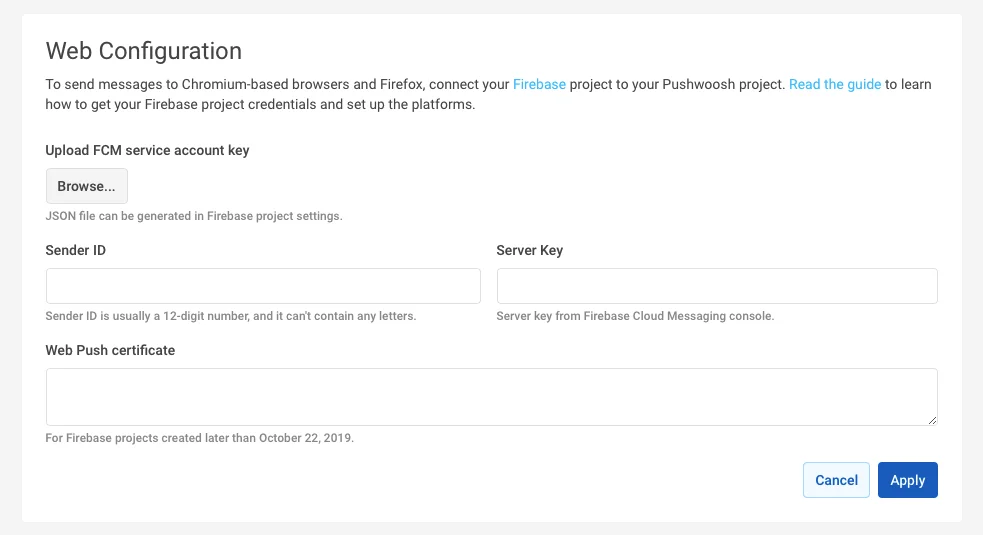
- Configurez Chrome et Firefox avec vos identifiants de projet FCM.
Intégration
Anchor link to1. Créez le fichier pushwoosh-web-pushes-http-sdk.js dans le répertoire racine de votre site web avec le contenu suivant :
var pushwoosh = {  PUSHWOOSH_APPLICATION_CODE: 'XXXX-XXXX',  PUSHWOOSH_APPLICATION_CODE_GET_PARAMETER: 'pw_application_code',  init: function (applicationCode) {    this.PUSHWOOSH_APPLICATION_CODE = applicationCode;    window.addEventListener('message', this.pwReceiveMessage, false);  },  tryInitUsingGetParameter: function () {    var applicationCode = this.getQueryVariable(this.PUSHWOOSH_APPLICATION_CODE_GET_PARAMETER);    console.log(applicationCode);    if (applicationCode) {      this.init(applicationCode);    }  },  pwReceiveMessage: function (event) {    if (event.data == 'allowPushNotifications') {      localStorage.setItem('pwAllowPushNotifications', true);    }  },  isBrowserChrome: function () {    return navigator.userAgent.toLowerCase().indexOf('chrome') > -1;  },  isBrowserFirefox: function () {    return navigator.userAgent.toLowerCase().indexOf('firefox') > -1;  },  isBrowserSafari: function () {    return navigator.userAgent.toLowerCase().indexOf('safari') > -1 && !this.isBrowserChrome();  },  isBrowserSupported: function () {    return this.isBrowserChrome() || this.isBrowserFirefox();  },  subscribeAtStart: function () {    if (this.isBrowserSupported()) {      if (null === localStorage.getItem('pwAllowPushNotifications')) {        this.showSubscriptionWindow();      }    }  },  isSubscribedForPushNotifications: function () {    return true == localStorage.getItem('pwAllowPushNotifications');  },  showSubscriptionWindow: function () {    if (this.isBrowserSupported()) {      var windowWidth = screen.width / 2;      var windowHeight = screen.height / 2;
      var windowLeft = screen.width / 2 - windowWidth / 2;      var windowRight = screen.height / 2 - windowHeight / 2;
      var URL = 'https://' + this.PUSHWOOSH_APPLICATION_CODE + '.chrome.pushwoosh.com/';      var pwSubscribeWindow = window.open(URL, '_blank', 'width=' + windowWidth + ',height=' + windowHeight + ',resizable=yes,scrollbars=yes,status=yes,left=' + windowLeft + ',top=' + windowRight);    }  },  getQueryVariable: function (variable) {    // document.currentScript won't work if this code is called from function in event lister    if (document.currentScript) {      var urlParts = document.currentScript.src.split('?');      if (typeof urlParts[1] !== 'undefined') {        var vars = urlParts[1].split('&');        for (var i = 0; i < vars.length; i++) {          var pair = vars[i].split('=');          if (pair[0] == variable) {            return pair[1];          }        }      }    }    else {      console.error('Cannot get current script address');    }    return null;  }};pushwoosh.tryInitUsingGetParameter();
2. Incluez le fichier précédent sur votre site web et initialisez-le en utilisant le code d’application à la place de XXXXX-XXXXX
<!--[if !IE]><!--> <script src="/pushwoosh-web-pushes-http-sdk.js?pw_application_code=XXXXX-XXXXX"></script><!--<![endif]-->3. Pour créer un bouton d’abonnement aux notifications push, utilisez le code suivant :
<button onclick="pushwoosh.showSubscriptionWindow()">S'abonner aux notifications push</button>4. Alternativement, si vous souhaitez que les abonnements aux notifications apparaissent automatiquement (contrairement au point 3 ci-dessus), utilisez le code suivant :
<script>pushwoosh.subscribeAtStart();</script>
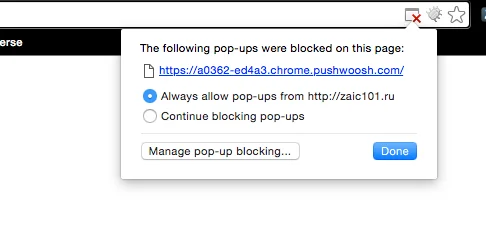
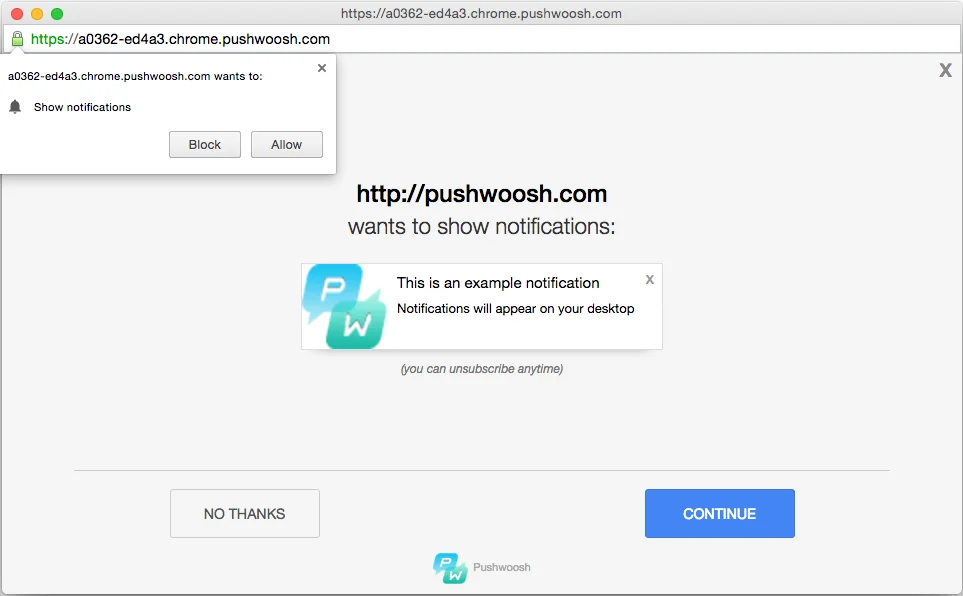
En conséquence, l’utilisateur sera invité à s’abonner aux notifications push du site web :