# Mendix module quick start
Get started with the Pushwoosh module for Mendix by running the demo app that ships with the module and sending a push notification to it.
## Prerequisites
To run the demo app, you will need the following:
You will also need Mendix Studio Pro 11.12.3 or newer with a native mobile navigation profile, and Xcode or Android Studio to produce the native build.
The Device API Token in the list above is not needed for this module. The widget takes the Application Code and nothing else.
## Download the demo app
Clone the module repository:
```bash
git clone https://github.com/Pushwoosh/pushwoosh-mendix.git
```
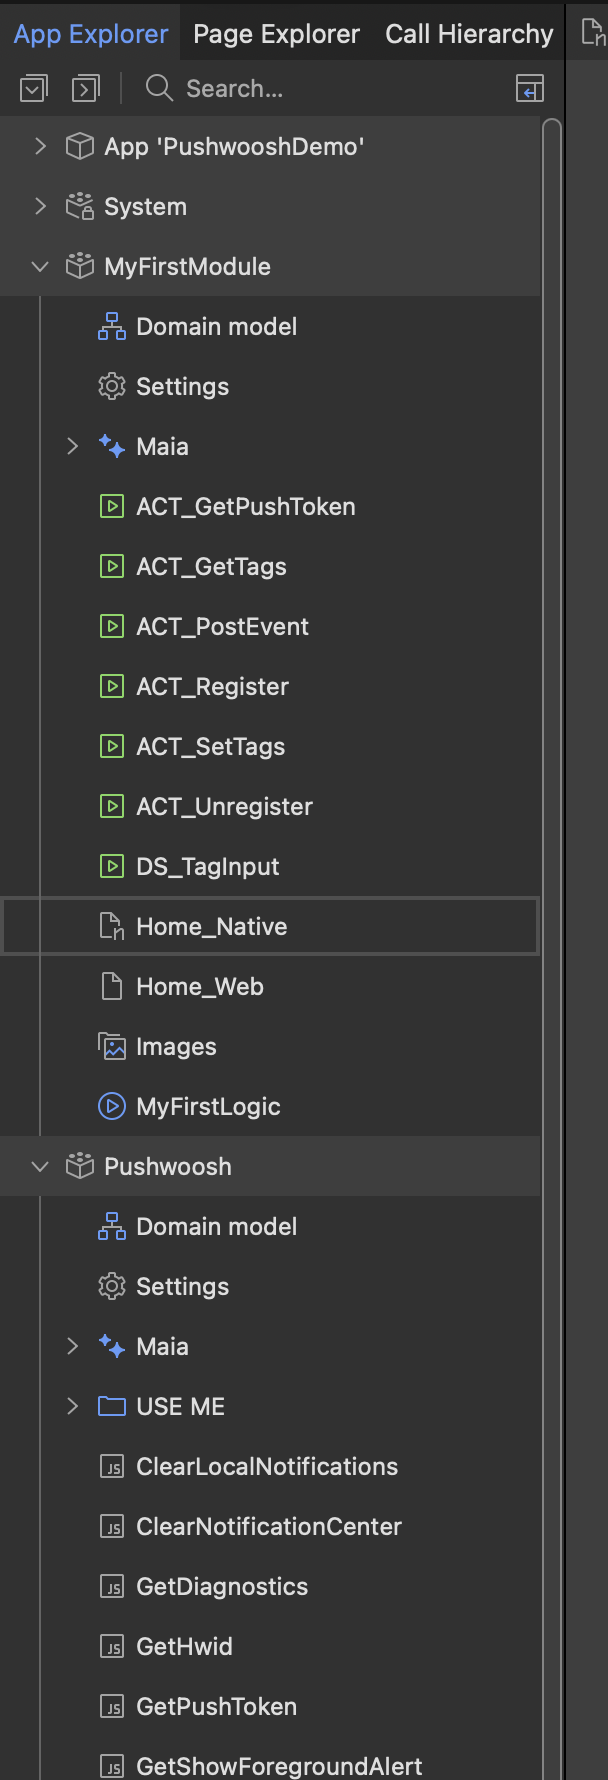
The demo app is the `demo` folder. It is the same app the module is developed against: one screen with buttons for registering and unregistering the device, reading the push token, setting and reading tags, and posting an event, plus inputs for the tag key and value and for the event name.
## Open the app in Studio Pro
Open `demo/PushwooshDemo.mpr` in Studio Pro. The app already contains the `Pushwoosh` module, the **Pushwoosh events** widget on the home page, and a nanoflow behind every button.
 ## Set your Application Code
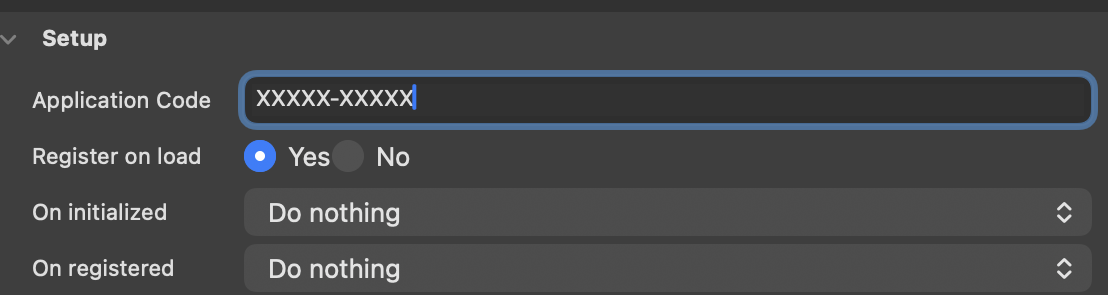
Open the home page of the native mobile navigation profile, select the **Pushwoosh events** widget, and replace the `XXXXX-XXXXX` placeholder in the **Application Code** property with the Application Code of your app from the Pushwoosh Control Panel.
## Set your Application Code
Open the home page of the native mobile navigation profile, select the **Pushwoosh events** widget, and replace the `XXXXX-XXXXX` placeholder in the **Application Code** property with the Application Code of your app from the Pushwoosh Control Panel.
 ## Build the native app
The demo cannot run in the Make It Native app, because that app does not contain third-party native code. Produce a custom developer app or a real native build instead.
On Windows, use **App** > **Build Native App** to open the Native Mobile Builder, and set the capabilities as follows:
- **Push notifications**: off.
- **Firebase Android**: on.
Pushwoosh replaces the built-in push of a Mendix app rather than working next to it. Two notification services registered for the same Firebase event shadow each other and notifications stop arriving.
On macOS, Studio Pro has no Native Mobile Builder. Configure the native template with the [`@mendix/native-mobile-toolkit`](https://www.npmjs.com/package/@mendix/native-mobile-toolkit) command line tool instead, then build the generated iOS and Android projects locally.
For iOS, open the generated Xcode project and add the **Push Notifications** capability in **Signing & Capabilities**. For Android, place the `google-services.json` file from your Firebase project into the generated Android project.
## Run the app and register the device
Start the Mendix runtime for the app, then launch the native build on a device or a simulator and tap **Register For Push Notifications**. The device asks for notification permission, registers with Pushwoosh, and shows the push token in a message.
## Send a test push notification
Register the device as a test device and send a message to it from the Pushwoosh Control Panel. See [Test your integration](/developer/first-steps/test-your-integration/) for the steps.
## Next steps
- [Basic integration guide](/developer/pushwoosh-sdk/cross-platform-frameworks/mendix/integration/basic-integration-guide/) - add the module to your own app
- [Module actions reference](/developer/pushwoosh-sdk/cross-platform-frameworks/mendix/mendix-module-actions/) - the widget properties and the JavaScript actions
## Build the native app
The demo cannot run in the Make It Native app, because that app does not contain third-party native code. Produce a custom developer app or a real native build instead.
On Windows, use **App** > **Build Native App** to open the Native Mobile Builder, and set the capabilities as follows:
- **Push notifications**: off.
- **Firebase Android**: on.
Pushwoosh replaces the built-in push of a Mendix app rather than working next to it. Two notification services registered for the same Firebase event shadow each other and notifications stop arriving.
On macOS, Studio Pro has no Native Mobile Builder. Configure the native template with the [`@mendix/native-mobile-toolkit`](https://www.npmjs.com/package/@mendix/native-mobile-toolkit) command line tool instead, then build the generated iOS and Android projects locally.
For iOS, open the generated Xcode project and add the **Push Notifications** capability in **Signing & Capabilities**. For Android, place the `google-services.json` file from your Firebase project into the generated Android project.
## Run the app and register the device
Start the Mendix runtime for the app, then launch the native build on a device or a simulator and tap **Register For Push Notifications**. The device asks for notification permission, registers with Pushwoosh, and shows the push token in a message.
## Send a test push notification
Register the device as a test device and send a message to it from the Pushwoosh Control Panel. See [Test your integration](/developer/first-steps/test-your-integration/) for the steps.
## Next steps
- [Basic integration guide](/developer/pushwoosh-sdk/cross-platform-frameworks/mendix/integration/basic-integration-guide/) - add the module to your own app
- [Module actions reference](/developer/pushwoosh-sdk/cross-platform-frameworks/mendix/mendix-module-actions/) - the widget properties and the JavaScript actions