# Rich media templates syntax

<Aside type="caution" title="Important notice">

Starting with iOS 9, the operating system enables App Transport Security by default and requires all network connections to support HTTPS and Perfect Secrecy. To use images, videos or other content for Rich Media that comes from non-secure HTTP servers you have to **disable ATS in your app**.

To disable ATS for your application, please follow [**this post**](http://stackoverflow.com/questions/31254725/transport-security-has-blocked-a-cleartext-http).
</Aside>

## Template structure

A template is simply a .zip archive that can contain HTML, JavaScript, CSS and images as Rich Media assets. The archive must contain an **index.html** file in its root.

<Aside type="caution">
Please make sure that your **index.html** is UTF-8 encoded.
</Aside>

## Template placeholders

You can use placeholders in the Rich Media templates that will allow you to change and localize the values in Rich Media content.

A placeholder must follow the format below:
```liquid
{{ Placeholder name | Type | Default value }}`
```

Where:

* **Placeholder name** — is the name of the placeholder that will be visible in the Rich Media editor.
* **Type** — is the type of the placeholder. The type can be any of the following values:
  * **color** — color input
  * **text** — text input
  * **html** — text area (multiline text)
* **Default value** — default value that is used if no value is provided in the editor. If none is set then the **Placeholder name** is used as a default value.

Example:
```liquid
{{Header text|text|Tell Us What You Think}}`
```

## Adding Pushwoosh.json

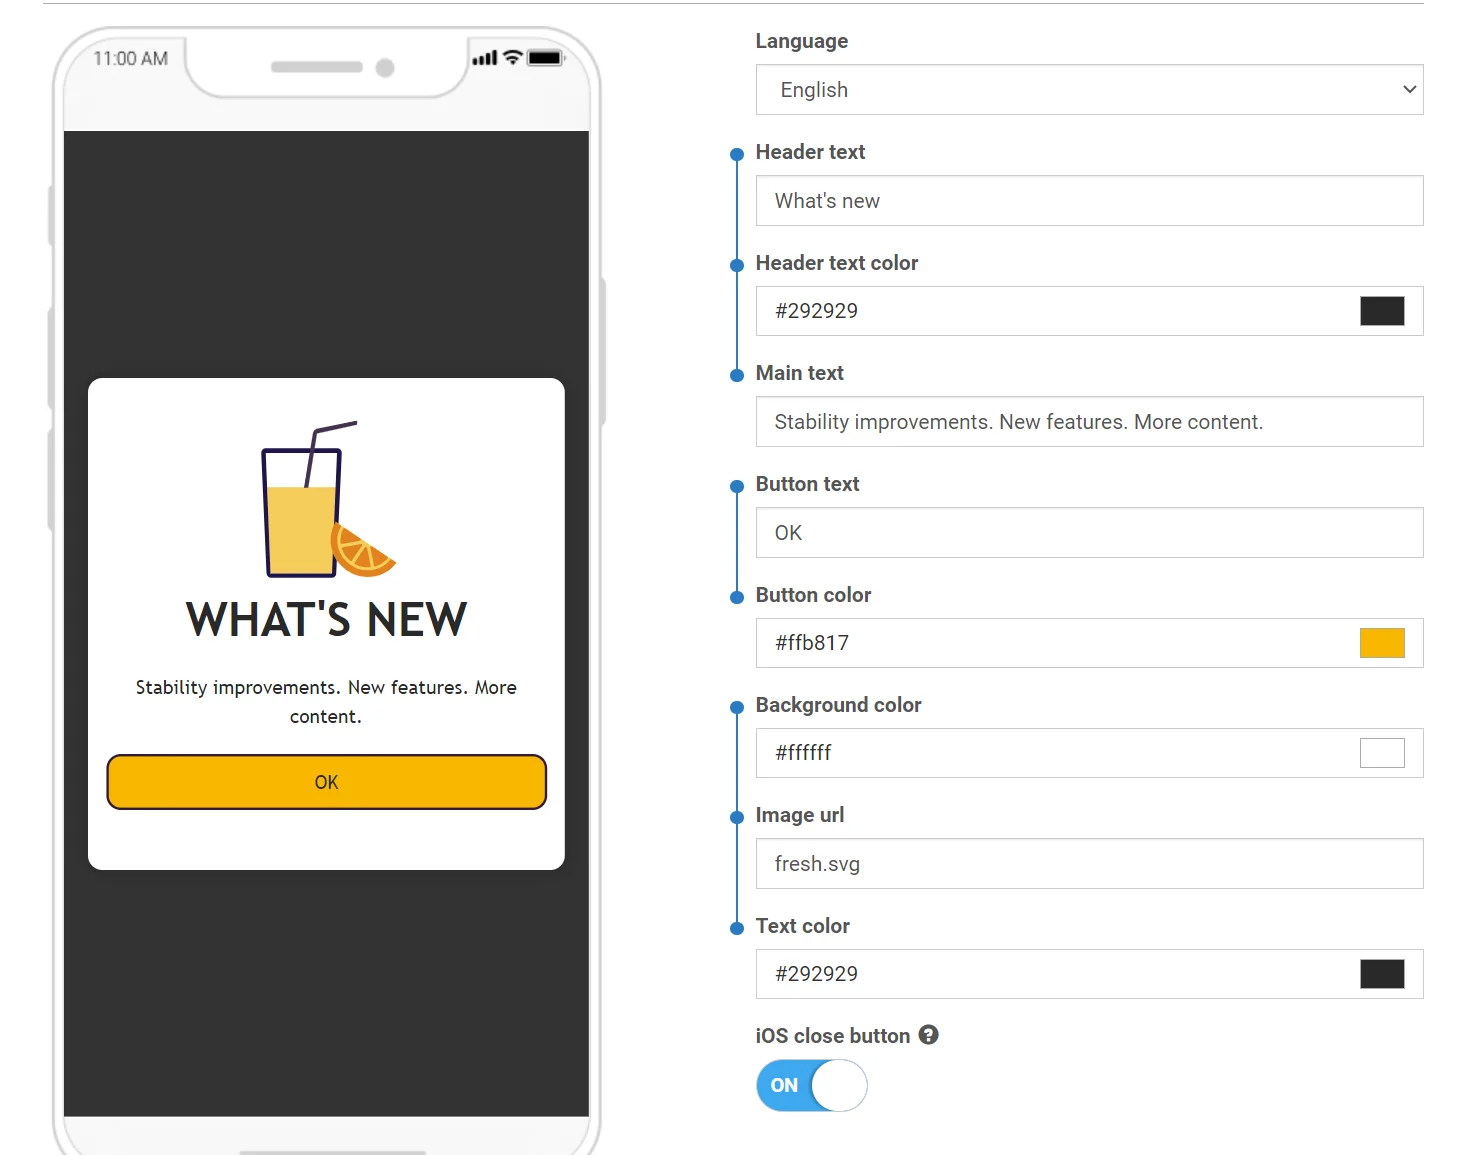
You can group placeholders so they would be linked together in the Rich Media editor:

<img src="/content-rich-media-templates-syntax-1.webp" alt="Rich Media editor interface showing grouped placeholders linked together in input groups"/>

To achieve that, add the **pushwoosh.json** file to the archive with your Rich Media template next to the **index.html** file.

The structure of the file is very simple and should be self-explanatory:

```
{
  "input_groups": [
    ["Logo image URL", "Logo background color"],
    ["Topic text", "Topic text color", "Topic background color", "Sub-topic text"],
    ["Main text", "Text background color"],
    ["Button text", "Button URL", "Button text color", "Button background color"]
  ]
}
```

## Example

Custom forms for surveys are a common use case for custom rich media templates. These forms allow you to gather valuable user feedback. A pre-designed template with a custom survey form is available in the Default templates. Use this as a starting point for your own surveys.
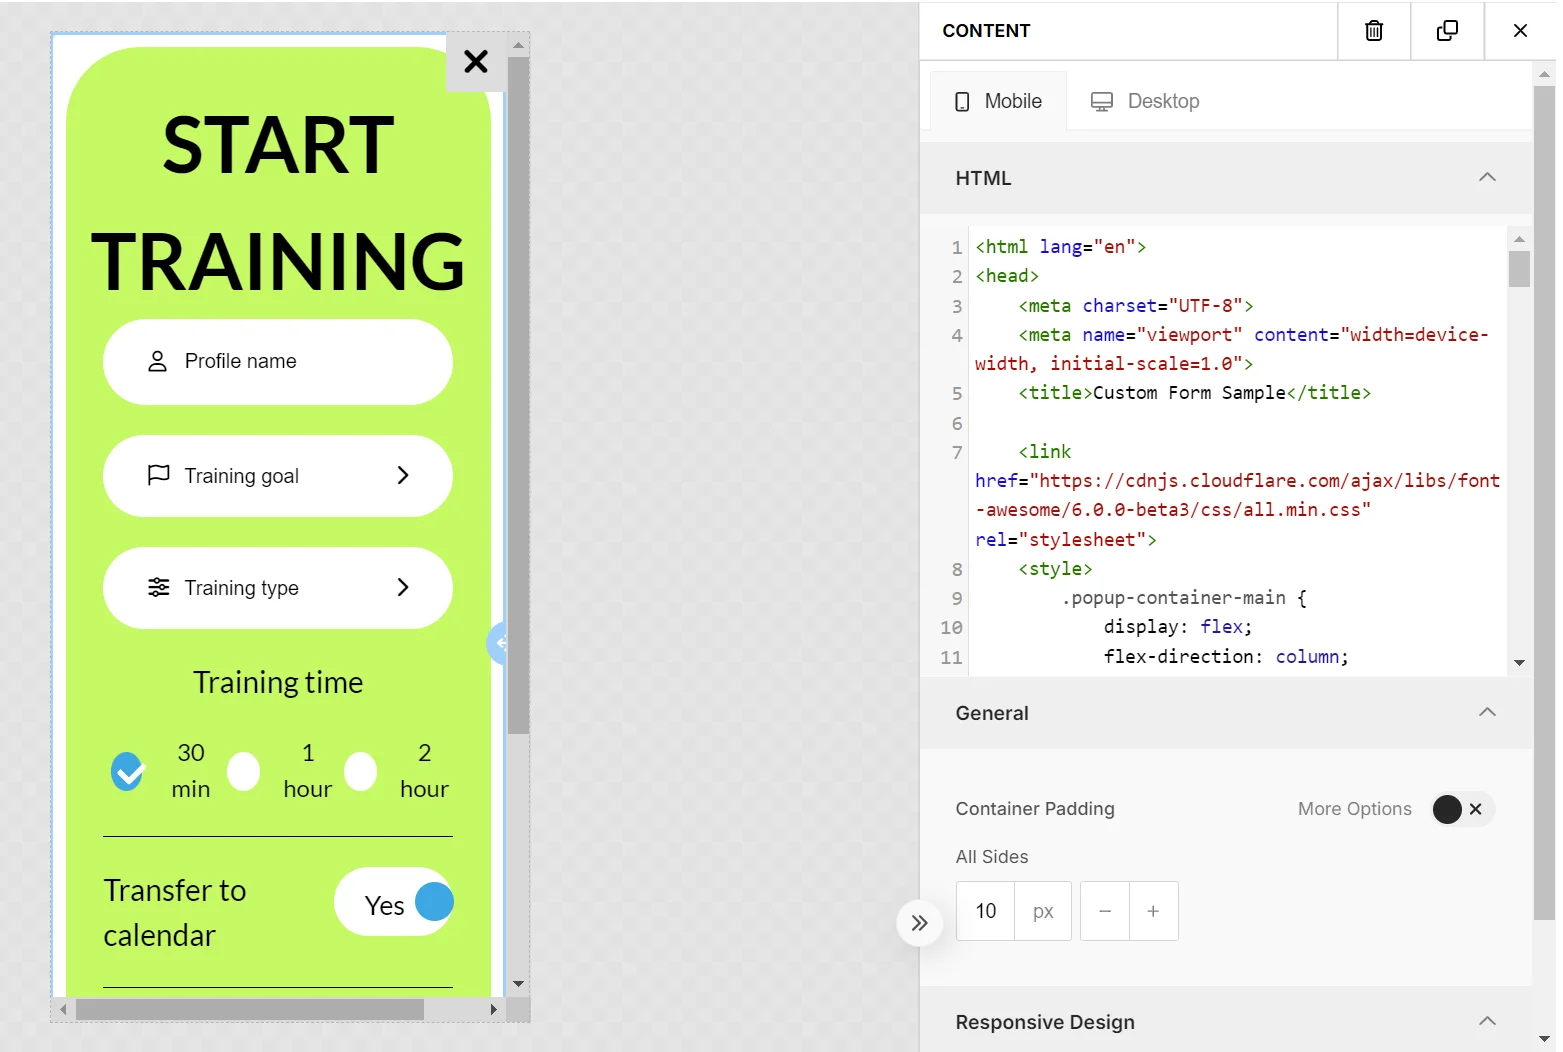
<img src="/content-rich-media-templates-syntax-2.webp" alt="Example custom survey form template with input fields for gathering user feedback"/>

When creating forms, [follow some best practices](#best-practices-for-custom-elements-in-rich-media) to ensure compatibility and seamless functionality within the Rich Media Editor.

Here’s another example from one of the default templates available in the Control Panel.

```txt
<!DOCTYPE html>
<html>
<head>
    <link href='https://fonts.googleapis.com/css?family=Open+Sans' rel='stylesheet' type='text/css'>
    <style type="text/css">
        html, body {
            height: 100%;
            width: 100%;
            padding: 0;
            margin: 0;
            font-family: "Open Sans";
        }
        .main {
            height: 100%;
            width: 100%;
            box-sizing: border-box;
            -moz-box-sizing: border-box;
            -webkit-box-sizing: border-box;
        }
        .logo {
            width: 100%;
            height: 15%;
            background-image: url('{{Logo image URL|text|https://www.pushwoosh.com/wp-content/themes/pushwoosh/img/logo.png}}');
            background-position: 50% 50%;
            background-size: 50%;
            background-repeat: no-repeat;
            background-color: #{{Logo background color|color|343434}};
        }
        .topic-wrapper {
            width: 100%;
            height: 30%;
            text-align: center;
            display: table;
            color: #{{Topic text color|color|FFFFFF}};
            background-color: #{{Topic background color|color|23B7A4}};
        }
        .topic {
            display: table-cell;
            text-align: center;
            vertical-align: middle;
        }
        .topic-wrapper h1, .topic-wrapper p {
            margin: 0;
        }
        .padding-wrapper {
            width: 100%;
            height: 55%;
            box-sizing: border-box;
            -moz-box-sizing: border-box;
            -webkit-box-sizing: border-box;
            padding: 0 2% 0 2%;
            background-color: #{{Text background color|color|FFFFFF}};
        }
        .text-wrapper {
            height: 70%;
            width: 100%;
            padding: 2% 0 2% 0;
            box-sizing: border-box;
            -moz-box-sizing: border-box;
            -webkit-box-sizing: border-box;
            overflow: hidden;
        }
        .text {
            width: 100%;
            height: 99%;
            overflow: auto;
            padding-right: 15px;
        }
        .button-wrapper {
            height: 30%;
            width: 100%;
            padding: 2% 0 2% 0;
            box-sizing: border-box;
            -moz-box-sizing: border-box;
            -webkit-box-sizing: border-box;
        }
        .button {
            display: table;
            width: 100%;
            height: 100%;
        }
        .button a {
            display: table-cell;
            vertical-align: middle;
            text-align: center;
            font-size: 2em;
            text-decoration: none;
            color:#{{Button text color|color|FFFFFF}};
            border-radius: 20px;
            background-color: #{{Button background color|color|23B7A4}};
        }

        @media only screen
        and (orientation: landscape) {
            .padding-wrapper {
                height: 45%;
            }
            .logo {
                height: 20%;
            }
            .button a {
                border-radius: 10px;
            }
        }
    </style>
</head>
<body>

<div class="main">
    <div class="logo"></div>
    <div class="topic-wrapper">
        <div class="topic">
            <h1>{{Topic text|text|TOPIC TEXT}}</h1>
            <p>{{Sub-topic text|text|Subtopic here}}</p>
        </div>
    </div>
    <div class="padding-wrapper">
        <div class="text-wrapper">
            <div class="text">
                {{Main text|html|Main text here}}
            </div>
        </div>
        <div class="button-wrapper">
            <div class="button">
                <a href="{{Button URL|text|https://www.pushwoosh.com}}">
                    {{Button text|text|Submit}}
                </a>
            </div>
        </div>
    </div>
</div>
</body>
</html>
```

## Monitor performance of custom Rich Media

You can also monitor the performance of custom Rich Media content that you create and upload to Pushwoosh as a ZIP file.

You can track how people interact with your Rich Media by:

* Button clicks
* Link clicks
* Form submits

To enable Pushwoosh to track these interactions:

1. Add an "id" attribute to each element you wish to track.

For example:

**To track link clicks:**

```html
<a id=“my_link_1” href=“#”>…</a>
```

**To track form submits:**

```html
<form id=“my_form_1” action=“#” method=“GET”>…</form>
```

**To track button clicks:**

```html
<button id=“my_button_1” type=“button”>…</button> // type="button" is required
```

2. Add a link to the JavaScript file from the CDN at the end of the tag:

```html
<script src="https://cdn.pushwoosh.com/richmedia-service/statistics/v1/richmedia-statistics.js"></script>

```
## Best practices for custom elements in Rich media

### Manage CSS styles carefully

Ensure your CSS styles are specific to avoid conflicts with Rich Media Editor styles. Using low-specificity styles, such as those applied to tag names or common class names, may affect the appearance of the Rich Media Editor. It's best to keep your styles local—wrap your content in a container with a unique ID or class and use this identifier in your CSS selectors for child elements.

### Include external libraries

You can integrate CSS or JavaScript libraries (such as Font Awesome, Bootstrap, Tailwind CSS, etc.) to utilize their methods, icons, fonts, animations, and more.