# How to configure platforms
To enable Pushwoosh to send messages to your users, it’s essential to configure the platforms you plan to work with.
To start configuring a platform, go to **Settings → Configure platforms** and click **Connect** next to the required platform.
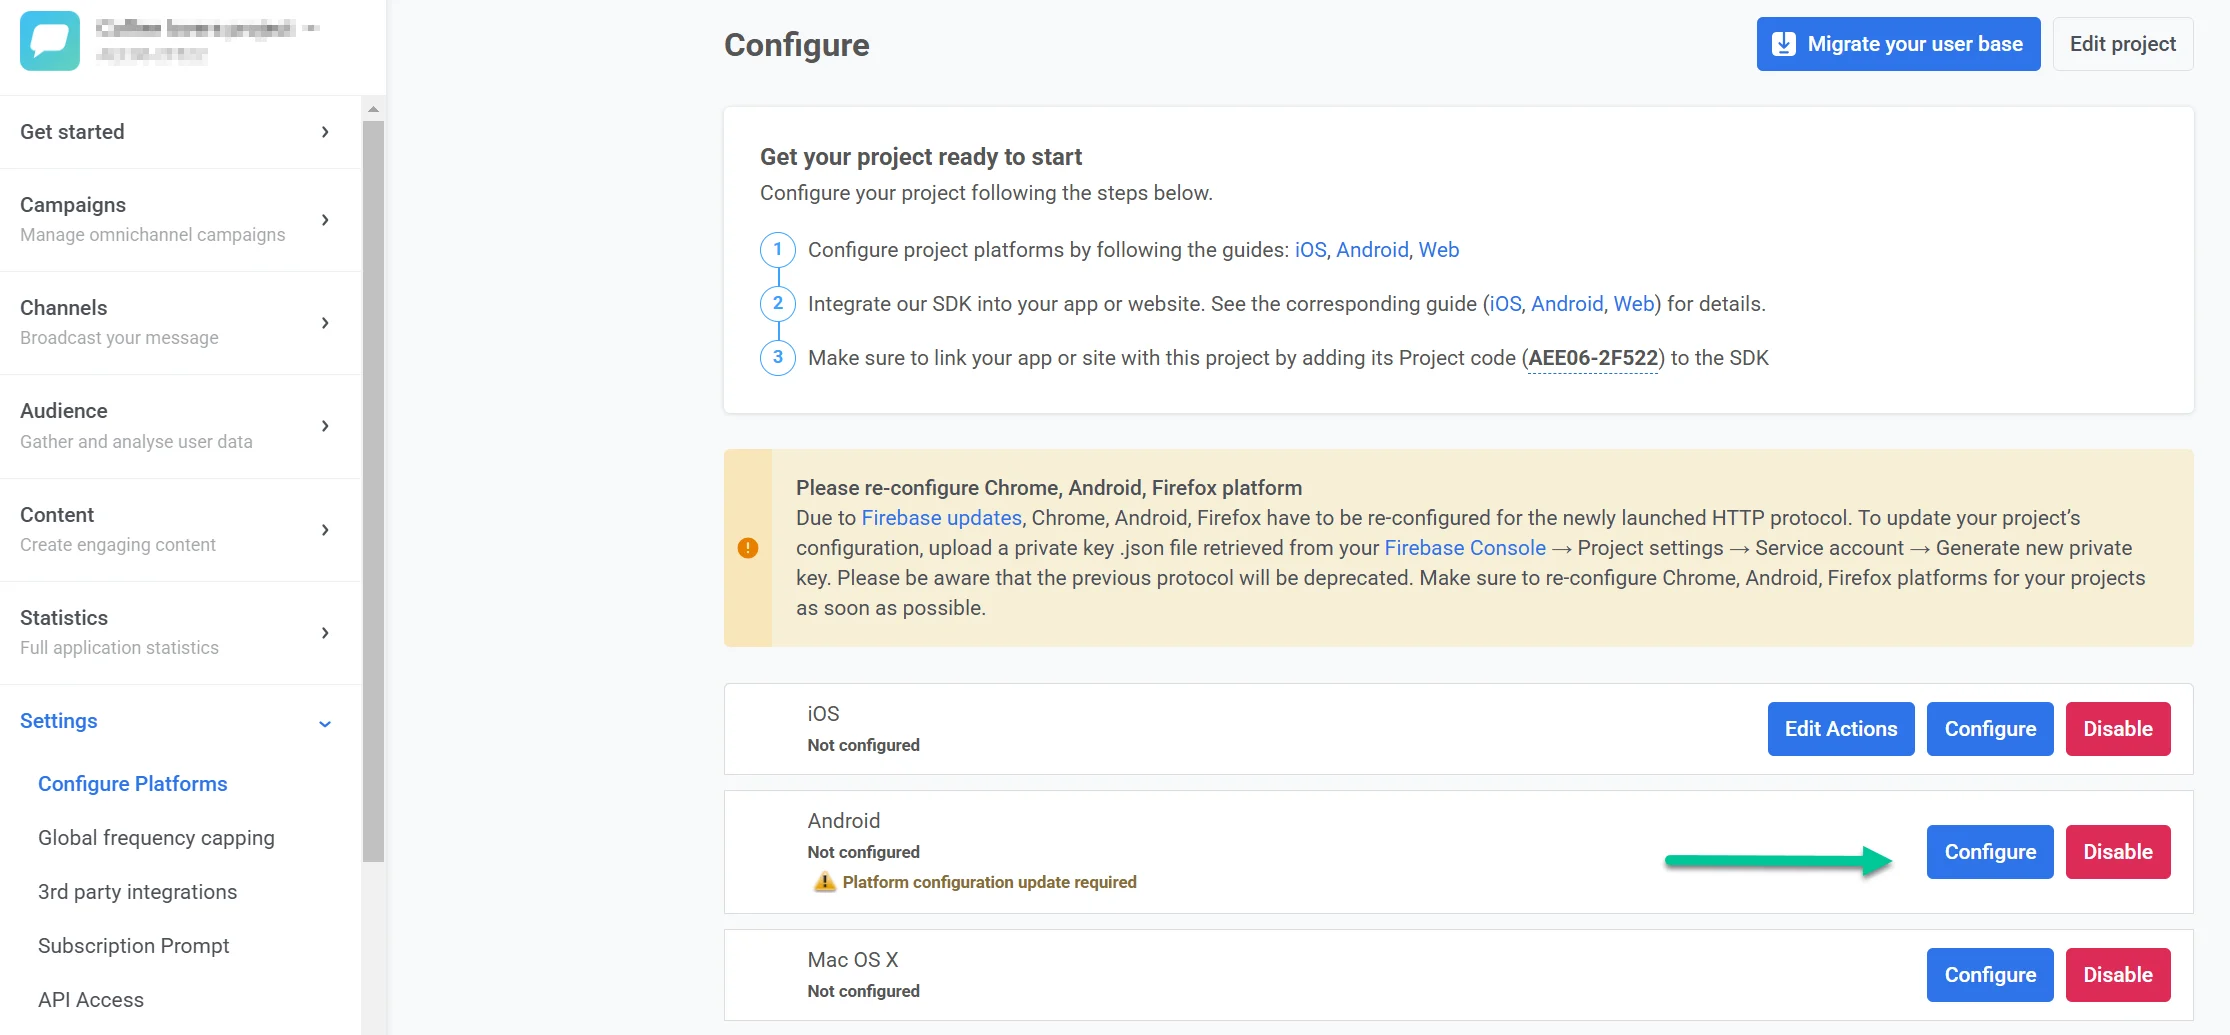
## Mobile
### iOS configuration
* [iOS certificate-based configuration](/developer/first-steps/connect-messaging-services/ios-configuration/ios-platform-configuration/)
* [iOS token-based configuration](/developer/first-steps/connect-messaging-services/ios-configuration/ios-token-based-configuration/)
* [Apple Wallet pass configuration for iOS](/developer/first-steps/connect-messaging-services/ios-configuration/ios-wallet-pass-configuration/)
### Android configuration
* [Android Firebase configuration](/developer/first-steps/connect-messaging-services/android-configuration/android-firebase-configuration/)
* [Google Wallet pass configuration for Android](/developer/first-steps/connect-messaging-services/android-configuration/android-google-wallet-configuration/)
### Amazon configuration
* [Amazon Device Messaging configuration](/developer/first-steps/connect-messaging-services/amazon-configuration/)
### Huawei configuration
* [Huawei configuration](/developer/first-steps/connect-messaging-services/huawei-configuration/)
## Web
* [Web push configuration](/developer/first-steps/connect-messaging-services/web-push-configuration/)
## Desktop platforms
* [Windows configuration](/developer/first-steps/connect-messaging-services/windows-configuration/)
* macOS
## Email
* [Email configuration](/developer/first-steps/connect-messaging-services/email-verification/)
## WhatsApp
Add your WhatsApp Business Account credentials directly in the Control Panel to enable WhatsApp messaging.
* [WhatsApp configuration](/product/first-steps/start-with-your-project/configure-platforms/whatsapp-configuration/)
## LINE
To enable message delivery through the LINE messaging app, configure the LINE platform in your project settings.
* [LINE configuration](/developer/first-steps/connect-messaging-services/line-configuration/)
## Kakao
To enable message delivery through KakaoTalk, configure the Kakao platform in your project settings.
* [Kakao configuration](/developer/first-steps/connect-messaging-services/kakao-configuration/)
## SMS
Connect your own SMS provider directly in the Control Panel to enable SMS messaging. Once configured, you can send SMS in one-time campaigns and Customer Journeys.
* [SMS configuration](/developer/first-steps/connect-messaging-services/sms-configuration/)
* [SMS provider webhooks](/developer/first-steps/connect-messaging-services/sms-configuration/sms-provider-webhooks/)
## Edit project
Click **Edit project** at the top right of the **Configure platforms** page to open project settings. There you can change the project title and icon, connect your bit.ly account to shorten links in push notifications, and manage email notification preferences.
[Learn more about editing your project](/product/account-management-and-security/managing-projects/#editing-projects)
## Hide unconfigured platforms
At the bottom of the **Configure platforms** page, use **Hide unconfigured platforms** to show only the platforms you have already set up. This keeps the list short when you work with a subset of channels.
## Delete project
To delete a project, go to **Settings → Configure platforms**, open the three-dot menu at the top right of the page (next to **Edit project**), and select **Delete project**.
For more on project management, see [Manage projects](/product/account-management-and-security/managing-projects/#deleting-projects).