Swift Package Manager Setup
Requirements
Anchor link to- Create Pushwoosh account if you do not already have one.
- A Mac with a new version of Xcode (Apple Silicon only).
- An iOS Push Certificate. Details see: iOS configuration
Integration
Anchor link to- Open your project in Xcode and Navigate to the project’s settings -> Package Dependencies -> and press ’+’ button.
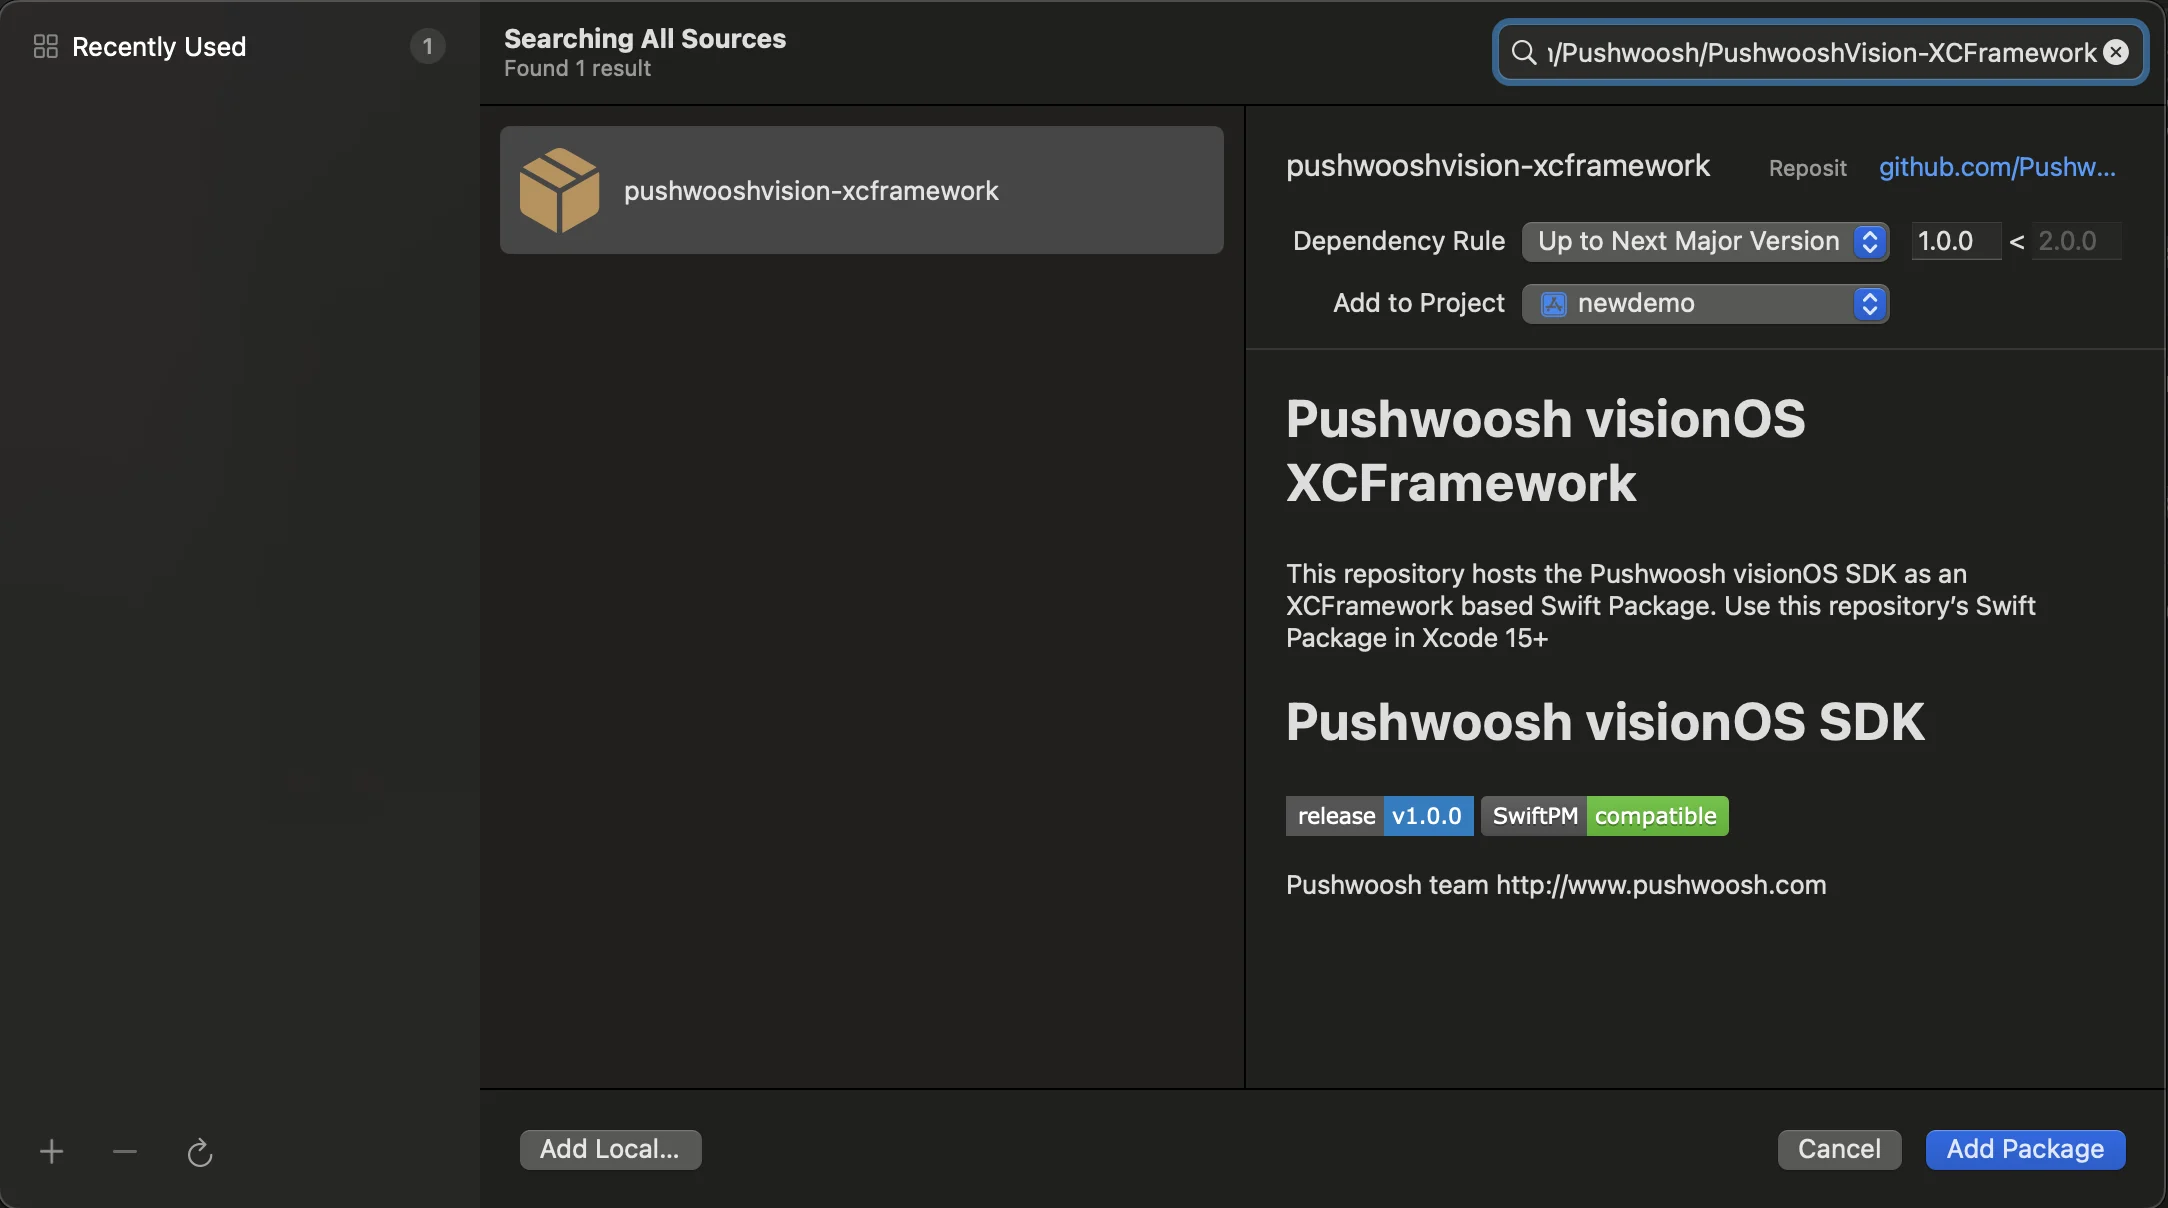
- Enter the following Package URL:
https://github.com/Pushwoosh/PushwooshVision-XCFramework
- Set up Dependency Rule
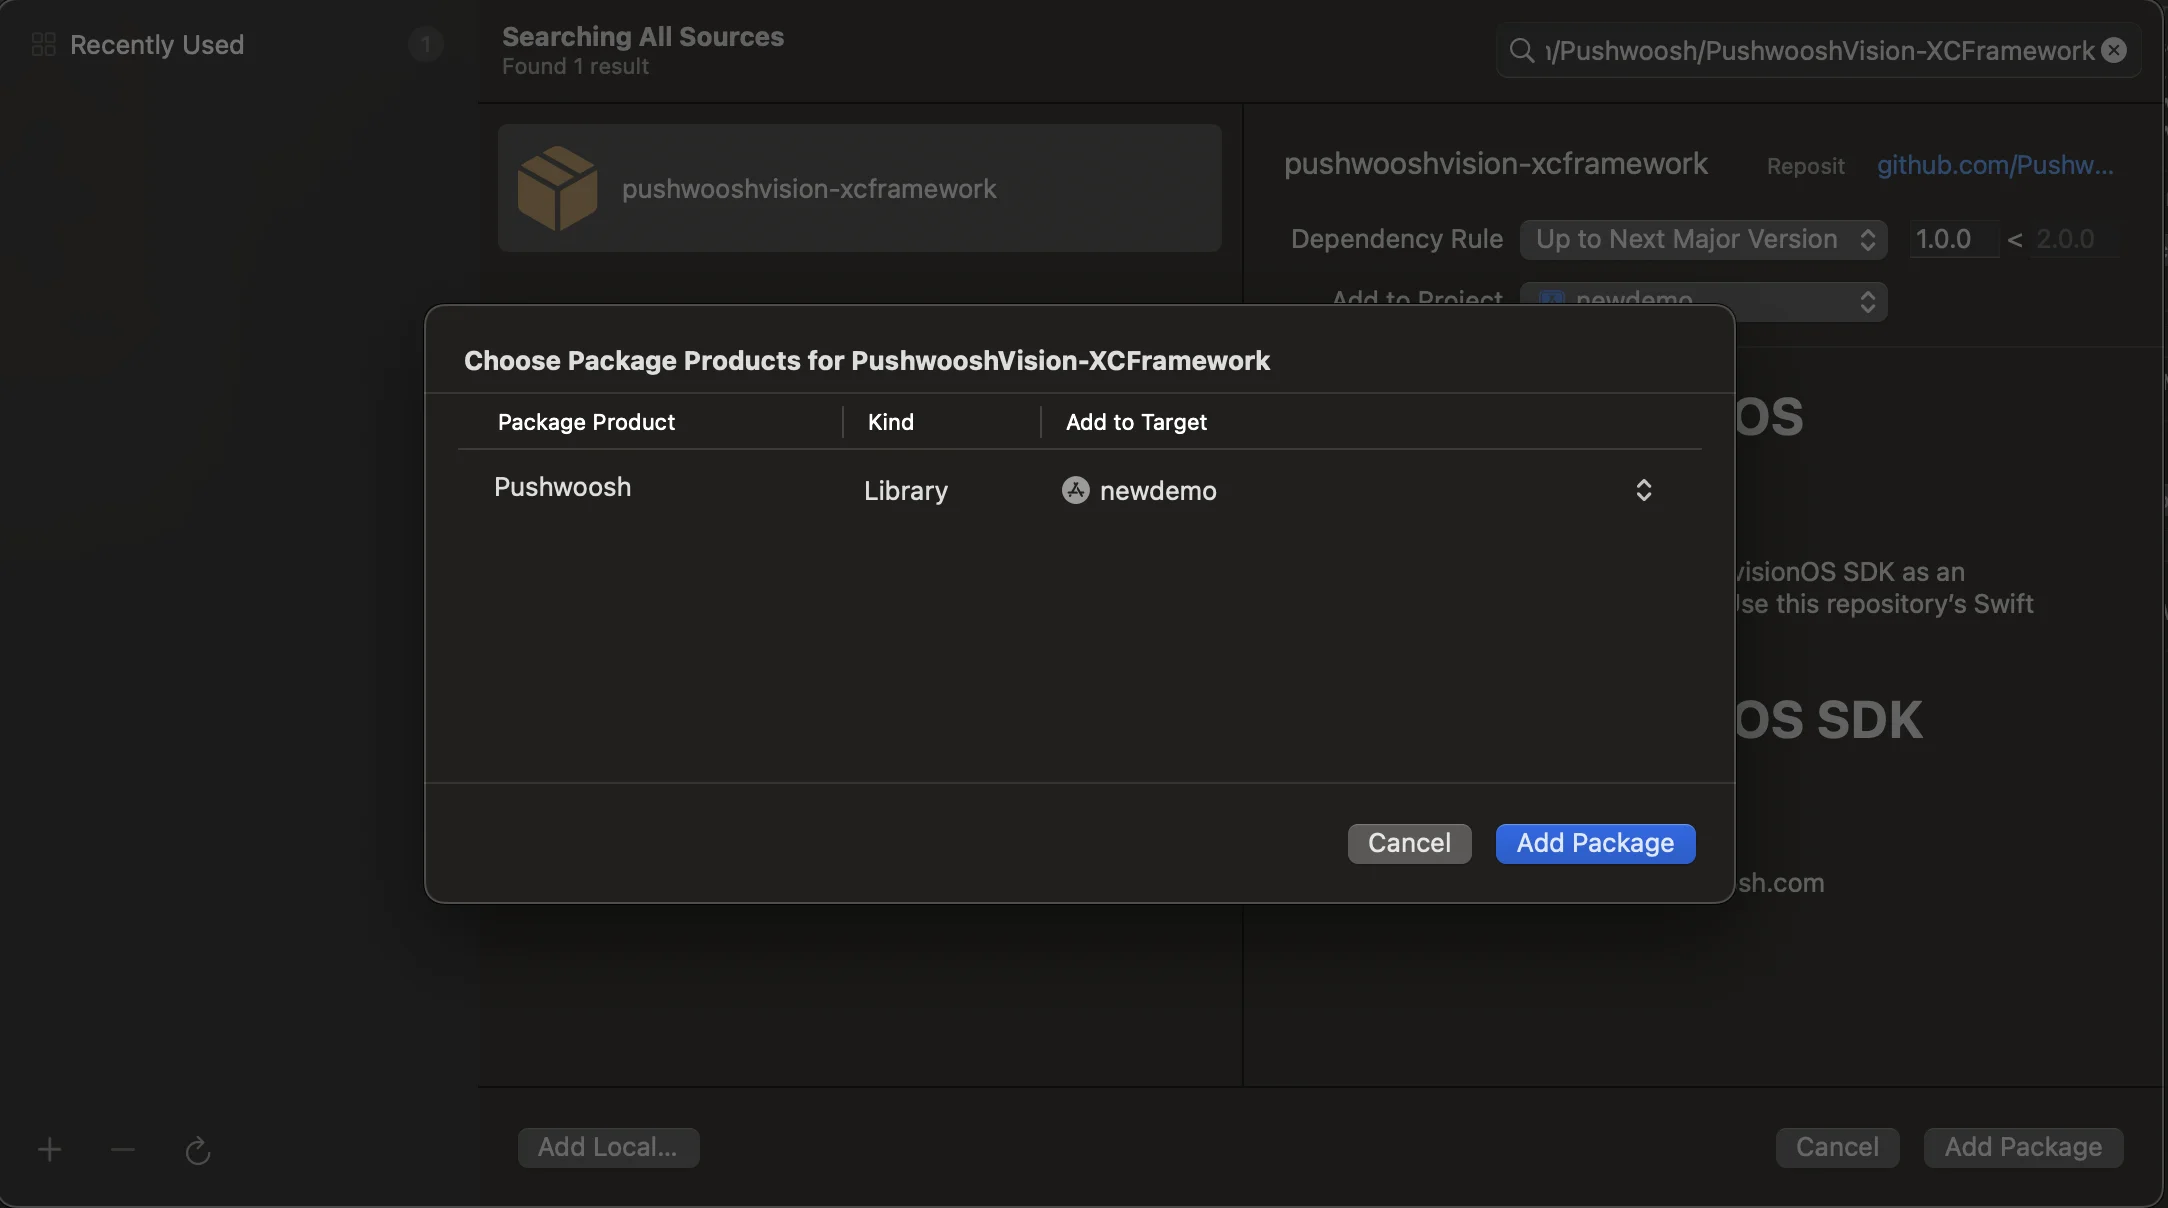
- On the next screen, to choose your Package, select Pushwoosh Package and Add Package to your main app Target.
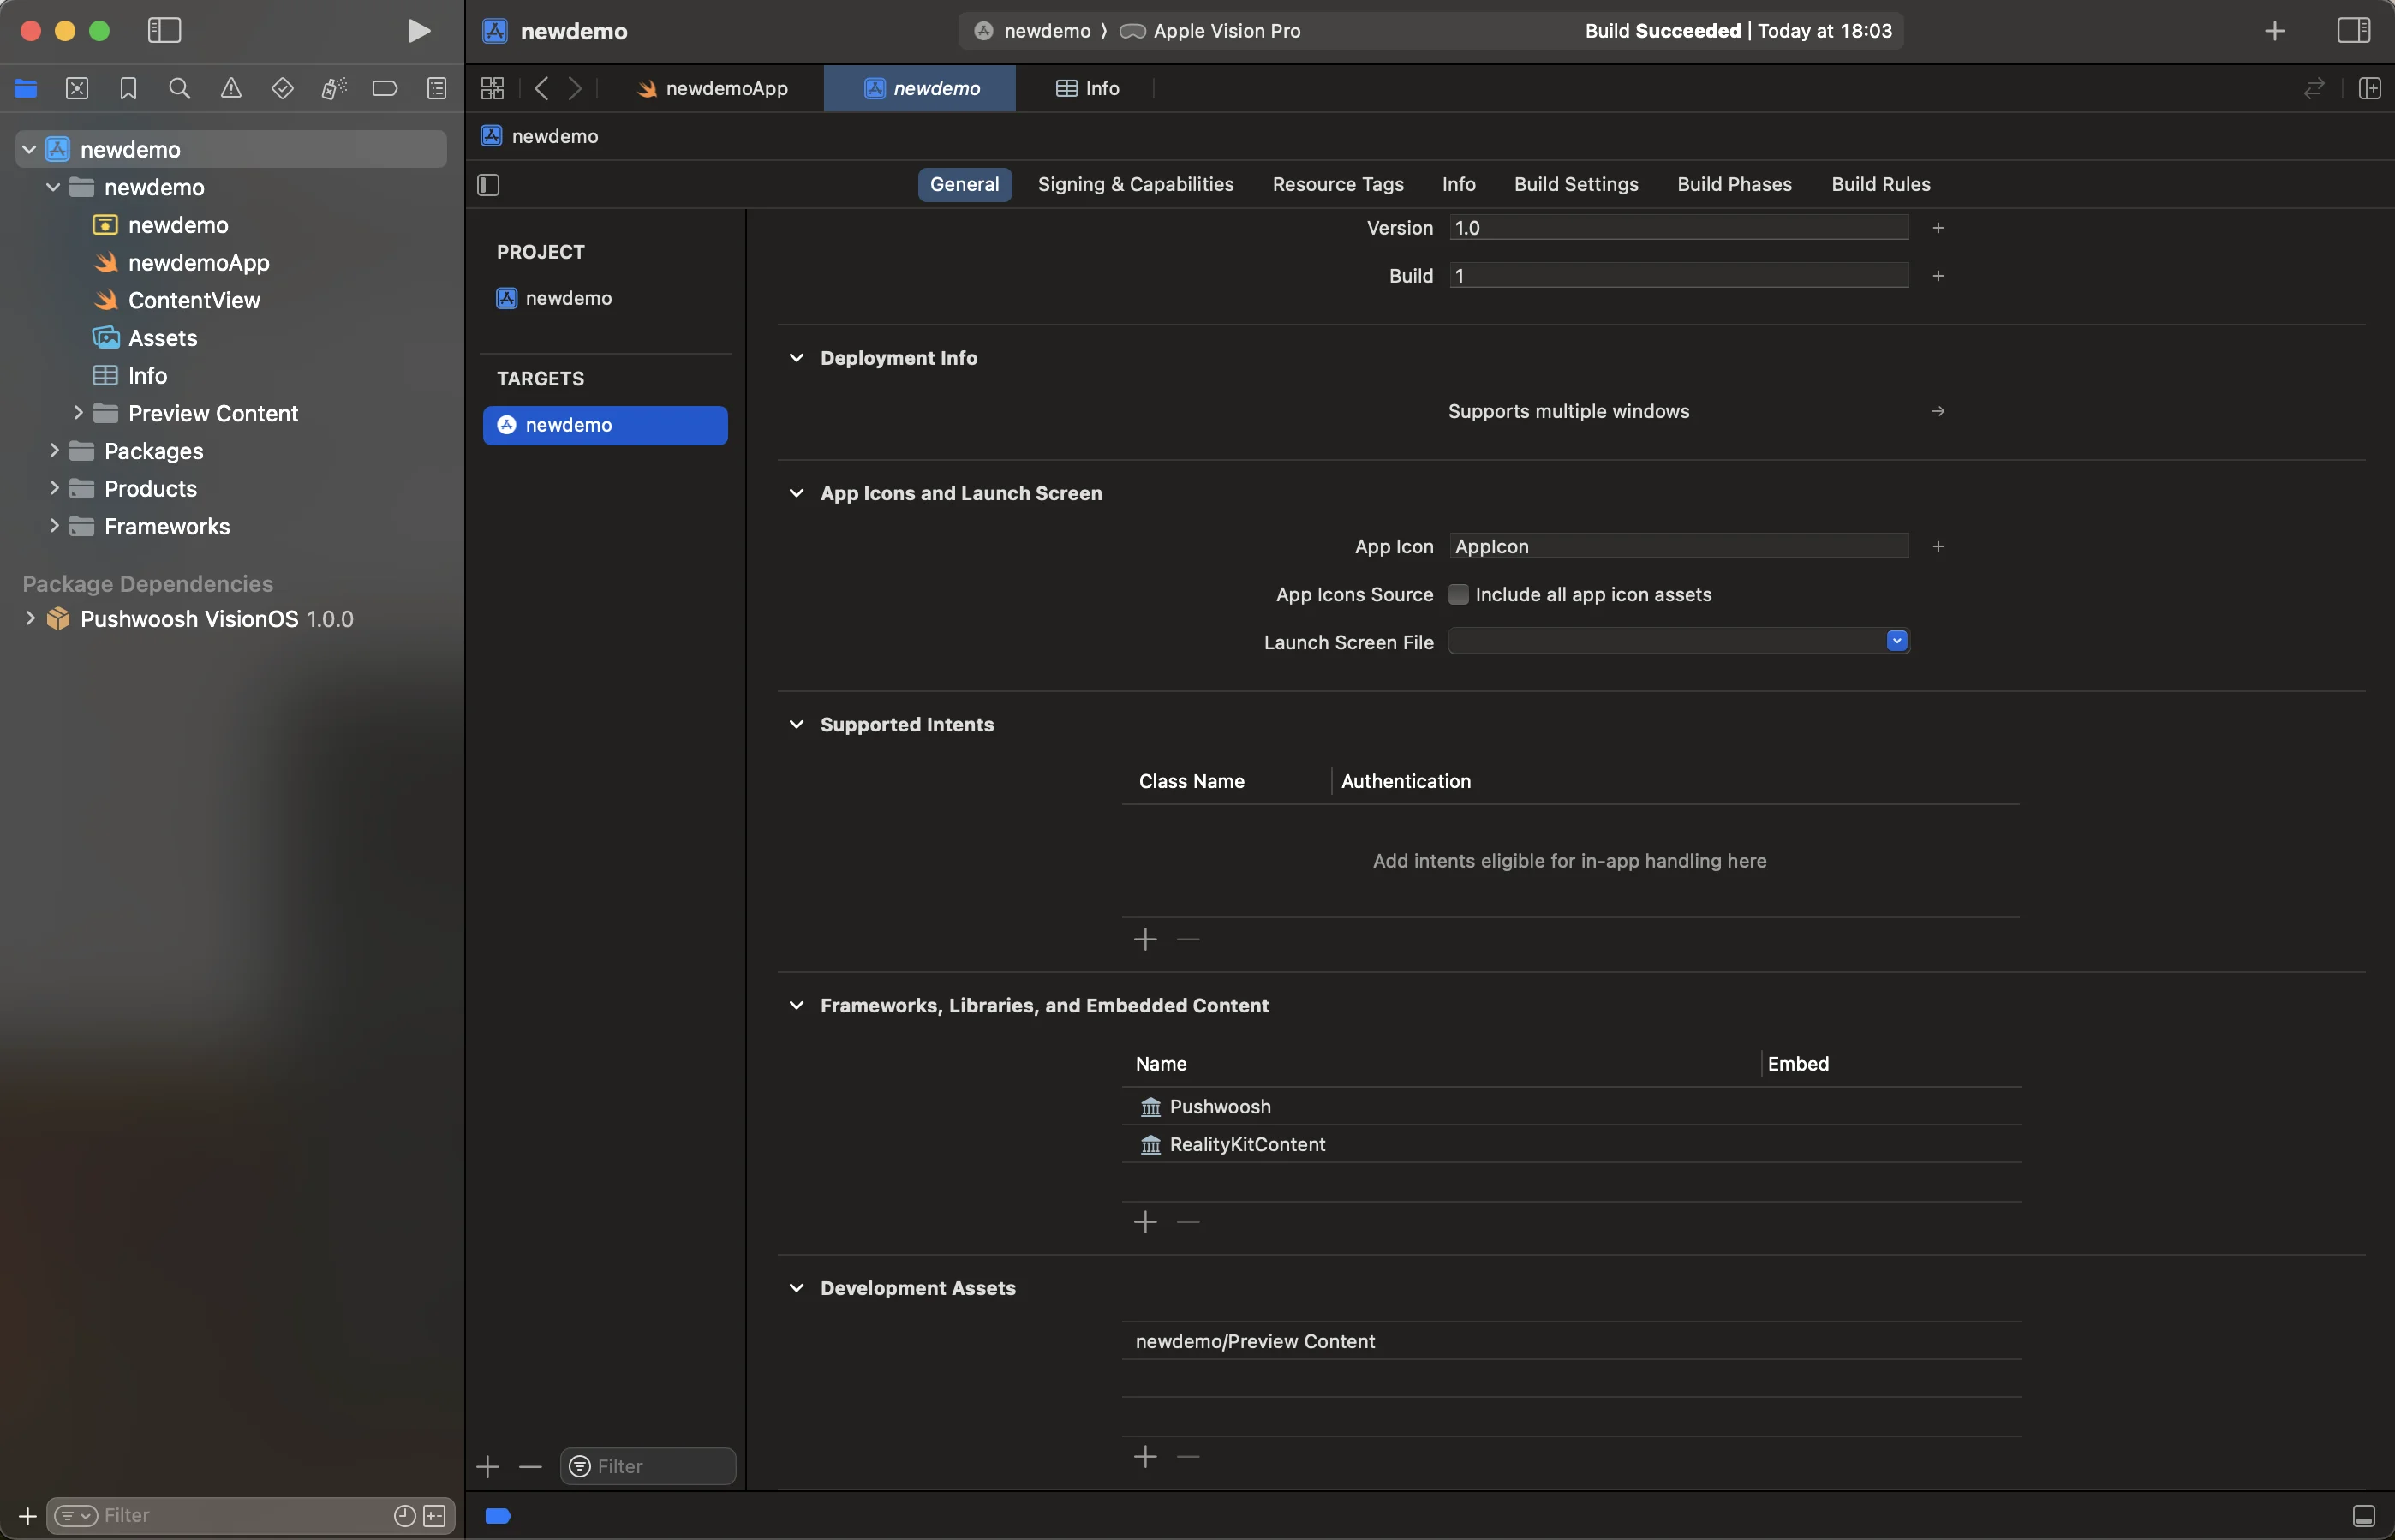
- Open your Main App Target and under Frameworks, Libraries, and Embedded Content ensure that the Pushwoosh iOS SDK has been added.
- Well done! You’ve just integrated the Pushwoosh visionOS SDK into your project.
Add Required Capabilities
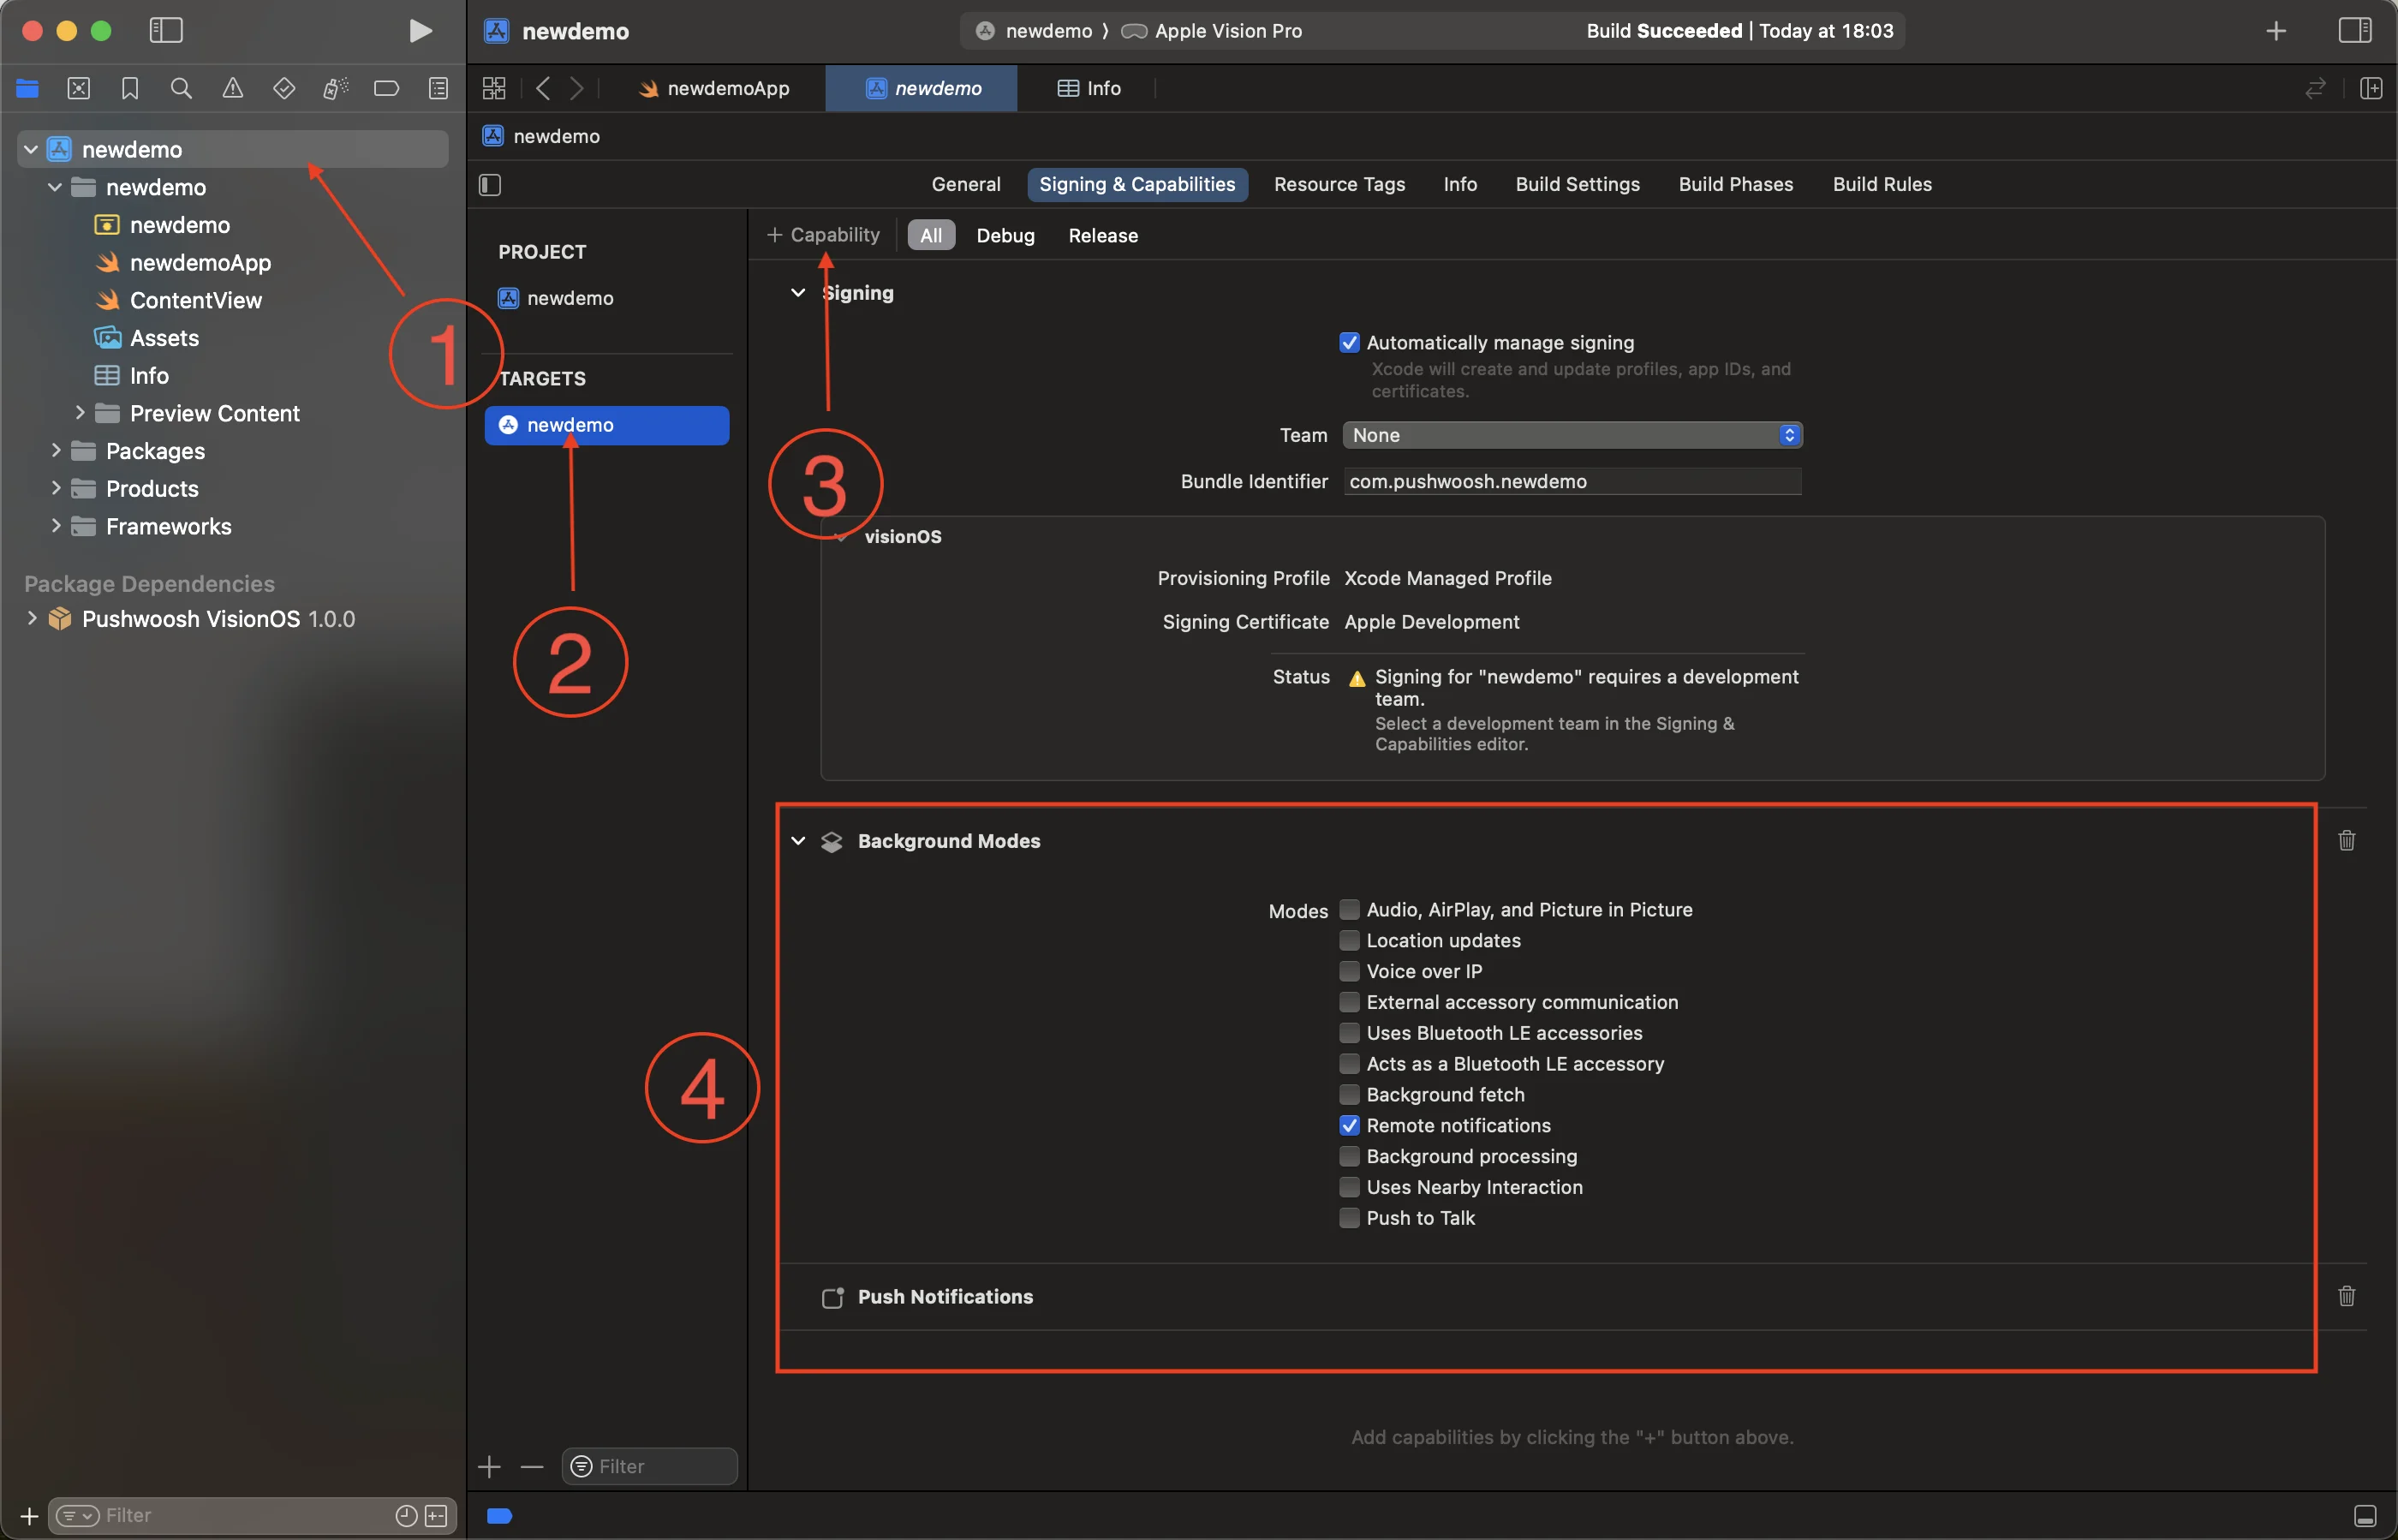
Anchor link to- Select the root project (1) and your main app target (2), then go to the Signing and Capabilities tab.
- Press + Capability button (3) and select the Push Notifications capability.
- Then, add the Background Modes capability and check the Remote notifications check box (4).

- Well done! Xcode capabilities configuration completed.
Add the Pushwoosh Initialization code
Anchor link to- Add the following code to your App
import SwiftUIimport Pushwoosh
class AppDelegate: NSObject, UIApplicationDelegate, UNUserNotificationCenterDelegate, PWMessagingDelegate {    func application(_ application: UIApplication, didFinishLaunchingWithOptions launchOptions: [UIApplication.LaunchOptionsKey : Any]? = nil) -> Bool {
        Pushwoosh.sharedInstance().registerForPushNotifications()        Pushwoosh.sharedInstance().delegate = self        return true    }
    func application(_ application: UIApplication, didRegisterForRemoteNotificationsWithDeviceToken deviceToken: Data) {        Pushwoosh.sharedInstance().handlePushRegistration(deviceToken)    }
    func application(_ application: UIApplication, didFailToRegisterForRemoteNotificationsWithError error: any Error) {        Pushwoosh.sharedInstance().handlePushRegistrationFailure(error)        print("\(error.localizedDescription)")    }
    func pushwoosh(_ pushwoosh: Pushwoosh, onMessageOpened message: PWMessage) {        print("Message opened: \(message.payload!)")    }
    func pushwoosh(_ pushwoosh: Pushwoosh, onMessageReceived message: PWMessage) {        print("Message received: \(message.payload!)")    }}
@mainstruct newdemoApp: App {    @UIApplicationDelegateAdaptor(AppDelegate.self) var appDelegate
var body: some Scene { WindowGroup { ContentView() } }}- In your
Info.plist, add the following string-type keys:
<key>Pushwoosh_APPID</key><string>XXXXX-XXXXX</string>
<key>Pushwoosh_API_TOKEN</key><string>YOUR_DEVICE_API_TOKEN</string>Pushwoosh_APPID: your Pushwoosh Application Code.Pushwoosh_API_TOKEN: your Pushwoosh Device API Token
Important: Be sure to give the token access to the correct application in your Pushwoosh Control Panel. Learn more
- Well Done! Now you can send your first push notification!


Share your feedback with us
Anchor link toYour feedback helps us create a better experience, so we would love to hear from you if you have any issues during the SDK integration process. If you face any difficulties, please do not hesitate to share your thoughts with us via this form.